Running a Test Case
Now that you have successfully defined test cases, we will now guide you on how to run these test cases in order to test your endpoints.
Generate your SDK
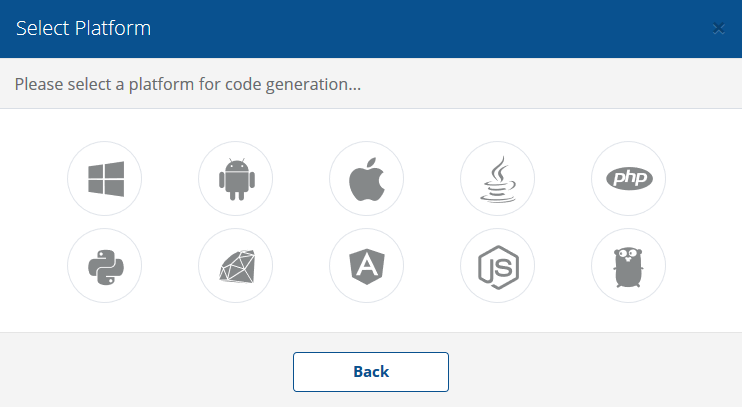
Click on the box as shown in the figure below to generate your code.

Choose the platform of your choice:
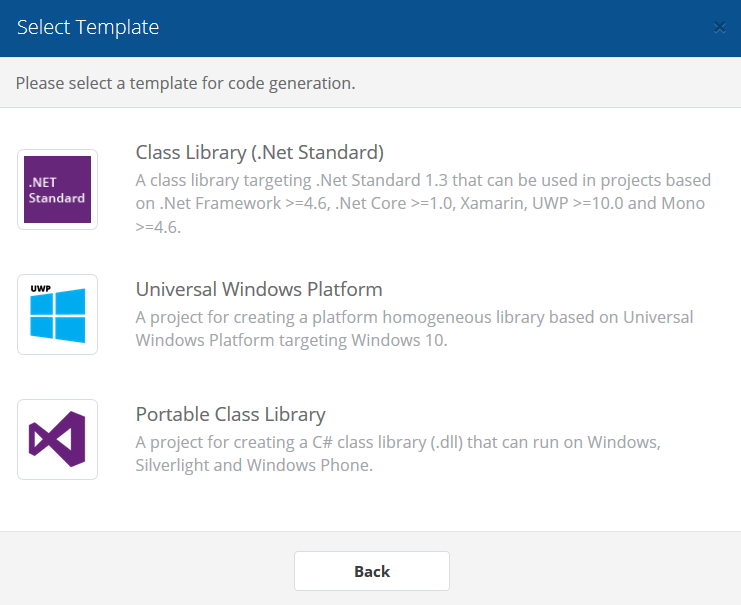
For our example we will be choosing the Windows platform to generate a Portable Class Library in C#.
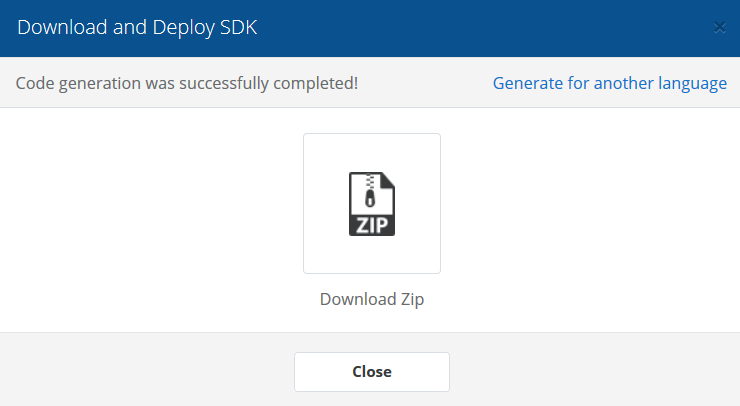
Once the code generation is successful download the Zip file.
You will see a Calculator-CSharp zip file. Extract its files in the same folder.

You will have something similar inside the extracted folder:

Open the Calculator.sln file in Visual Studio.
Run the Test Case Using NUnit in Visual Studio
In order to run the test case in Visual Studio you need to have NUnit 3.0 installed. Rebuild your solution and open Test Explorer.
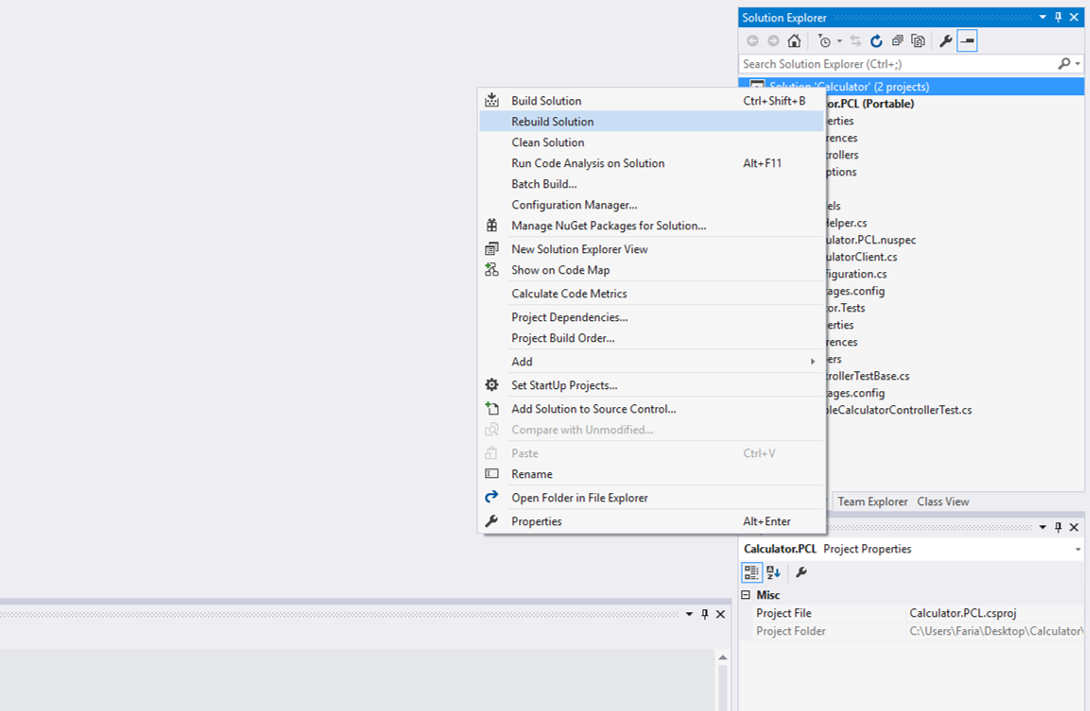
If the build was successful, you will see our test case TestTestSum listed in the Test Explorer.

Click on Run All to run the test. You will see the statistics displayed about the number of tests that passed or failed and the time taken, etc.

Congratulations! You successfully ran your first test case!