API Authentication
APIMatic offers support for setting authentication for your APIs. These include authentication types like:
- Basic Authentication
- OAuth 2.0
- Custom Query
- Custom Headers
APIMatic automatically generates the required parameters for most types of authentication in a configuration file which is deployed with the SDK. You can simply select the type of authentication and APIMatic will take care of the rest.
You can override the names of these default parameters by specifying your own. You will also need to define parameters for authentication types in which no default parameters are generated, like Custom Query and Custom Header. Authentication parameters let you list down all the variables (with values) that are needed for authentication with the API requests. You can provide the following information for authentication parameters:
- Parameter Name: This is the name given to the parameter/variable that will be used for authentication.
- Description: You can provide a brief description about the parameter here.
- Value: This field will contain the value that has to be assigned to the parameter.
Authentication Types
APIMatic supports various types of authentication. The type dropdown list allows you to select one of the available authentication types. Make sure that you select the correct type of authentication when describing your API i.e. the authentication type in the API definition must match with the authentication type of the API. The generated code automatically appends any authentication information with the subsequent API requests. Details about the major authentication types we support are as follows.
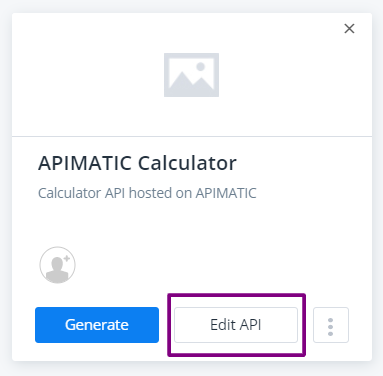
- On APIMatic Dashboard, click on Edit API for the API you want to configure authentication settings for.
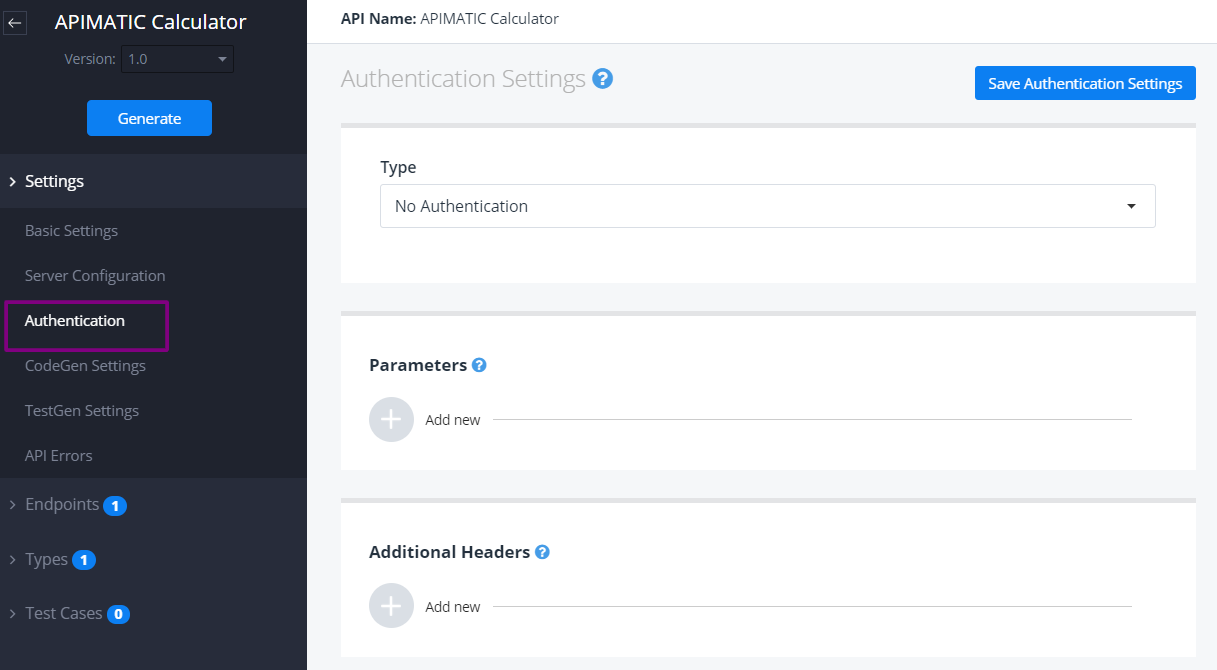
- From the left-side context menu, click on Authentication under Settings. You can now select the Authentication Type and provide any Parameters for your API requests.
No Authentication
Select this option if your API does not require any authentication.
For skipping authentication only on a few of the endpoints, use the Skip Authentication option on the respective Endpoint description page.
Basic Authentication
Basic authentication requires a username and a password to access the protected resources.
APIMatic's SDK interfaces automatically generates these two parameters so providing these parameters is optional. However, if you want to customize the naming of these two parameters, you can pass in custom names for them. However make sure that exactly two parameters are provided. The first one is used as an alias for username and the second is used as an alias to password. The SDK interfaces will reflect this. When set, the values of these variables are used to sign the subsequent API requests.
From the Types dropdown menu, select Basic Authentication.
To provide custom parameter names: Under Parameters, provide Username and Password parameters. Default values will be used in case no values are provided while making the API request.
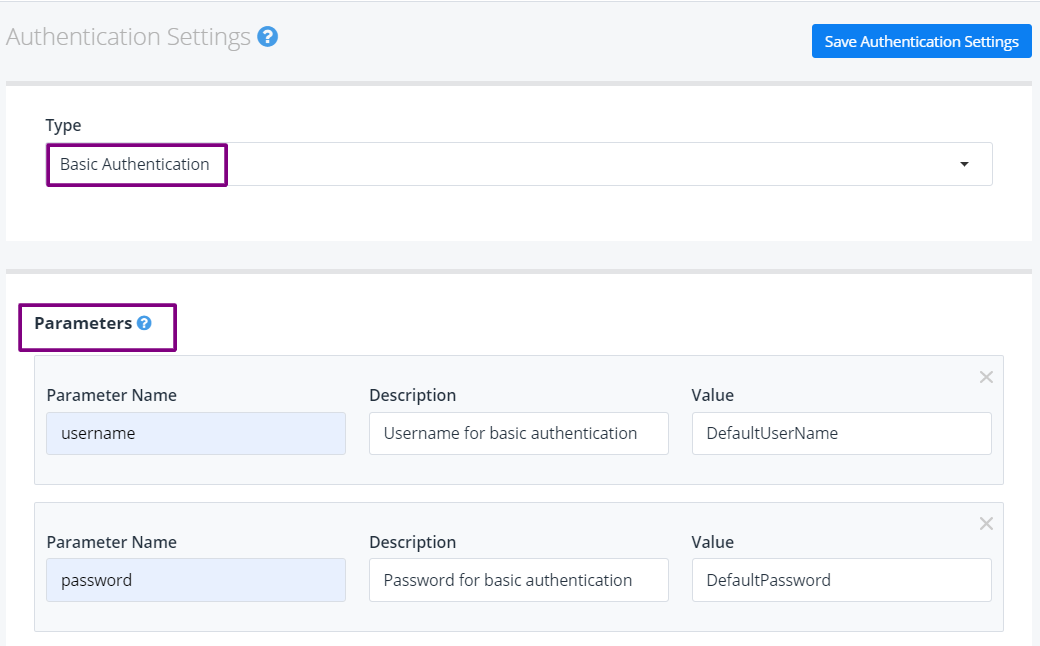
Click on Save Authentication Settings.
Any future REST API requests will now contain the username and password as an encoded value appended with
Basicin theAuthorizationheader:
GET /v1/Inventory HTTP/1.1
accept: application/json
user-agent: apimatic/1.0
Authorization: Basic PFRPRE86IFJlcGxhY2U+OjxUT0RPOiBSZXBsYWNlPg==
Host: acme.com
Connection: Keep-Alive
The following code snippet for a C# SDK explains how you can set basic authentication username and password through the builder inside SDK client class:
MyClient client = new MyClient.Builder()
                .BasicAuthCredentials("UserName", "Password")
                .Build();
It is highly recommended that SSL is used to perform the underlying HTTP requests. Ensure that the base URL in the API Settings refers to a secure https URL.
Custom Authentication
In this type of authentication, the APIMatic Code generator generates a placeholder implementation for authenticating the requests. This can then be replaced by the API provider with the right implementation for their authentication mechanism.
From the Types dropdown menu, select Custom Authentication.
Under Parameters, provide your custom parameters. Default values will be used in case no values are provided while making the API request.
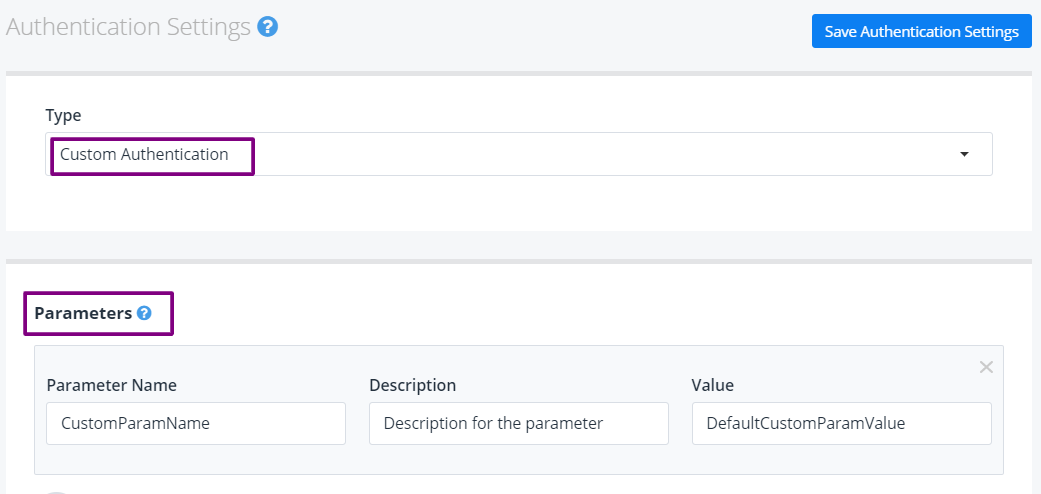
Click on Save Authentication Settings.
Custom Query
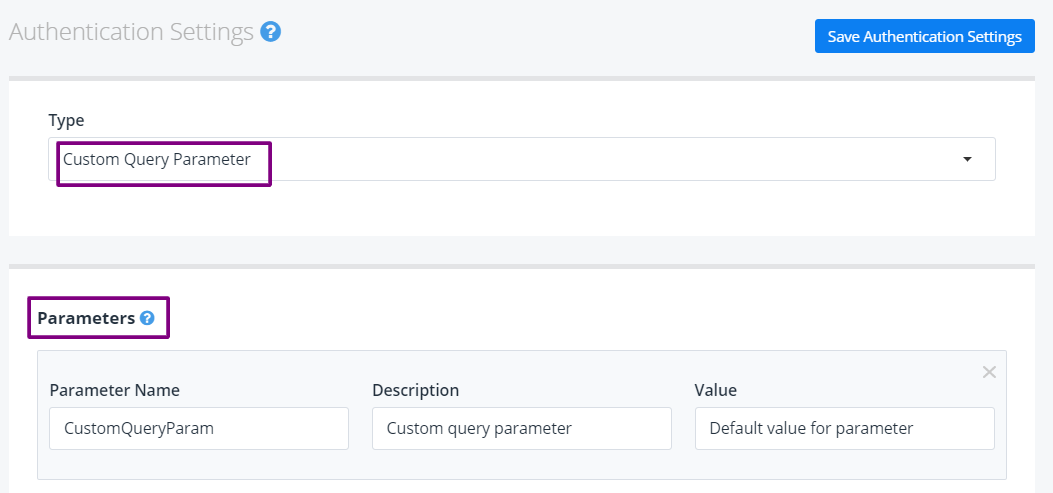
Some APIs require a custom query parameter to be passed along with an API request for the purpose of authorization. This type of authentication requires definition of one or more parameters that are to be submitted along with the API requests. There are no default parameters for this type of authentication and the user has to define these while describing their API.
From the Types dropdown menu, select Custom Query Parameter.
Under Parameters, provide your custom parameters. Default values will be used in case no values are provided while making the API request.
Click on Save Authentication Settings.
Any future REST API requests will now contain custom query parameters (
CustomQueryParamin this example):
GET http://acme.com/v1/Inventory?CustomQueryParam=4c4112e4a1ef4e0f9396dbc80a160fc8 HTTP/1.1
accept: application/json
user-agent: apimatic/1.0
Host: acme.com
Connection: Keep-Alive
The following code snippet for a C# SDK explains how you can set custom query authentication parameters through the builder inside the client class:
string token = "4c4112e4a1ef4e0f9396dbc80a160fc8"; // 'CustomQueryParam' value

MyClient client = new MyClient.Builder()
                .CustomQueryAuthenticationCredentials(token)
                .Build();
...
The values of the said parameters will be transmitted as query parameters with all API requests, except where the endpoint description uses the "skip authentication" option.
Custom Header
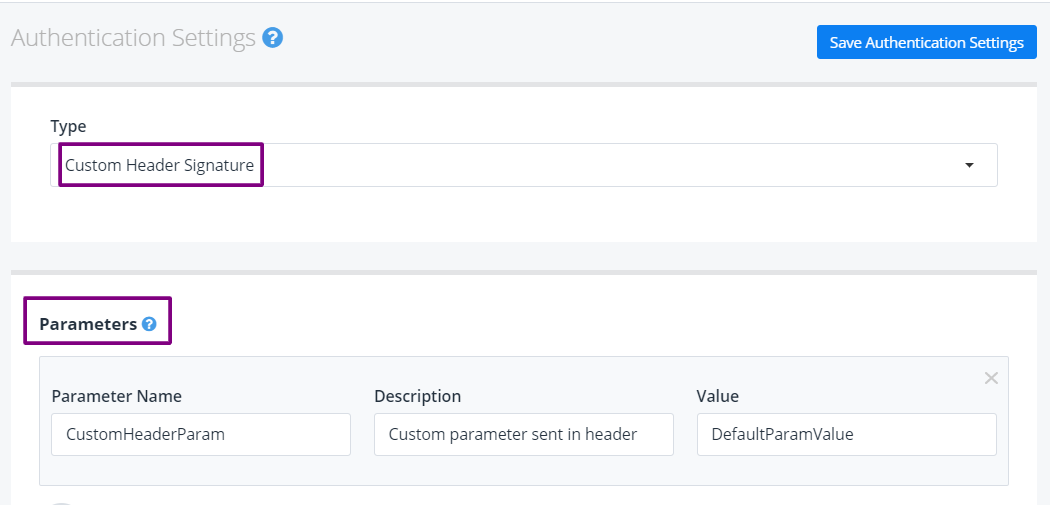
This type of authentication is similar to the custom query authentication method, except that the respective parameters are sent as header values rather than as query parameters.
From the Types dropdown menu, select Custom Header Signature.
Under Parameters, provide your custom header parameters. Default values will be used in case no values are provided while making the API request.
Click on Save Authentication Settings.
The values of the corresponding variables will be transmitted as header values (
CustomHeaderParamin this example) with all subsequent API requests, except where the endpoint description uses skip authentication option.
GET http://acme.com/v1/Inventory HTTP/1.1
accept: application/json
CustomHeaderParam: 4c4112e4a1ef4e0f9396dbc80a160fc8
user-agent: apimatic/1.0
Host: acme.com
Connection: Keep-Alive
You can set the custom header in your API requests through the builder inside the SDK client class. The following code snippet for a C# SDK explains how this can be done:
string token = "4c4112e4a1ef4e0f9396dbc80a160fc8"; // 'CustomHeaderParam' value

MyClient client = new MyClient.Builder()
                .CustomHeaderAuthenticationCredentials(token)
                .Build();
OAuth 1.0
OAuth 1.0 provides authentication using cryptography hash computing method. The application developer (API Consumer) must acquire an access token by following a specific OAuth flow.
OAuth 1.0 has been deprecated since v3 release.
OAuth 2.0
OAuth 2.0 relies on the encryption of SSL layer to simplify the authorization, therefore it can only be used when the base URL refers to a secure HTTPS URL. Similar to OAuth 1.0, the application developer (API Consumer) must acquire an access token by following a specific OAuth flow.All four flow types are supported:
- Authorization Code Grant
- Implicit Grant (No longer supported in APIMatic v3)
- Resource Owner Password Credentials Grant
- Client Credentials Grant
For more detail on these authentication flows, please refer to the chapter on OAuth 2.0 Authorization.
OAuth 2.0 Bearer Token
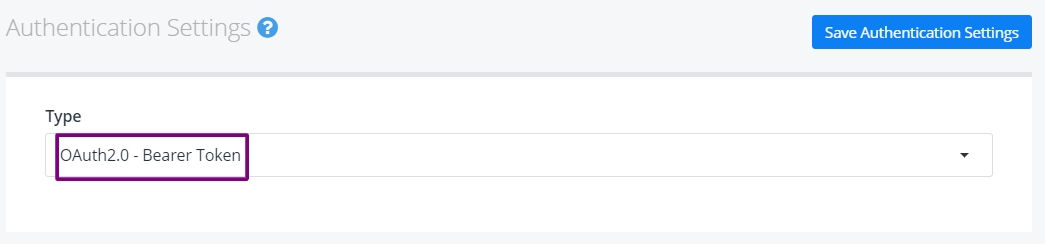
This type of authentication authenticates requests via tokens that are generated by the server in response to a login request. This means that the API consumer must provide a Bearer token value in the client code in order to proceed with making any API calls.
From the Types dropdown menu, select OAuth 2.0 Bearer Token. You don't need to explicitly provide any parameters as the token will be sent by the server. Click on Save Authentication Settings.
The bearer token will be sent in the
Authorizationheader for the API request as shown:
GET /v1/Inventory HTTP/1.1
accept: application/json
Authorization: Bearer f80ff5694a454585bab0001a68ec5e9f
user-agent: apimatic/1.0
Host: acme.com
Connection: Keep-Alive
You can set OAuth 2.0 Bearer Token through the builder inside the client class. The following code snippet for a C# SDK explains how this can be done:
string token = "f80ff5694a454585bab0001a68ec5e9f"; // Bearer token

MyClient client = new MyClient.Builder()
                .AccessToken(token)
                .Build();

...