Installing GitHub App
Pre-requisites
Before getting started, ensure you have the following:
- Repository Permissions: You must have the appropriate permissions to install the app on your GitHub repository. If you're a member of an organization, the organization owner must approve the installation.
- APIMatic Account: You need a free APIMatic account. Create one at APIMatic.io.
Getting Started
Step 1: Install the App
Go to the APIMatic OpenAPI Linter GitHub App page and click "Install" to install the app.
Choose the GitHub account or organization where you want to install the app.
Select the repositories where you want the app to run.
Authorize the app with your APIMatic account (you will be automatically redirected to APIMatic's login page). Don't close the page until the authorization is successful and you see the dashboard.
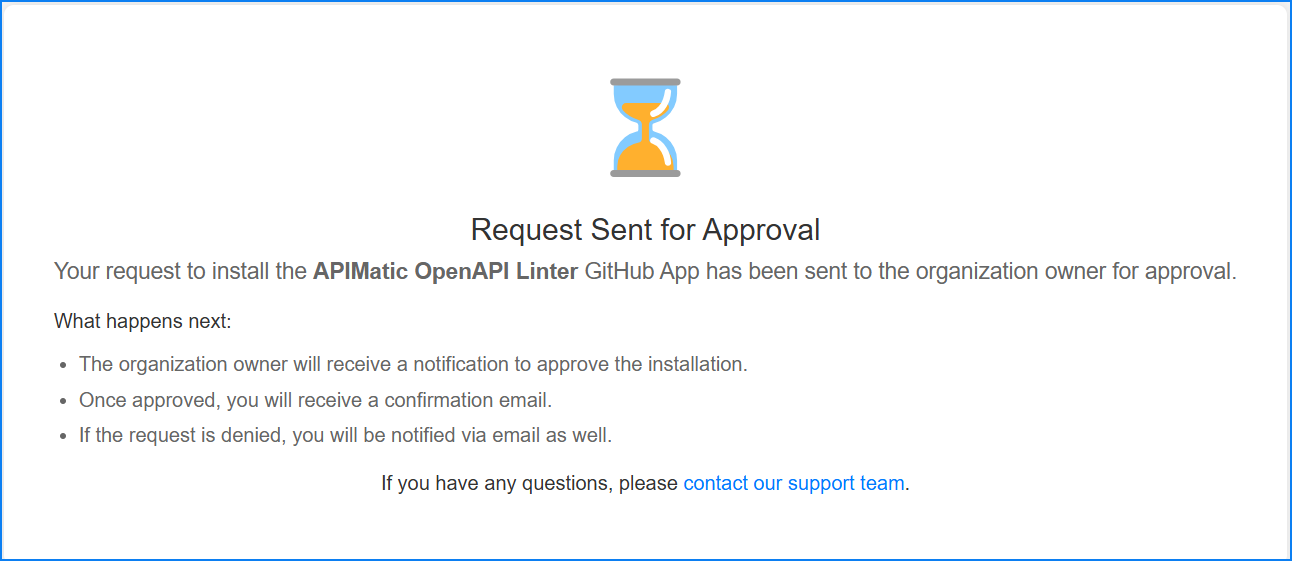
If you're installing on an organization, the organization owner must approve the installation.
Step 2: Configure the App (Optional)
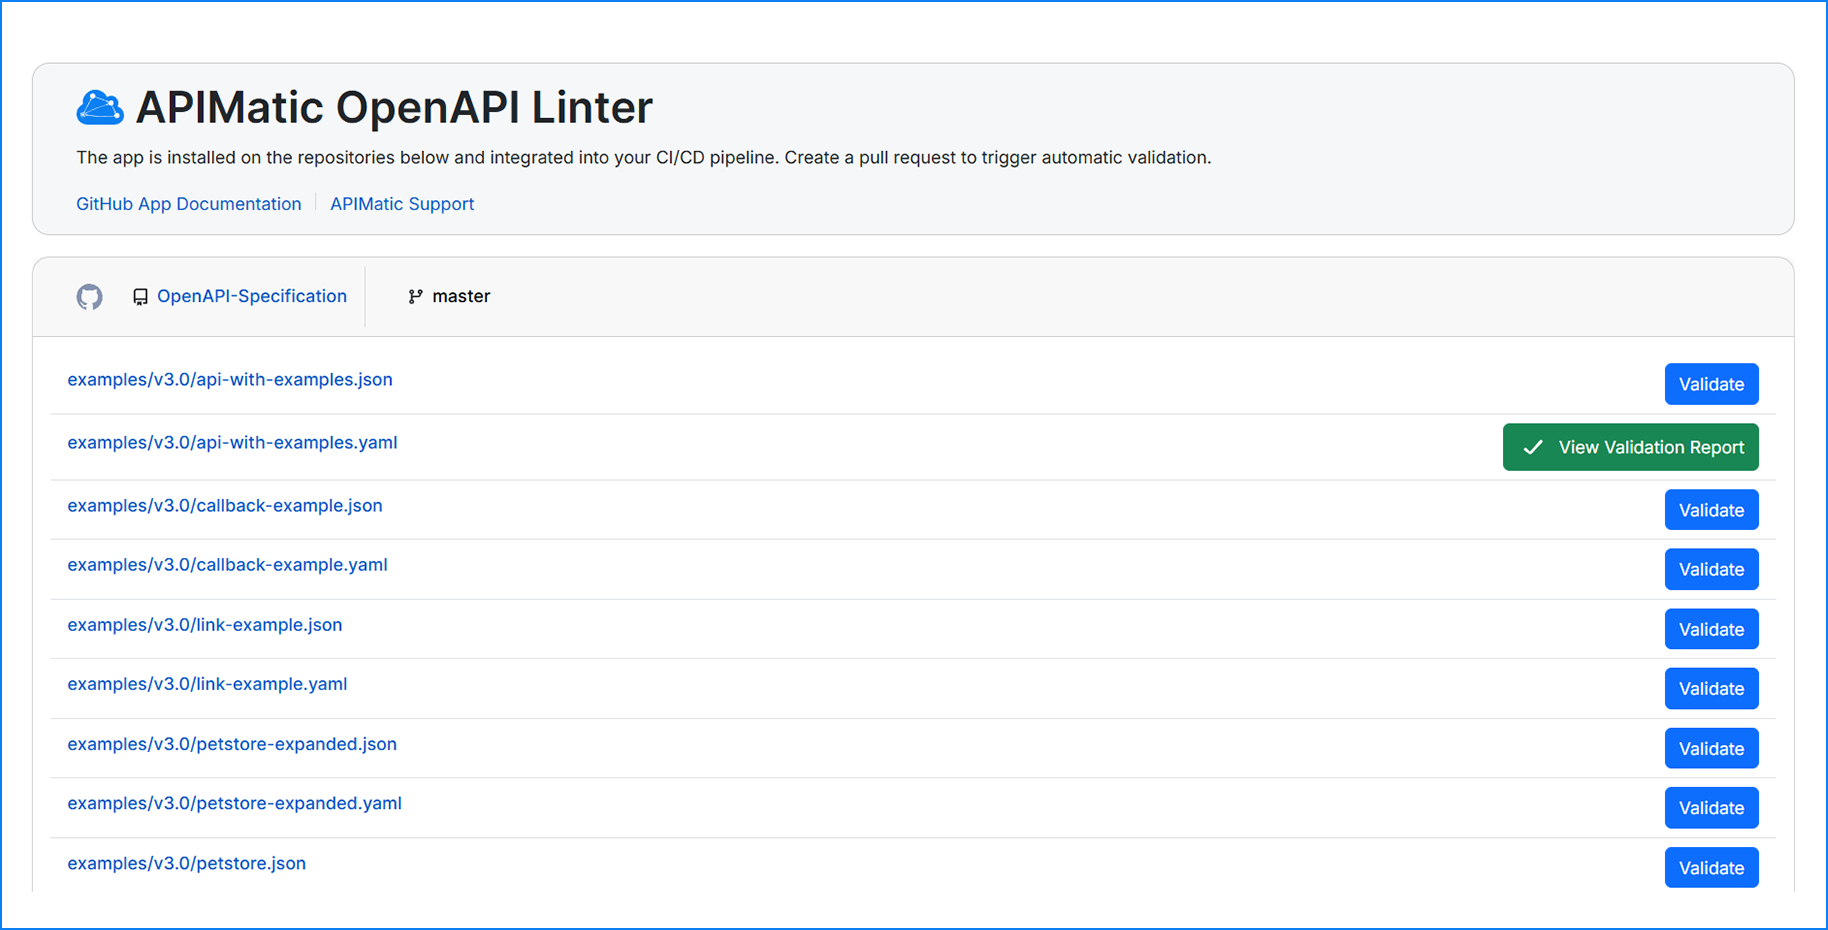
Once installed, the app automatically triggers the validation on each pull request creation or synchronization.
Define OpenAPI Definition Paths
If you want to validate specific OpenAPI files or merged OpenAPI definitions, you may use .apimaticsettings.json file to define OpenAPI definition paths explicitly.
Here's an example:
{
  "OpenAPIDefinitionPaths": [
    "path/to/openapi/directory",
    "path/to/openapi.yaml",
    "path/to/openapi.json"
  ]
}
This configuration tells the linter which OpenAPIs to validate.
Skip Specific OpenAPI Definitions from Validation
In certain cases, you might want to exclude specific OpenAPI definition files from the validation process, especially when you haven't explicitly defined OpenAPIDefinitionPaths and the GitHub App automatically detects all modified OpenAPI definitions in a pull request.
To skip validation for specific files or directories, use the SkipOpenAPIDefinitionPaths option in your configuration file. This is useful when you want to prevent validation of files that are still in progress, deprecated, or not relevant to the current workflow.
Here's an example:
{
  "SkipOpenAPIDefinitionPaths": [
    "path/to/openapi/directory",
    "path/to/openapi.yaml",
    "path/to/openapi.json"
  ]
}
Each entry in the array can point to a specific file or an entire directory. When specified, these paths will be excluded from validation even if they're detected as modified in a pull request.
Configure GitHub Checks
If you have branch protection rules that prevent merging PRs with failing checks, you can disable the GitHub checks by adding the following to your configuration file:
{
  "IgnoreValidationErrors": true
}
IgnoreValidationErrors is set to false by default, meaning GitHub checks will fail on validation errors. You can override this behavior by setting IgnoreValidationErrors to true.
How It Works
After installation and configuration, the APIMatic OpenAPI Linter GitHub App automatically triggers validation for every pull request (PR) created or updated.
Validation Process
- When a PR is created or synchronized, the app runs the validation process in the background.
- The results are displayed in the PR Comment section.
- If validation passes, the PR can be merged. If validation fails, the PR will be blocked from merging (unless you don't have branch protection rules enabled or you opt to skip validation with
IgnoreValidationErrorsset totrue).
Customizing Validation
APIMatic's OpenAPI Linter uses a highly configurable validation engine, allowing you to configure the checks based on your needs.
- Enabling/Disabling Rules: Customize the validation by enabling or disabling specific rules or entire rulesets in your configuration file.
- Custom Rules: You can add custom validation rules to meet specific requirements for your API definitions.
Example of Custom Rule Configuration
{
    "Id": "my-custom-ruleset",
    "Rules": [
        {
            "Id": "max-operation-id-length-30",
            "VerificationMethod": "Length",
            "Targets": [
                {
                    "JsonPath": "$.paths.*.*.operationId"
                }
            ],
            "VerificationMethodArgs": {
                "Maximum": 30
            },
            "Message": "Operation id is too long."
        }
    ]
}
This example shows how to enable a custom rule with specific parameters.
Troubleshooting
Common Issues
Unauthorized Installation: Make sure the GitHub app is installed correctly on the desired repositories and that the APIMatic account is properly linked.
Invalid Configuration File: Ensure that the file is syntactically correct and that its content is accessible.
Incorrect OpenAPI Paths: Double-check the file paths in your configuration file to ensure they're correct.
Failed Checks: If validation fails, check the PR comments or the detailed audit report for more information on which rules failed.
For any further questions or support, visit our Support Page.