VS Code APIMatic Extension Overview
APIMatic offers a VS Code extension that enables you to easily validate and lint your API definition files in any of the supported formats. The API definition files aren't only validated against standard checks but also linted for ensuring smoother SDK generation, Developer Experience Portal generation and API specification format transformation.
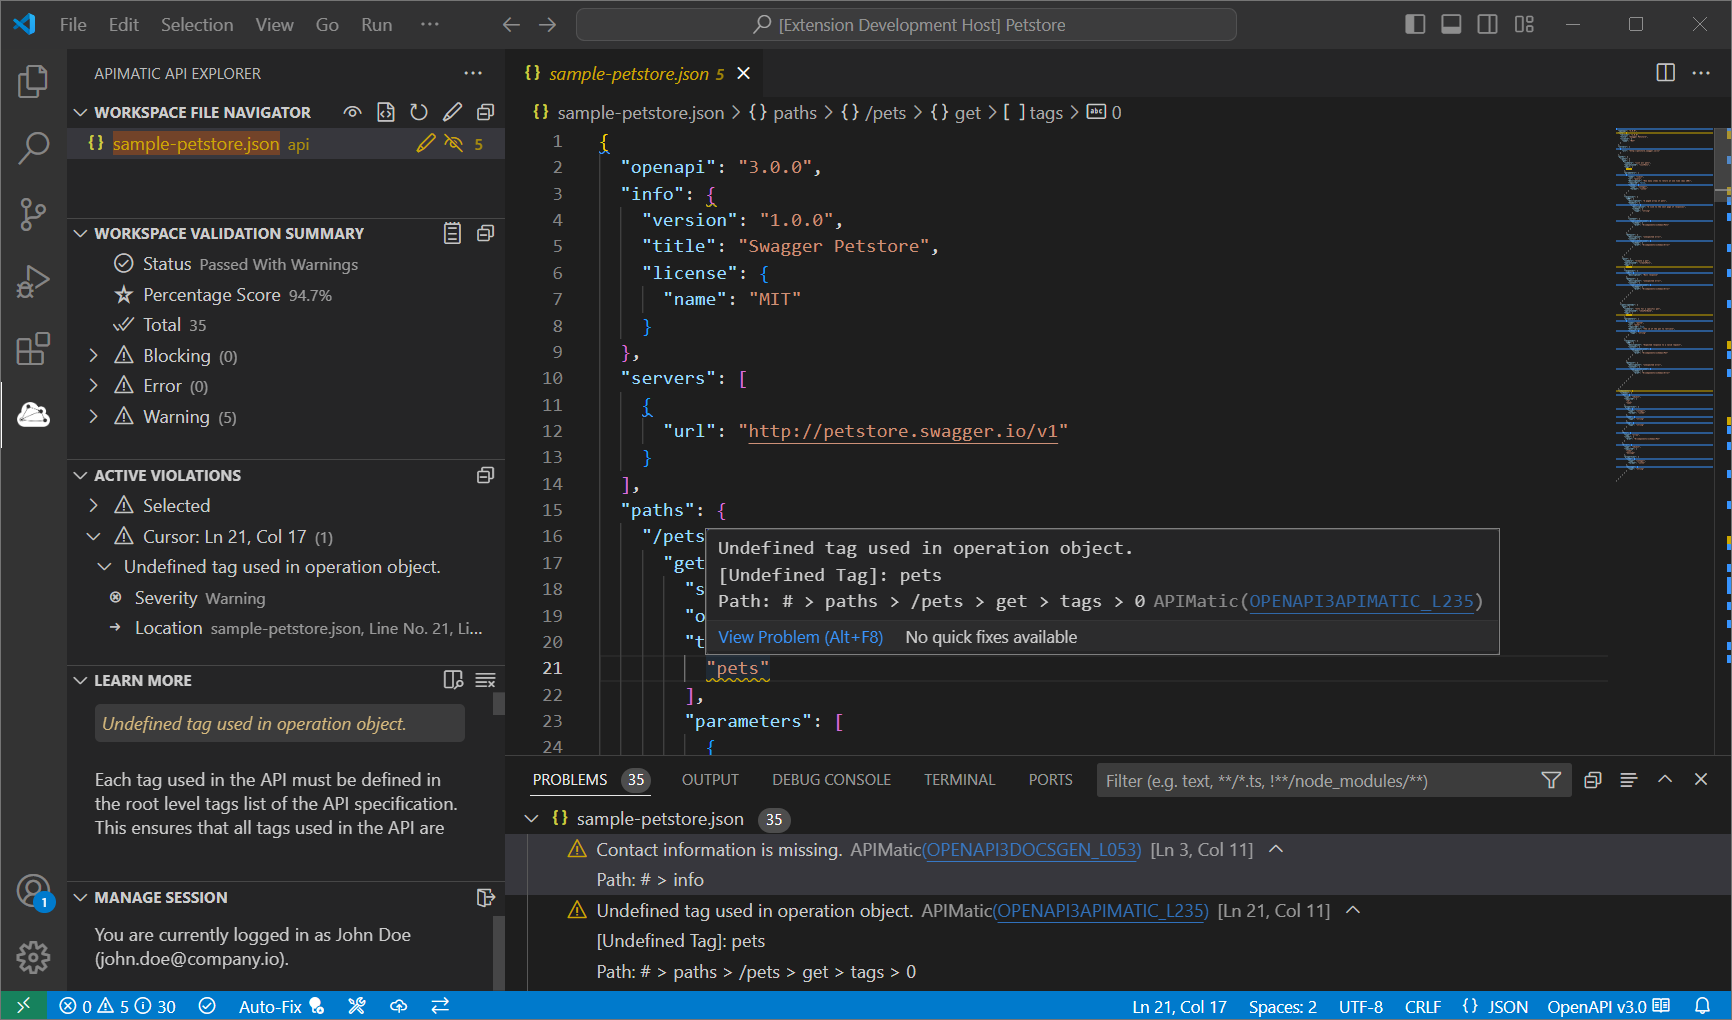
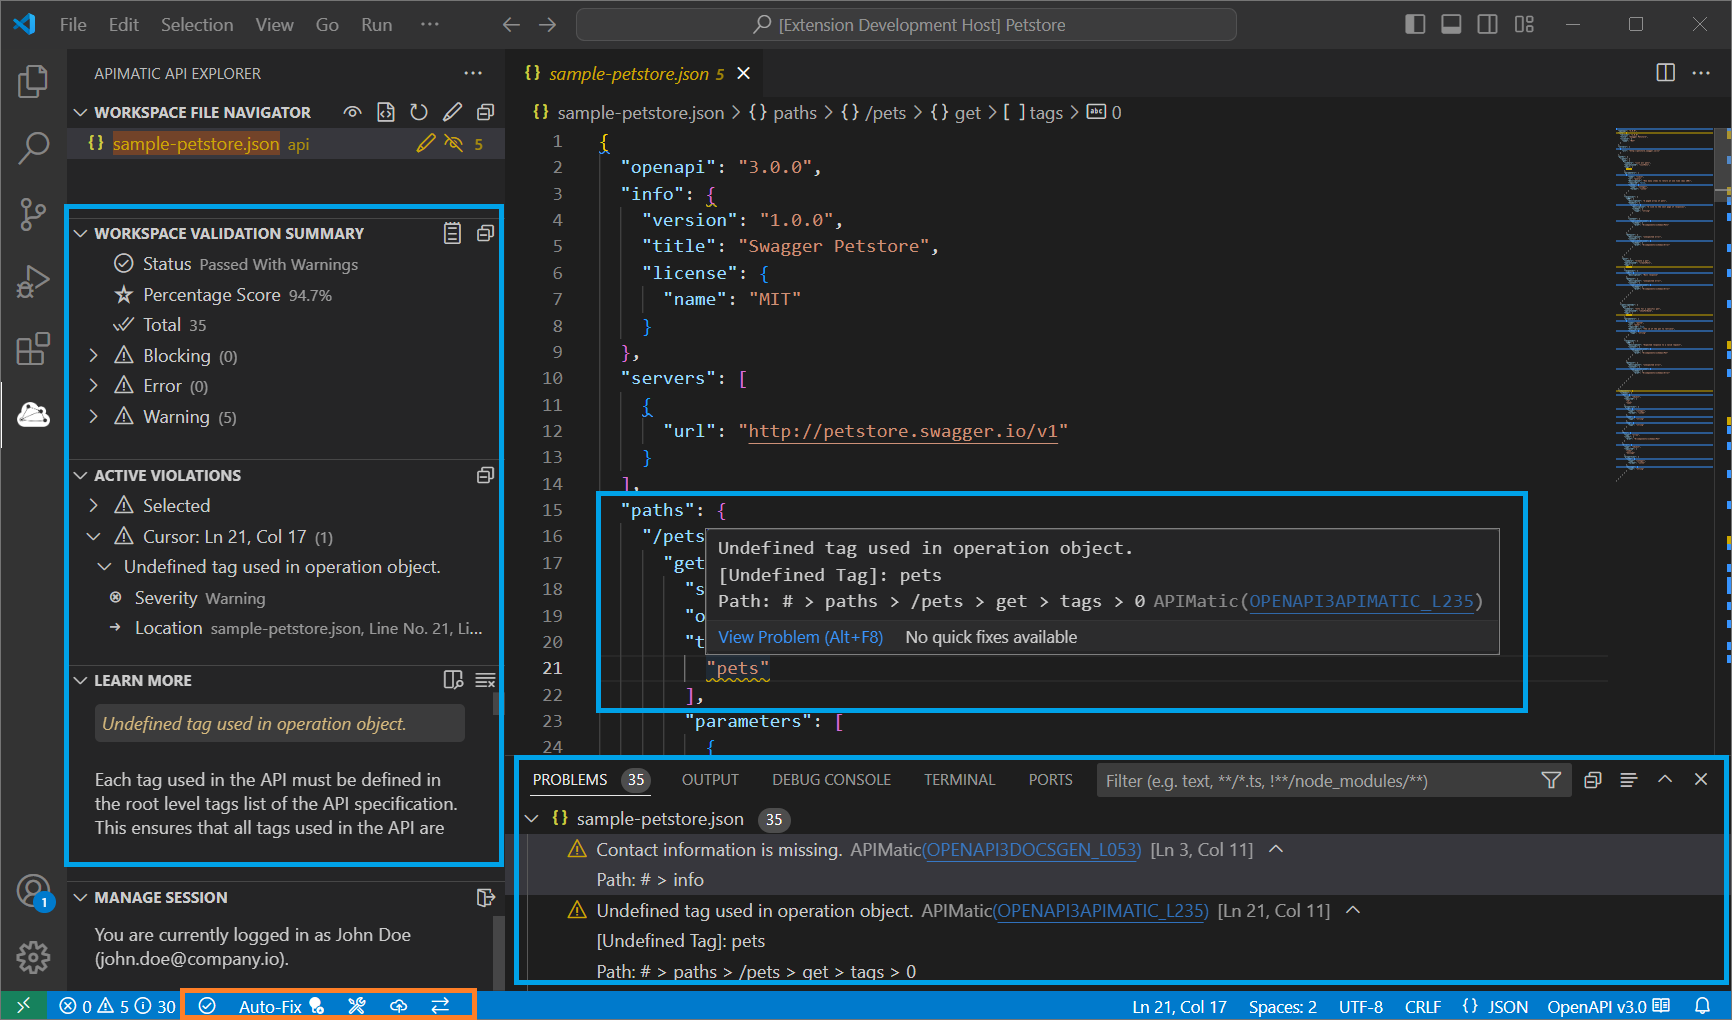
The extension provides a richer validation experience by offering dedicated views with messages organized for easy navigation, contextual data for each issues (for example, line and path information, call tree to trace origin) as well as detailed descriptions, hints and reference documentation links for resolving issues quickly. It also supports automatic fixing of common issues found in OpenAPI v3 files (for example, inline schemas) that hinder output quality or generation. You can also generate summary reports in multiple formats (PDF, HTML, JSON, Markdown) for sharing with any relevant stakeholders.
Once your API definition is ready, you can easily export them to your APIMatic Dashboard for SDK/DX portal generation without needing to leave the VS Code extension. Additionally, you can also perform transformation to a selected export format and obtain the output within your workspace.
Installation Guide
First, make sure that you have:
Visual Studio Code version 1.75.0 or above installed. Use download link.
A stable internet connection.
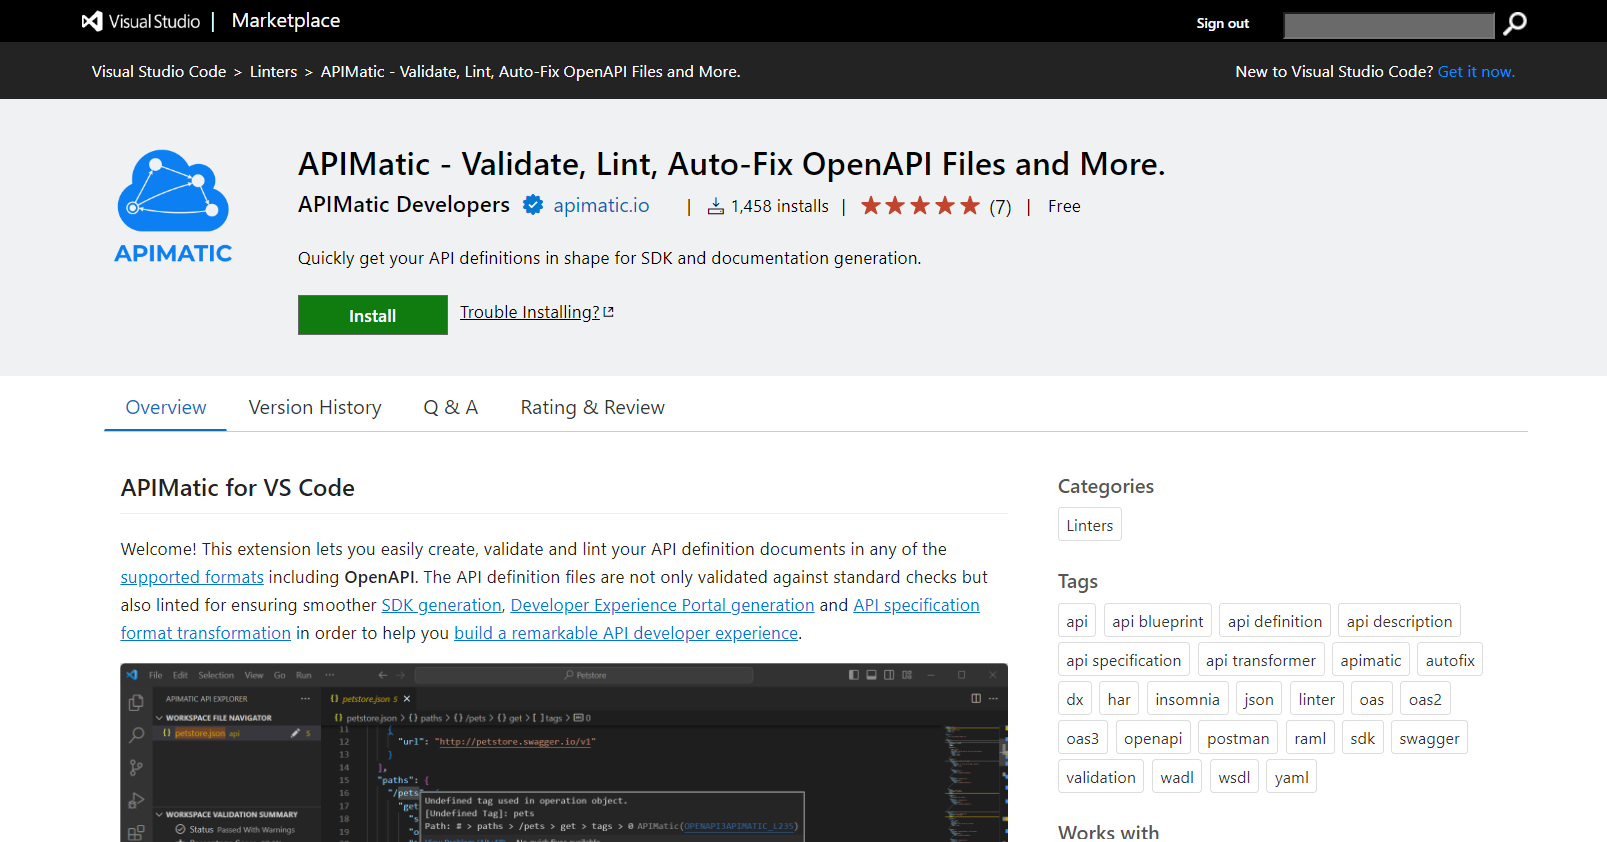
Next, to install the APIMatic for VS Code extension, simply head over to the Visual Studio Marketplace:
On successful installation, the APIMatic API Explorer should be visible in the Activity Bar:

For further information regarding installation of a VS Code extension, please visit the official documentation here.
Getting Started - VS Code Walkthrough
To help you quickly familiarize yourself with all the main features and capabilities, the extension includes a comprehensive getting started walkthrough as part of the VS Code welcome feature:
This step-by-step guide provides a hands-on experience, making it easier for you to get started.
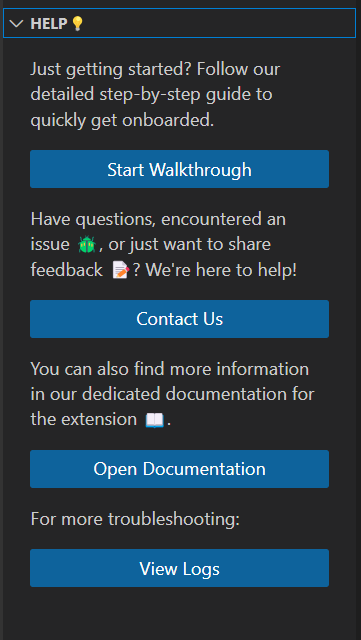
If you're having trouble finding the walkthrough or need to revisit it later, you can also access it using the extension's Help view Start Walkthrough option:
Getting Started - How to Validate an API Definition
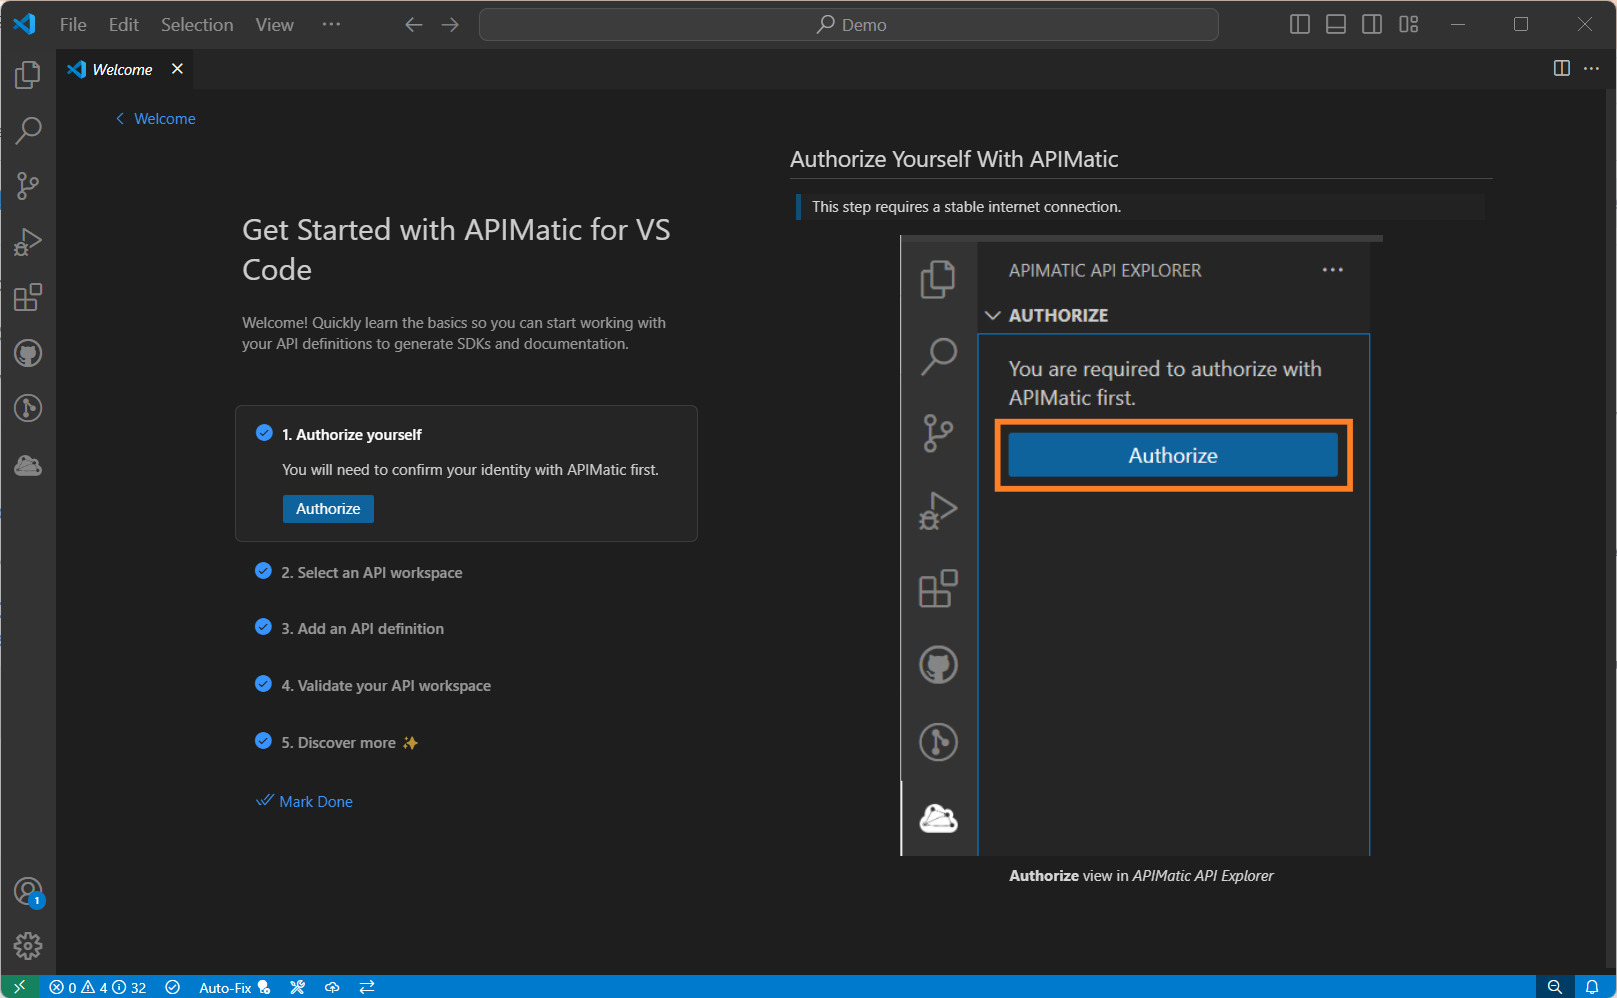
Step 1: Authorize Yourself With APIMatic
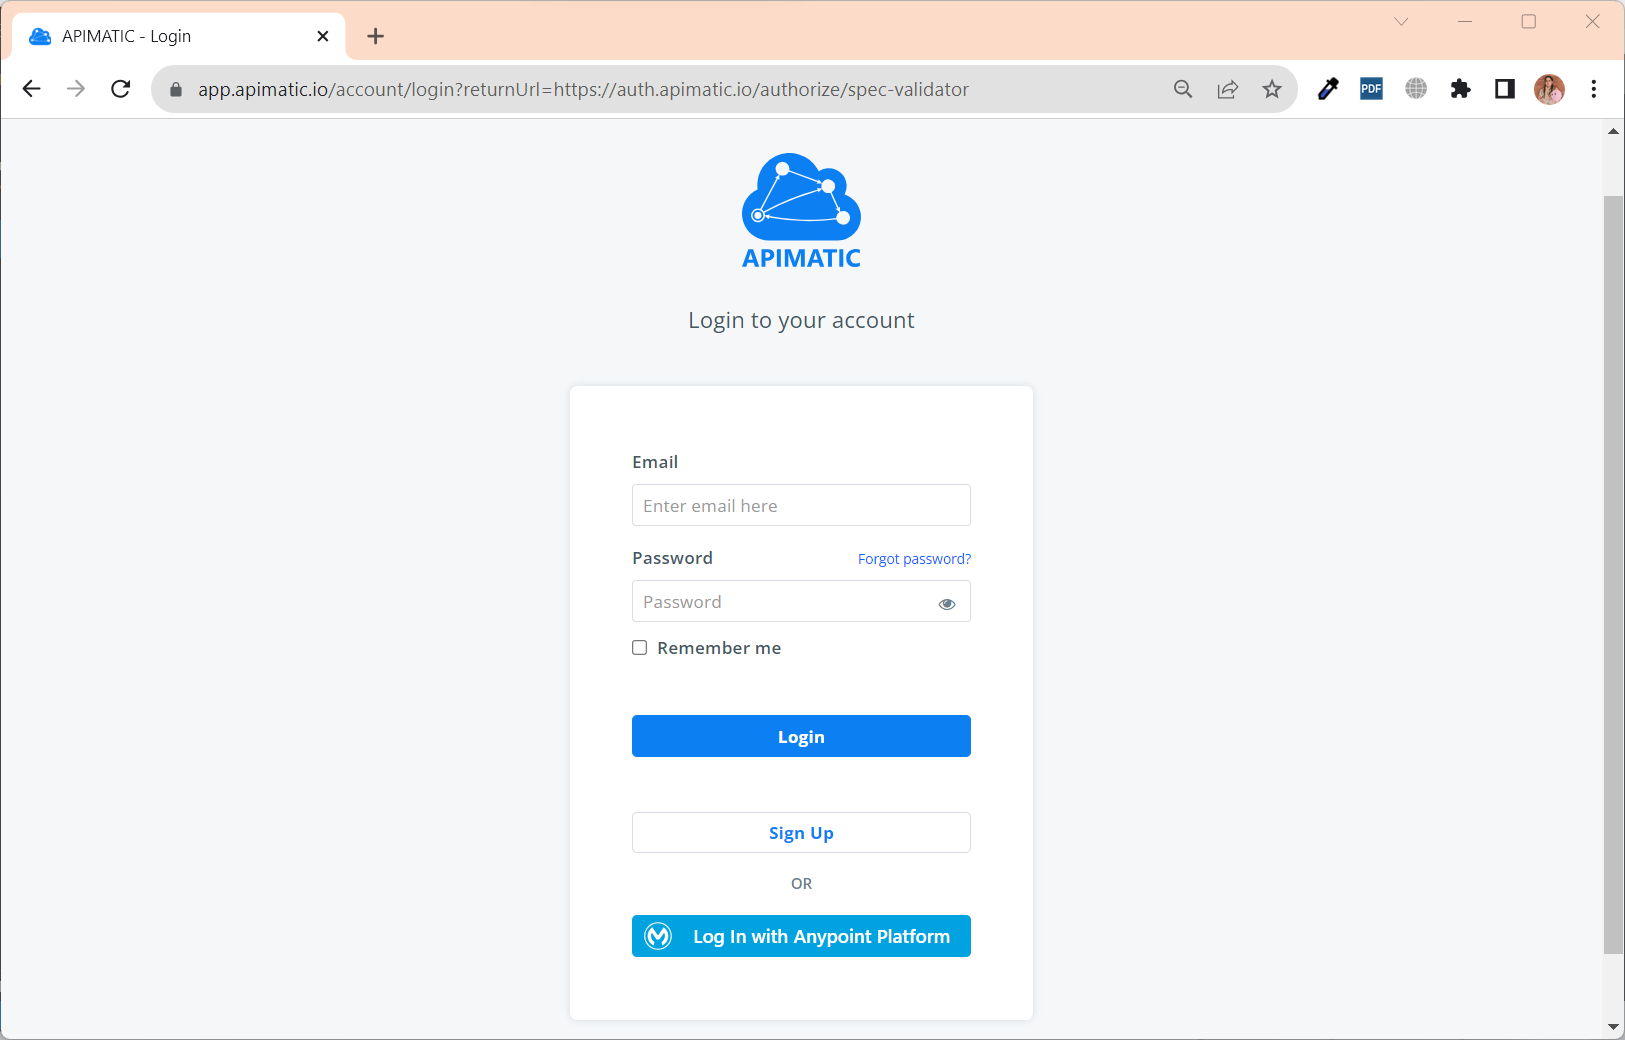
To start using the extension, you first need to authorize yourself with APIMatic. Click on the Authorize button visible in the welcome view:

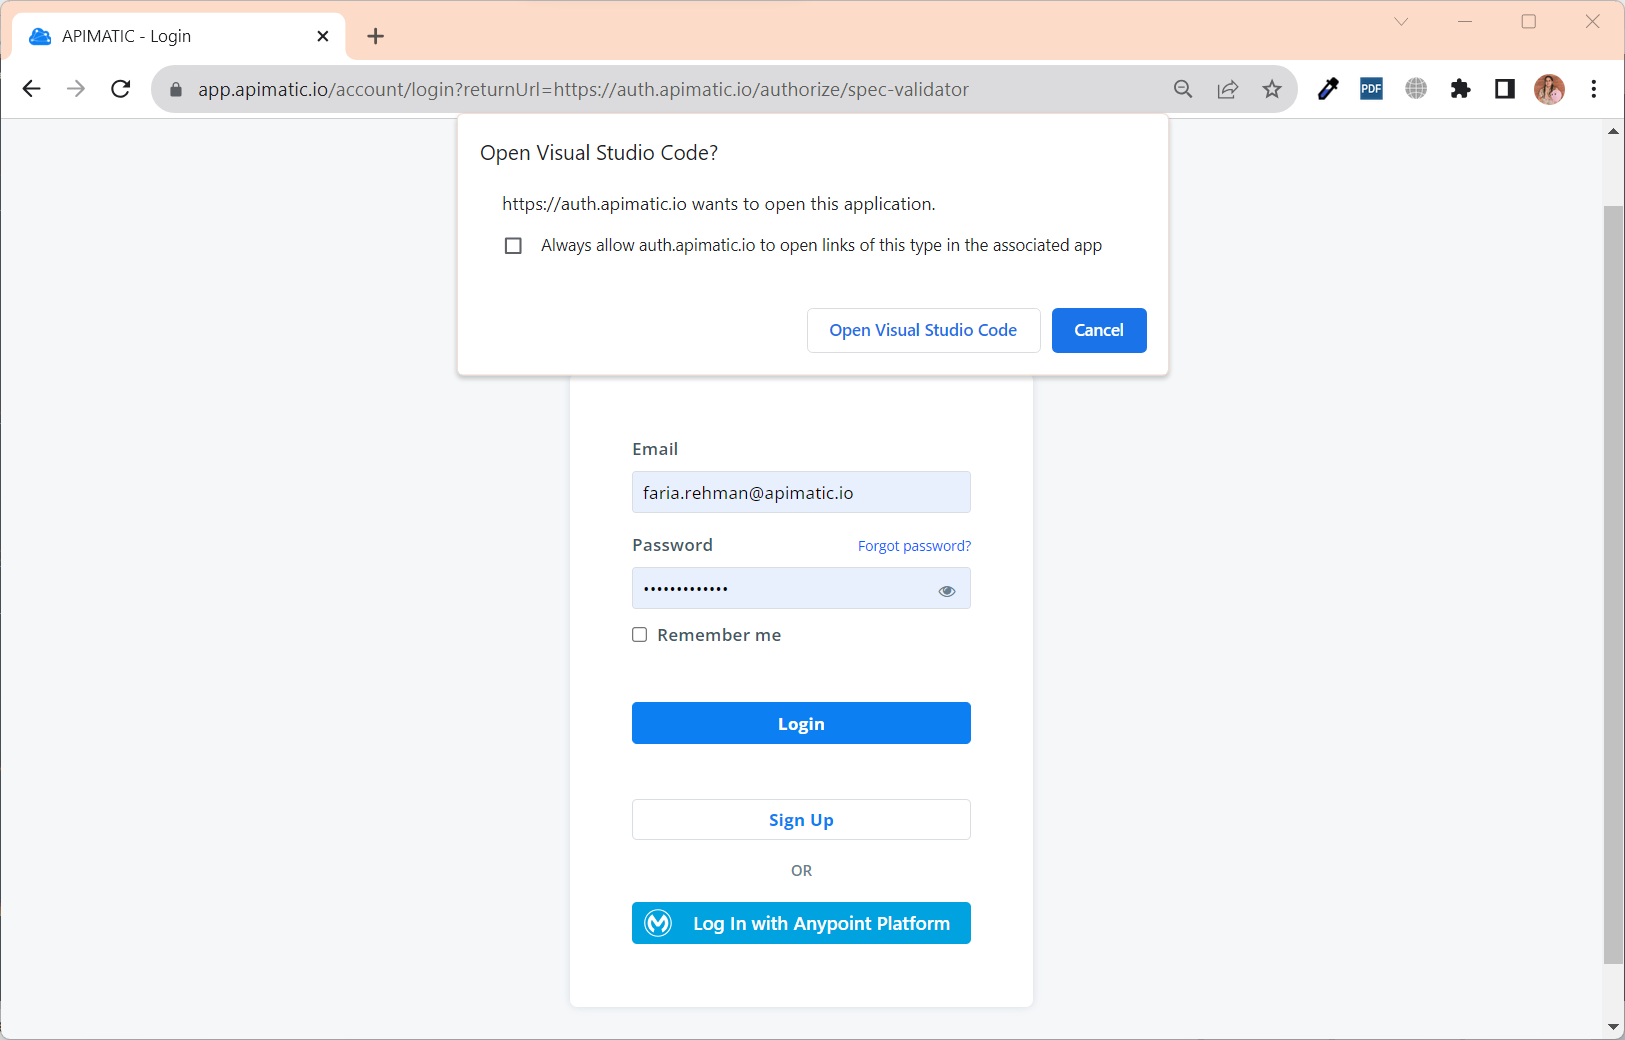
This will open up the APIMatic login page in your default browser. If you are a new user, you will need to sign up first which should take a few quick steps (and its free):
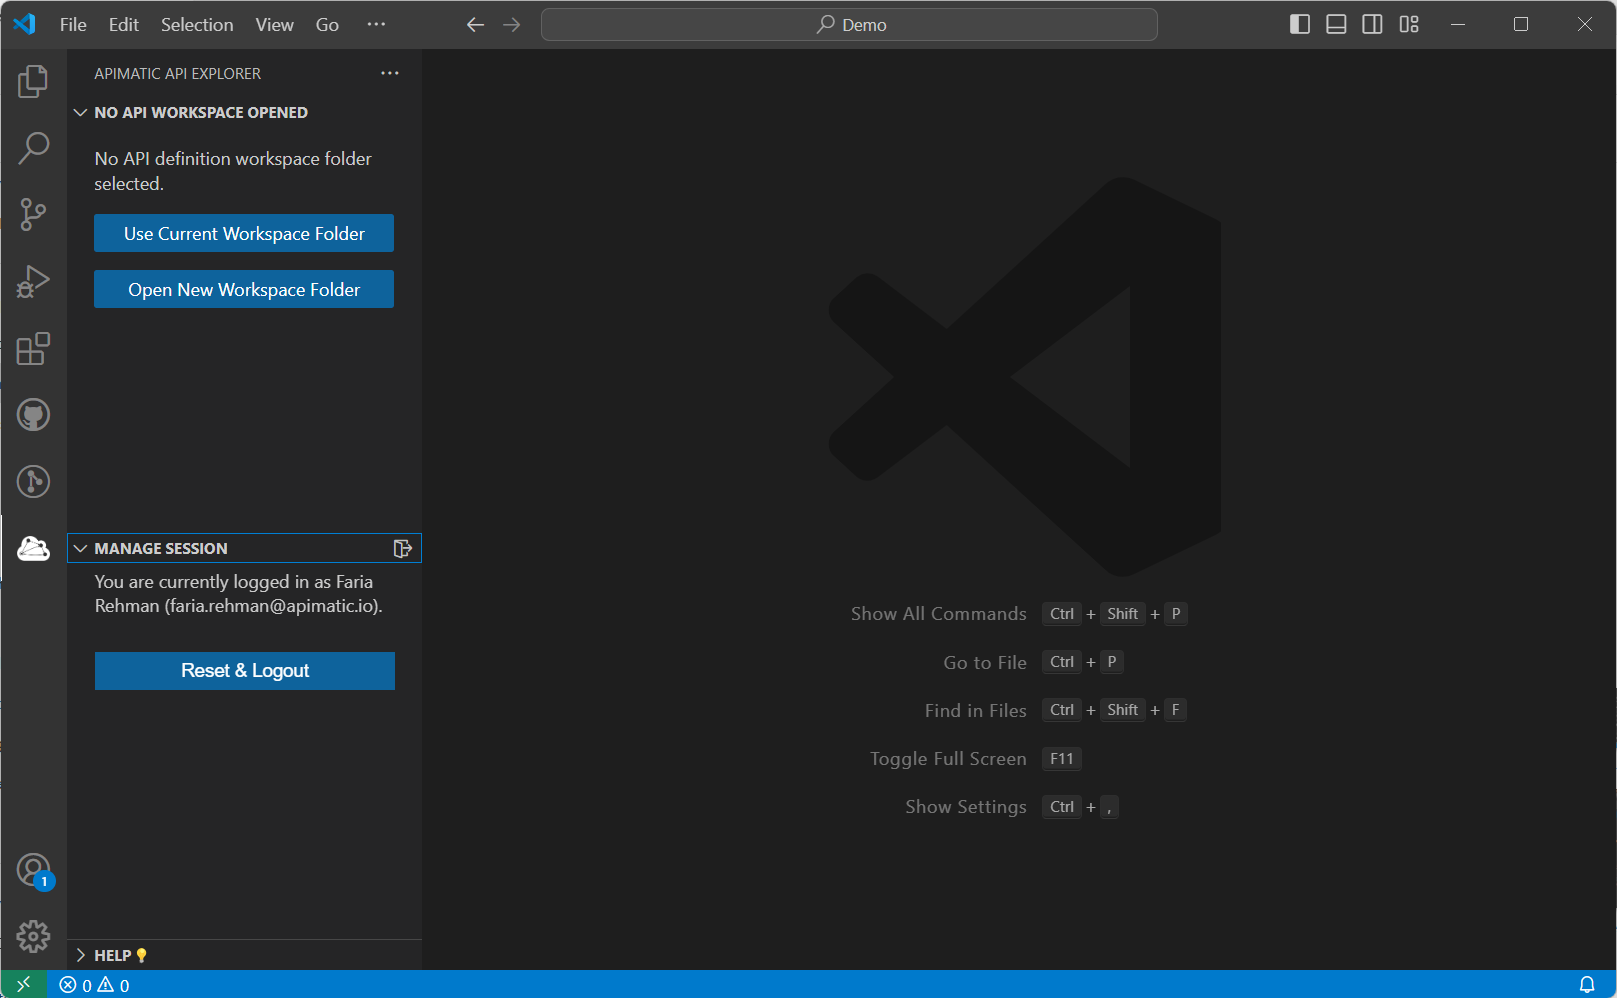
Once you have successfully logged in, you will be redirected back into your VS Code extension:
Your session details will be visible in the Manage Session view of the APIMatic API Explorer:
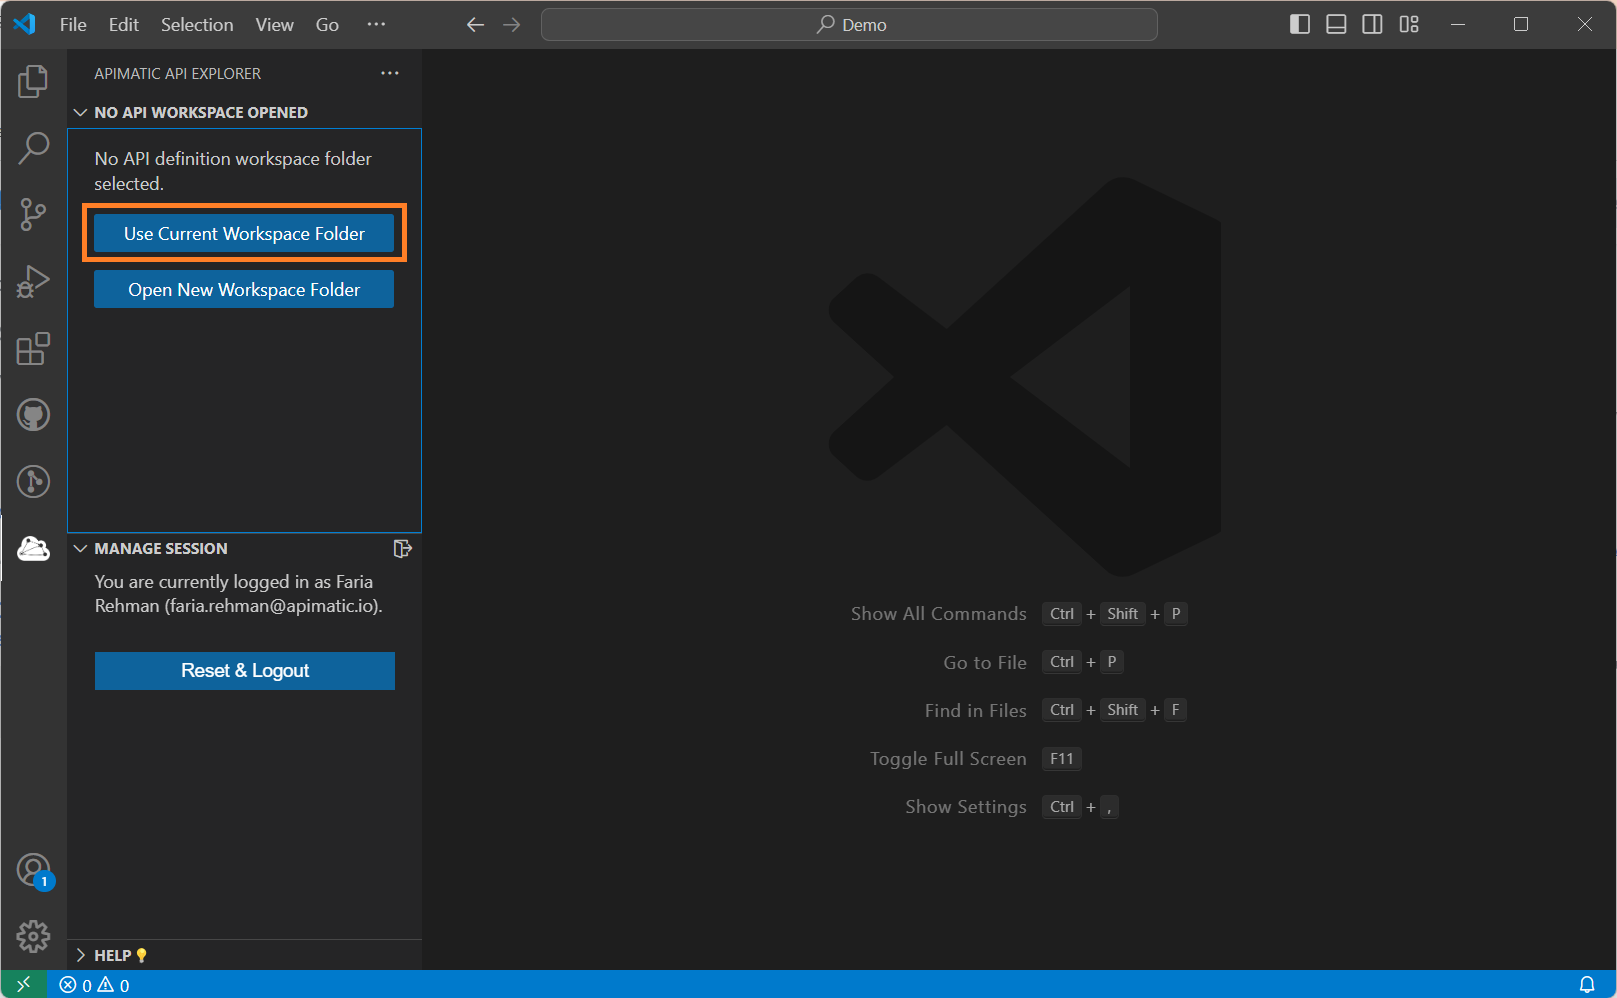
Step 2: Open an API Workspace Folder
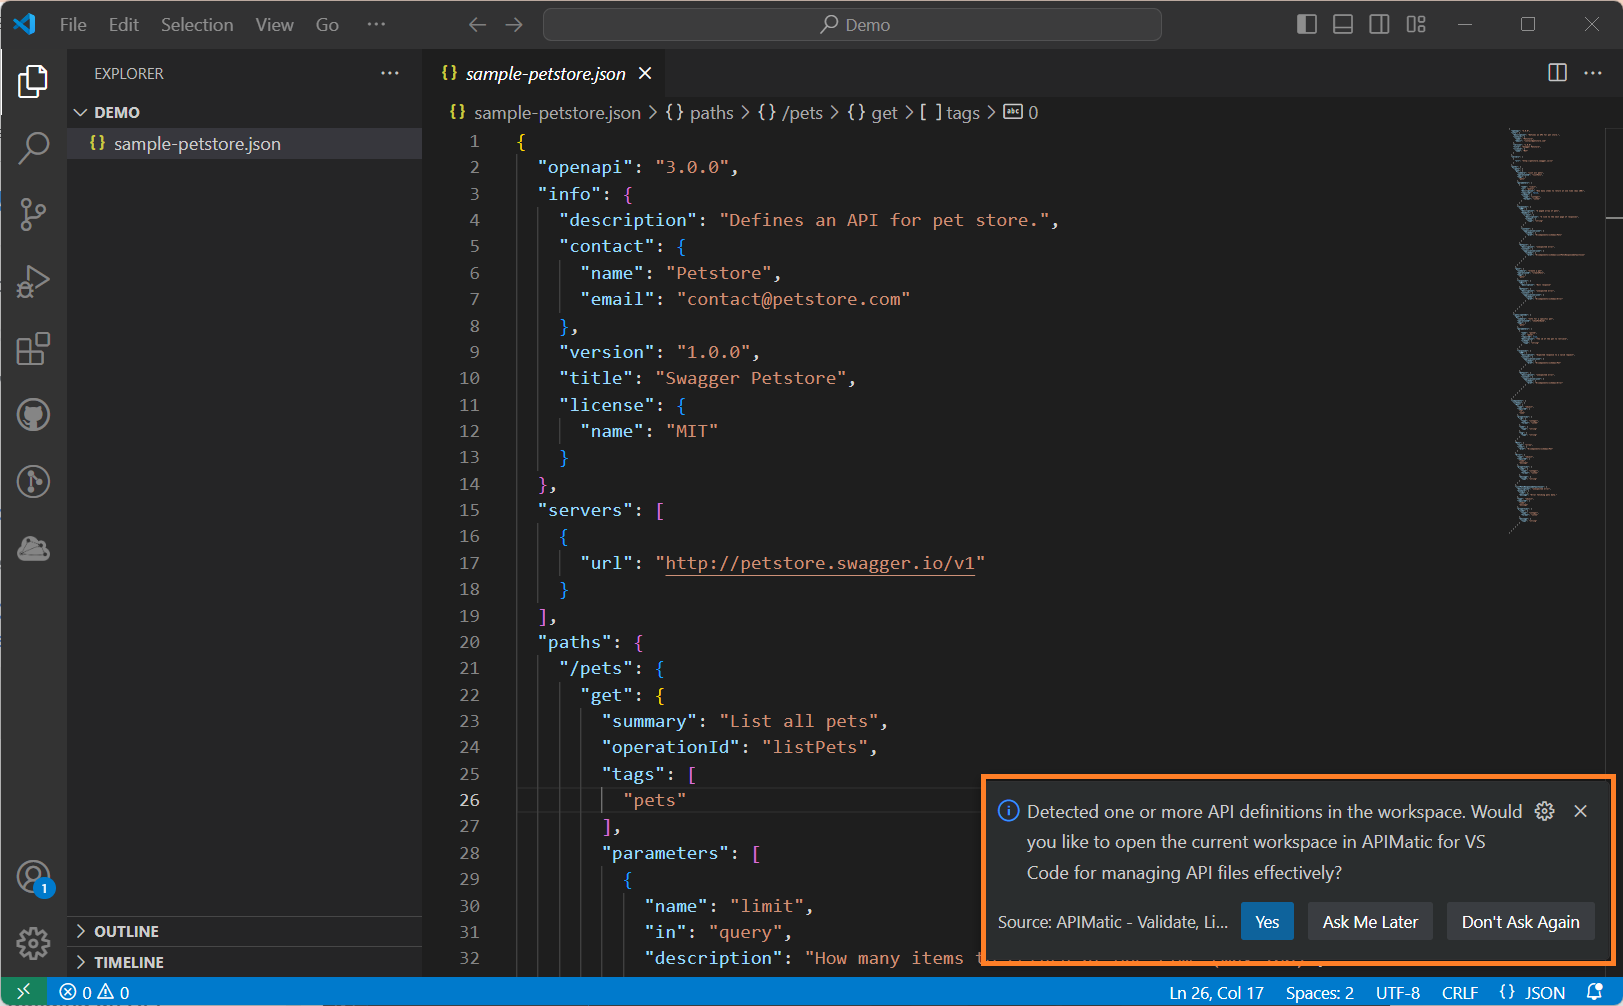
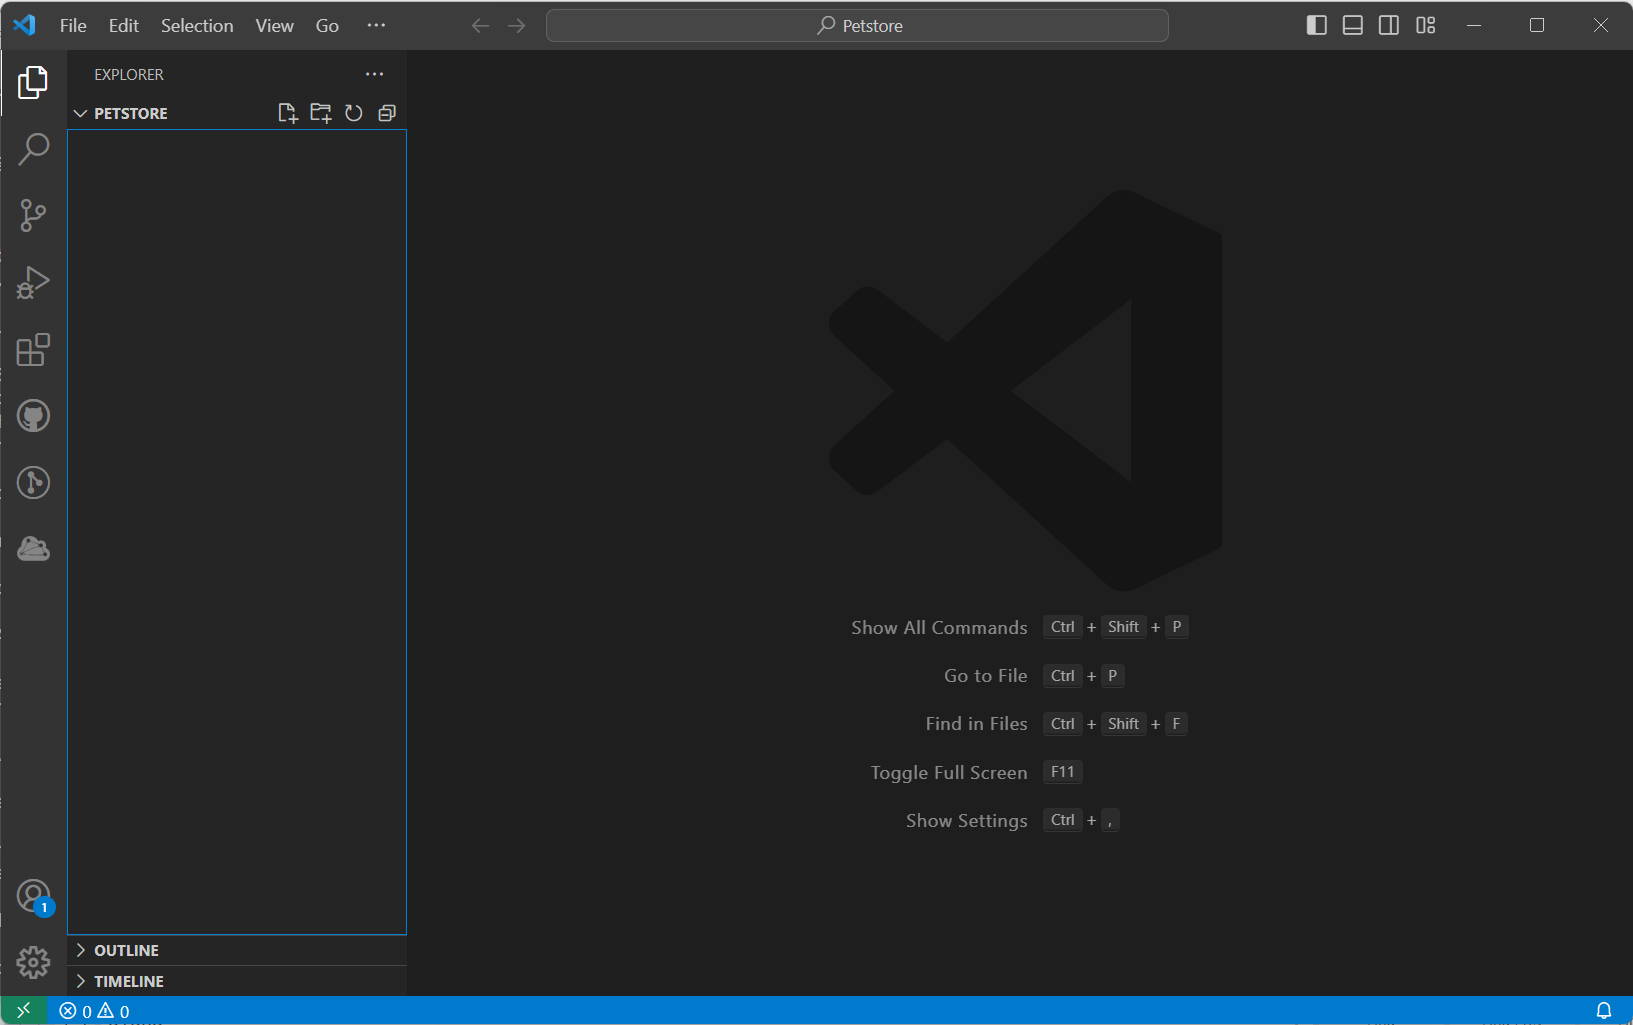
To validate your API definition, you need to have a dedicated workspace folder open in your VS Code where you will work with one or more files associated with the API definition itself. If you already have a folder open that also contains an API definition (for example, OpenAPI), you will receive a notification to open it as an API workspace in the extension. Click Yes to select it as your API workspace:
If you don't have an existing API workspace folder, you can still open it as your API workspace. For this guide, we use an empty workspace folder as shown below:
Navigate to the APIMatic API Explorer view in the Activity Bar and click on Use Current Workspace Folder to select current folder as your API workspace.
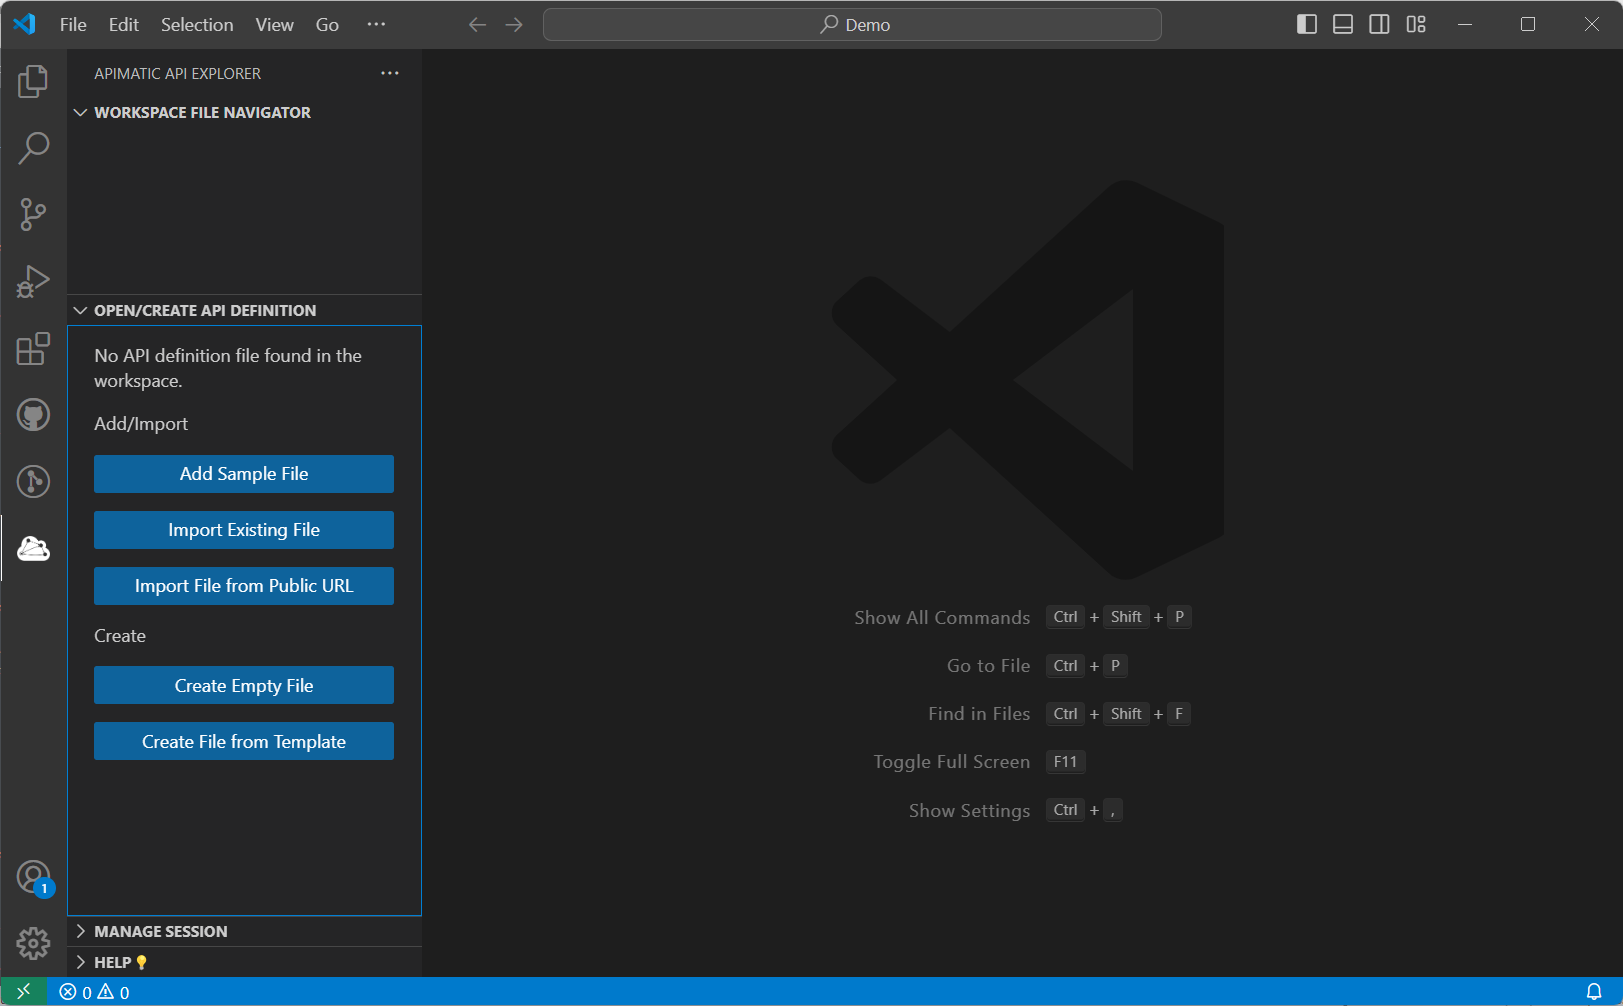
Step 3: Import an API Definition
If your workspace already contains an API definition, its main entry file will be automatically detected and the validation should start automatically. However, for our current example the workspace doesn't contain any API definition, therefore, a welcome view is shown with various options to create/import an API definition.
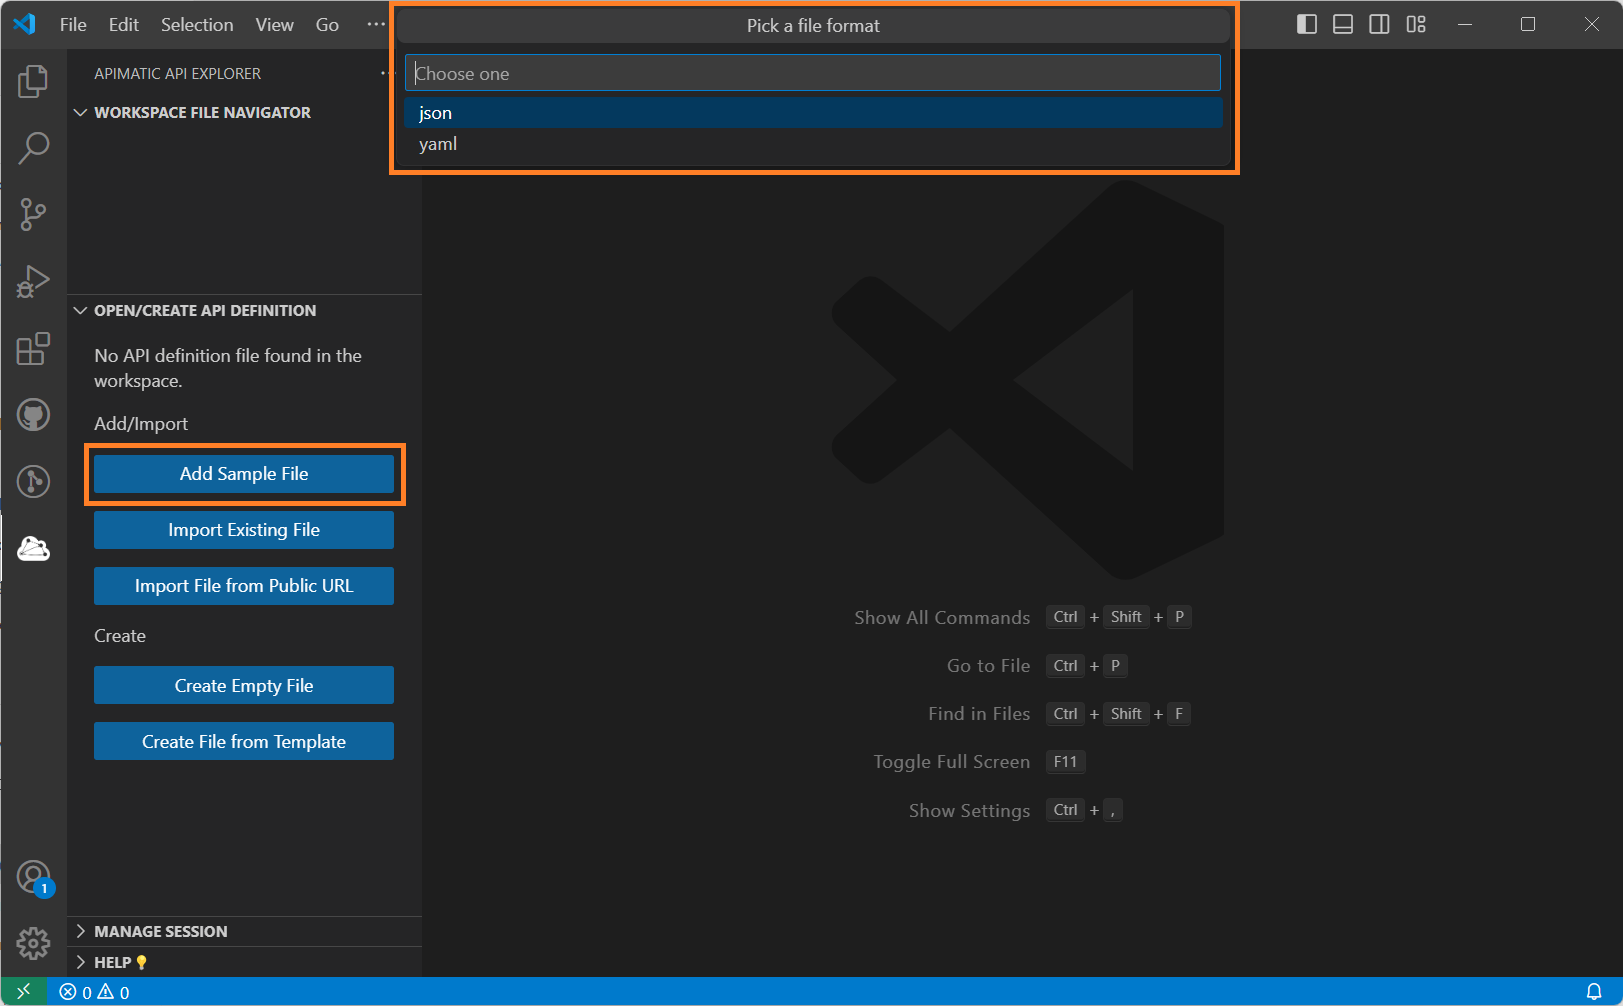
We will import a JSON sample file using the relevant options as shown below:
Step 4: Fix any issues in the API Definition
As soon as an API definition is added to the workspace, it will be automatically validated. You can also manually trigger validation by saving your API definition files.
When the validation completes, the APIMatic API Explorer views, Editor and Problems view will be populated with relevant data to help you tackle all issues.
Once you have resolved all blocker issues, you can export your API definition to your APIMatic Dashboard to start generating an SDK or a Developer Experience Portal.
Capabilities
The VS Code extension offers the following:
- Setting up an API workspace.
- Validating an API workspace.
- Automatically fixing an API workspace.
- Building an API workspace.
- Exporting an API workspace to APIMatic Dashboard.
- Transforming API workspace specification format.