SDK Publishing Tutorial
This feature is in beta state right now. For trial access, you can send us an email at support@apimatic.io.
Follow these steps to configure SDK package publishing:
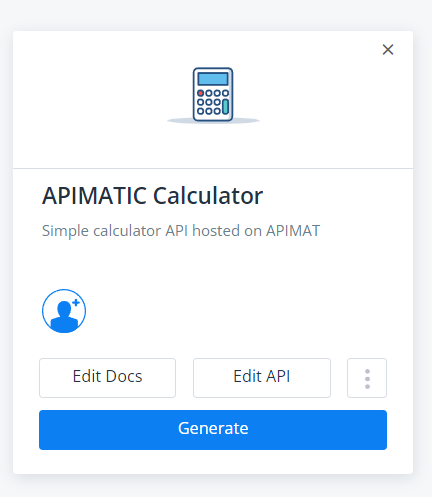
From APIMatic dashboard, navigate to the API for which you want to publish an SDK and click Generate.
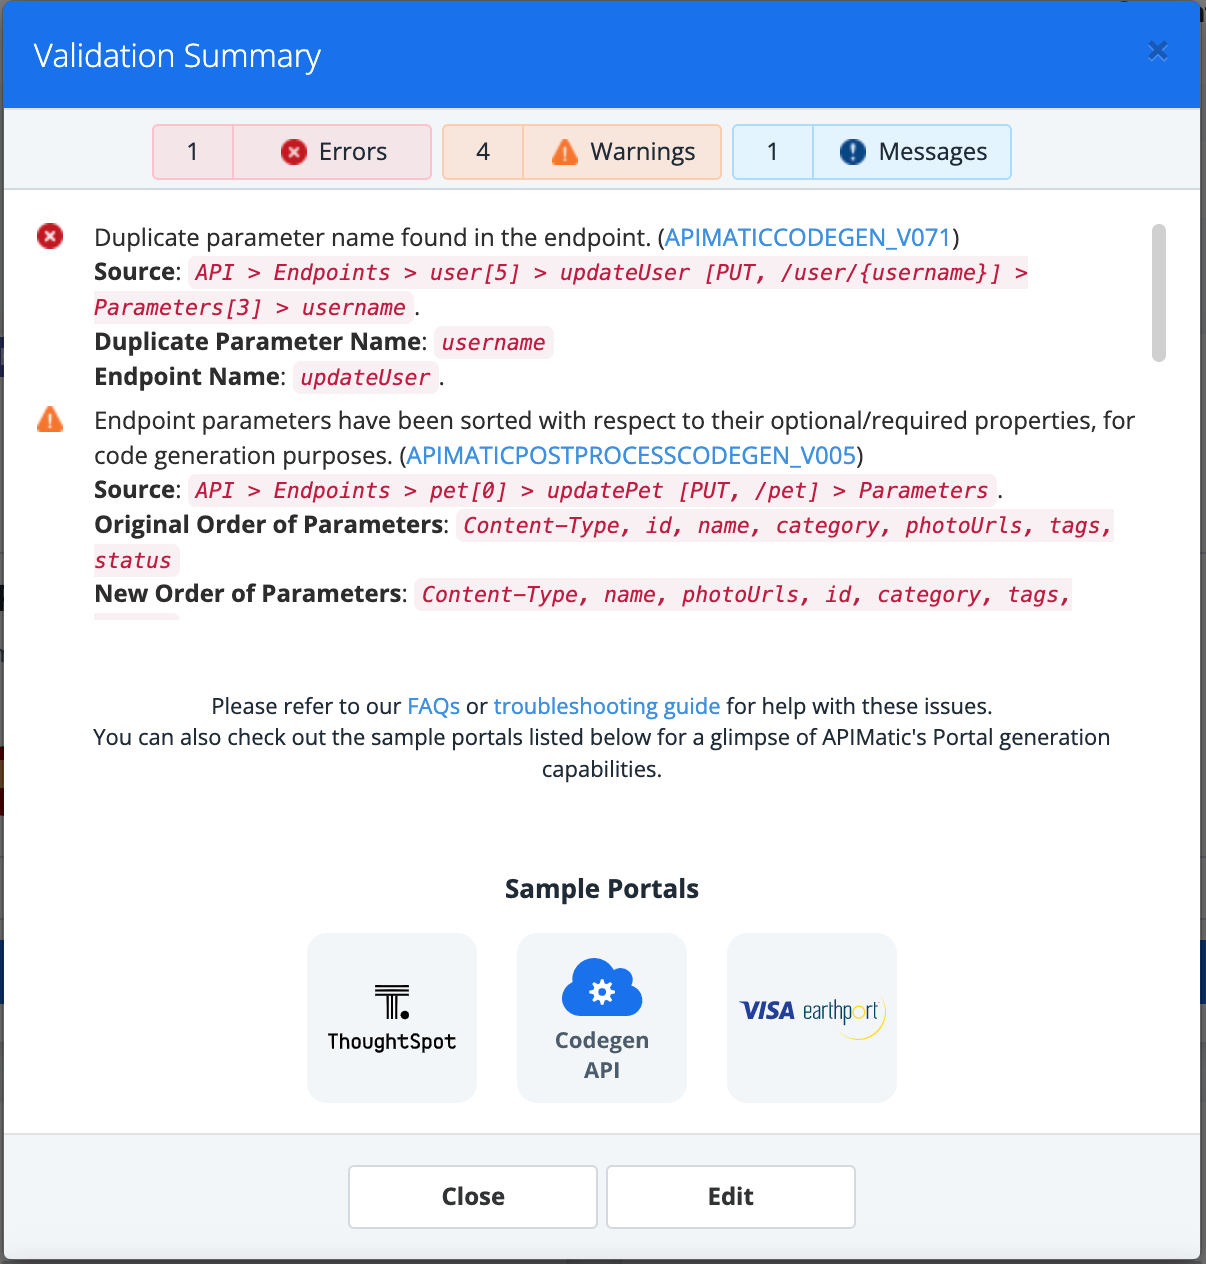
At this point, your API Specification is validated for Syntactic and Semantic correctness and you are provided with a validation summary that lists errors, warnings and informational messages. If any errors are encountered in the API definition, you will be required to fix them before proceeding. You can resolve these errors by editing the API definition via APIMatic’s no-code API editor.
To access the API Editor, click the Edit button. For a detailed look at how the API Editor can be used to modify your API definition, refer to APIMatic’s documentation. If you have trouble fixing validation errors and would like some guidance, drop us an email at support@apimatic.io.
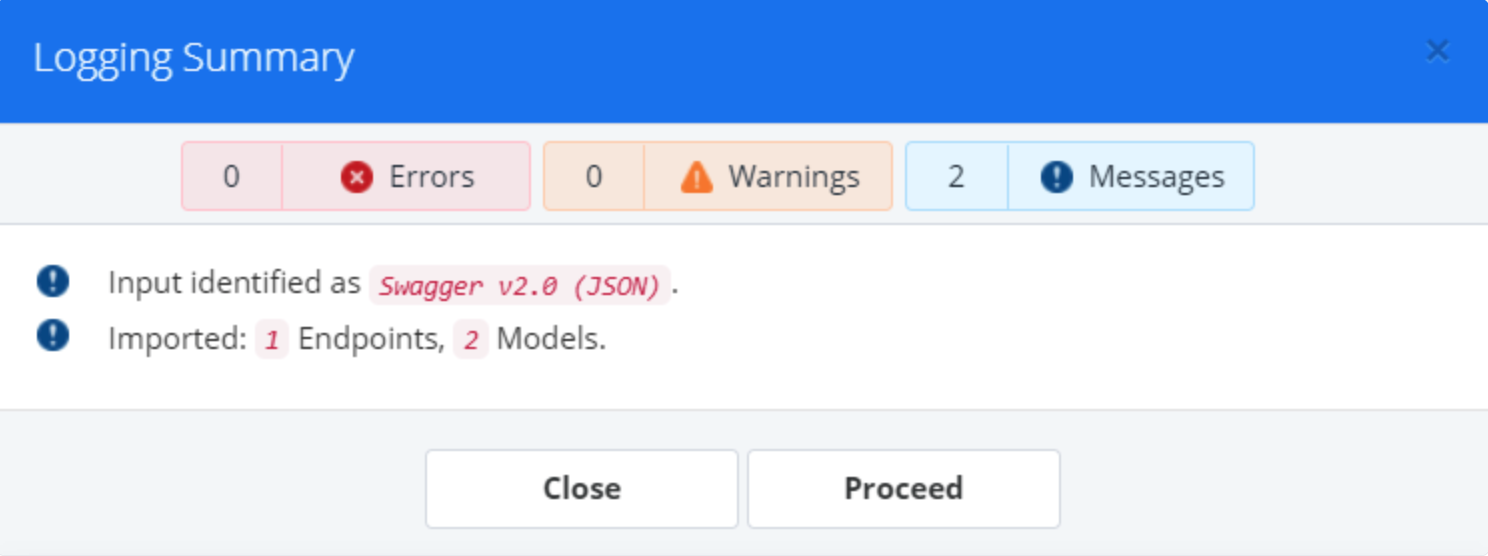
If there are no errors, you can click Proceed to move to the next step.
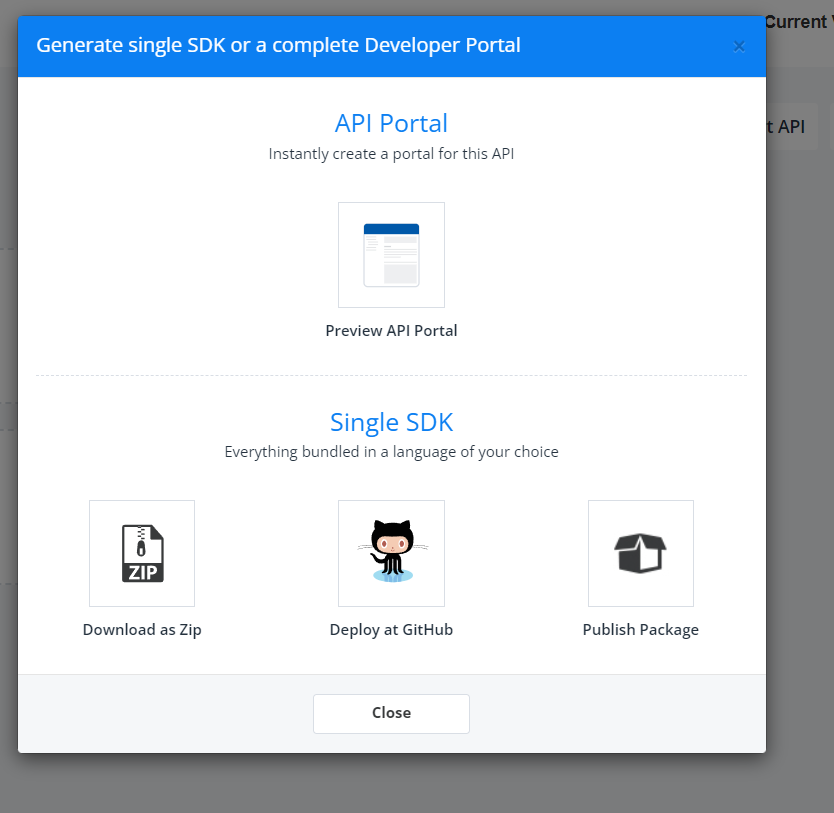
On the Generate popup, click Publish Package. This should take you to a wizard that will walk you through the process of publishing SDKs for your API.
Configure SDK Deployment Settings
The following information needs to be provided to publish SDKs:
Credentials required to publish a package to a package registry or to GitHub. The Package Registry Credentials must have the required permissions to create and update packages. GitHub credentials must have permission to create and update repositories.
Package Configurations that include metadata such as the name of the package, a brief description of what it does, its Authors etc.
APIMatic aggregates this information into an entity called a Publishing Profile.
Create Reusable Configurations for Testing and Release SDK Versions
You may want to do a test run before you announce your SDK release to the world. This could involve publishing your package under a different name, under a different organization or using a test account.
Publishing Profiles allow you to do this by creating reusable configurations for test and release versions of your SDKs.
This makes release management very convenient; from your list of saved configurations, simply select the correct configurations depending on whether you want to publish a test or release version of your SDK and hit Publish.
Create a Publishing Profile
Follow the steps listed below to create a Publishing Profile:
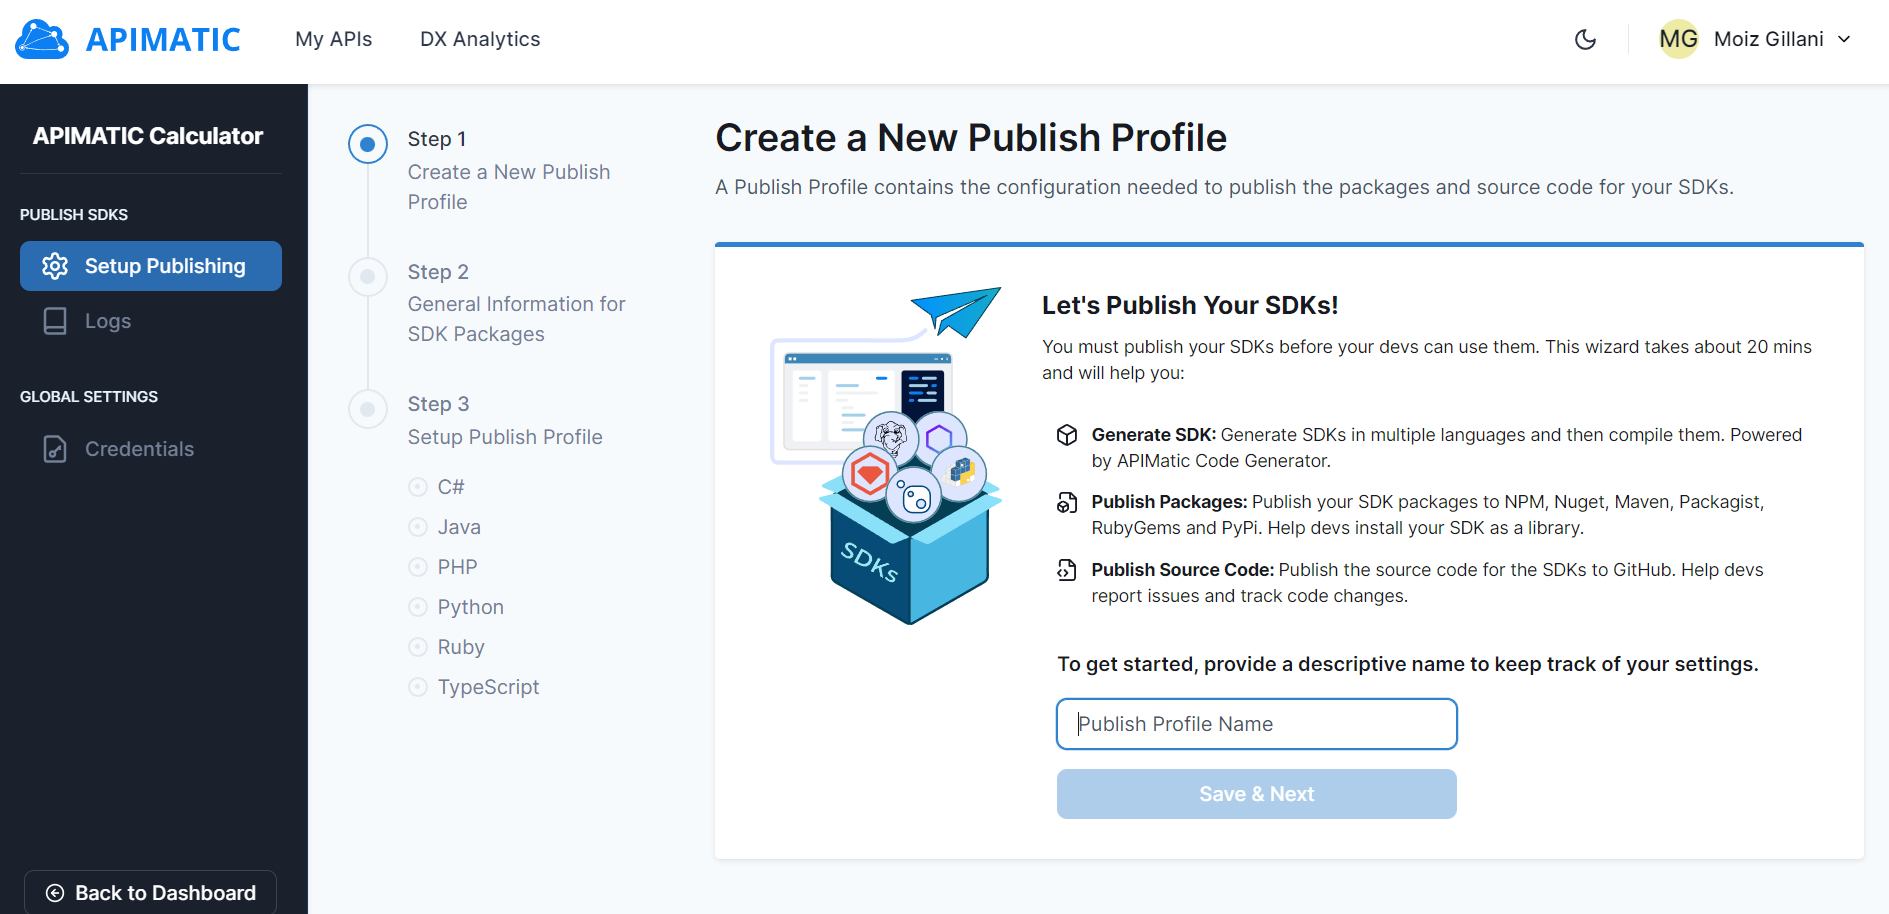
Provide a descriptive name for your Publishing Profile and click Save & Next.
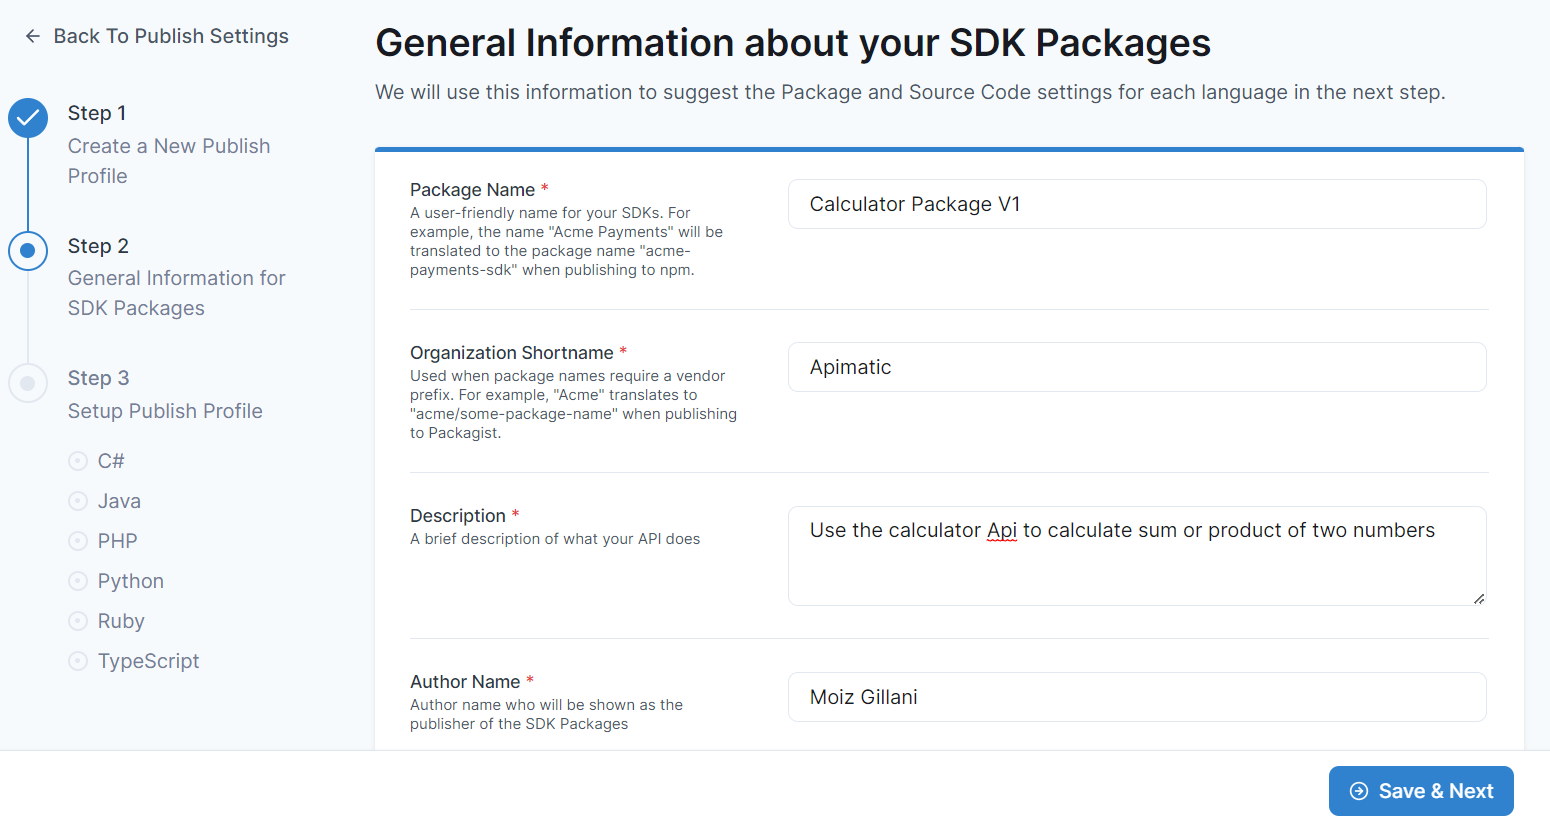
Provide General Information about your SDK Packages and click Save & Next. The information you provide here will be used to pre-populate metadata about each programming language you want to publish SDKs for.
Review and update Package Settings and Source Code Settings for each language. You can skip any languages that you do not want to include; you will be able to set these up later. Some fields will be prefilled based on the General Information you provided in the previous step. You will also need to provide credentials for Package Registries and GitHub so APIMatic can publish your SDKs to them. More on Credentials in the next section.
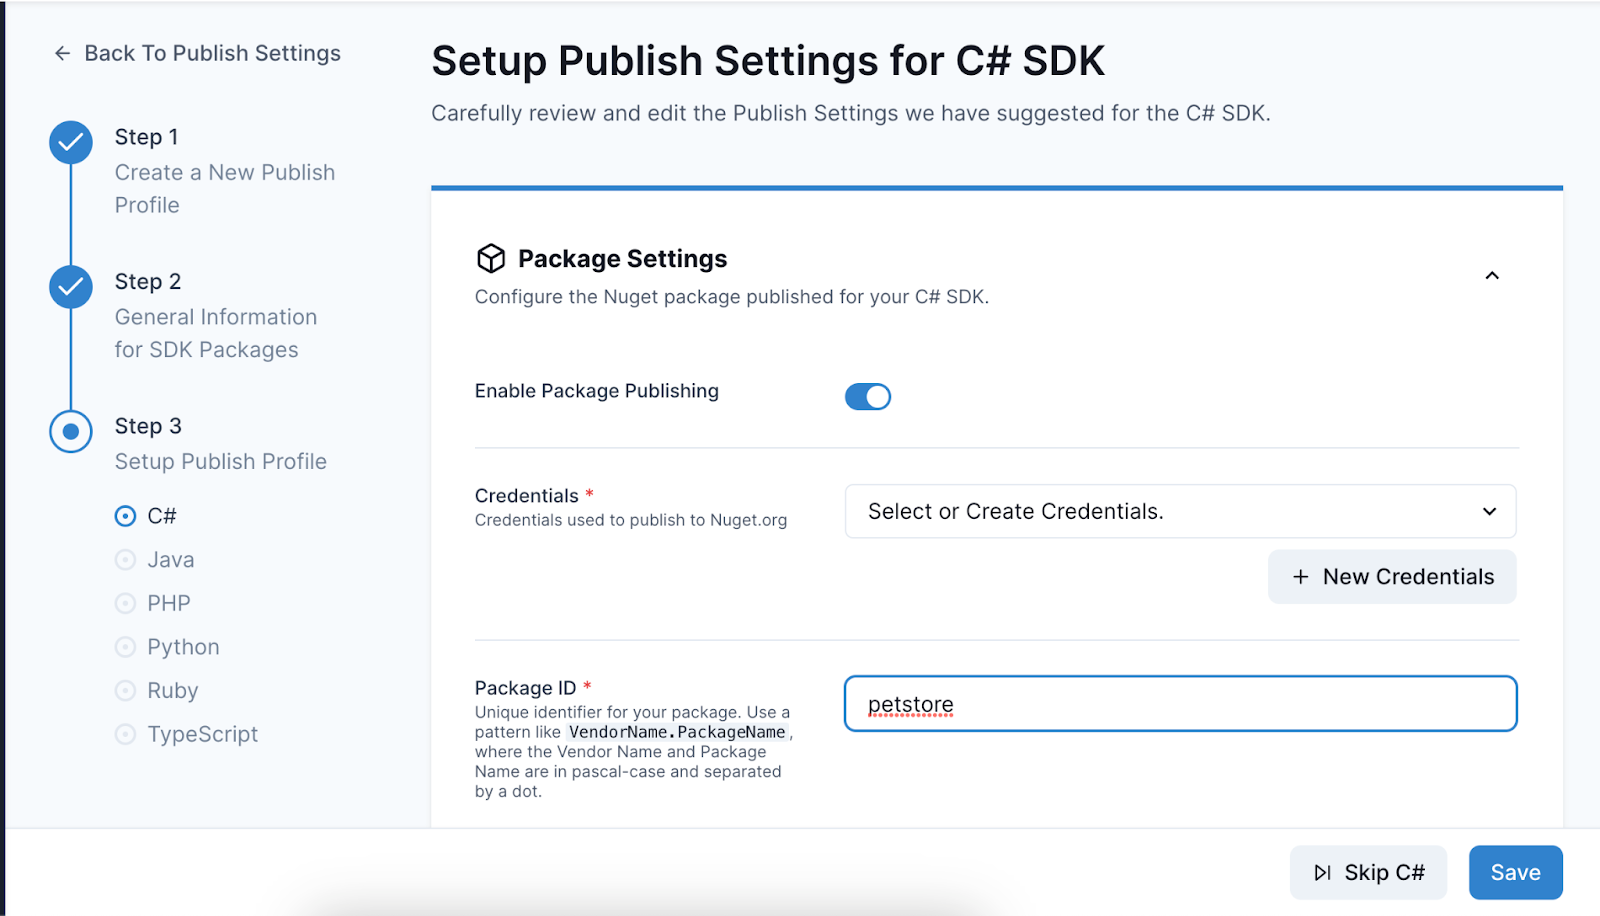
Click on Save to save these configurations.
Manage Integrations with Package Registries
APIMatic integrates with popular Package Registries and GitHub so users can publish SDKs conveniently. Each platform requires a distinct set of Credentials for Authentication and Authorization, this typically includes usernames and API Keys. You can create different sets of credentials for each platform, enabling you to publish the same SDKs via different accounts (for testing or release) by choosing the appropriate credentials. Once created, credentials can be reused across the platform to publish all your SDKs.
Create Credentials
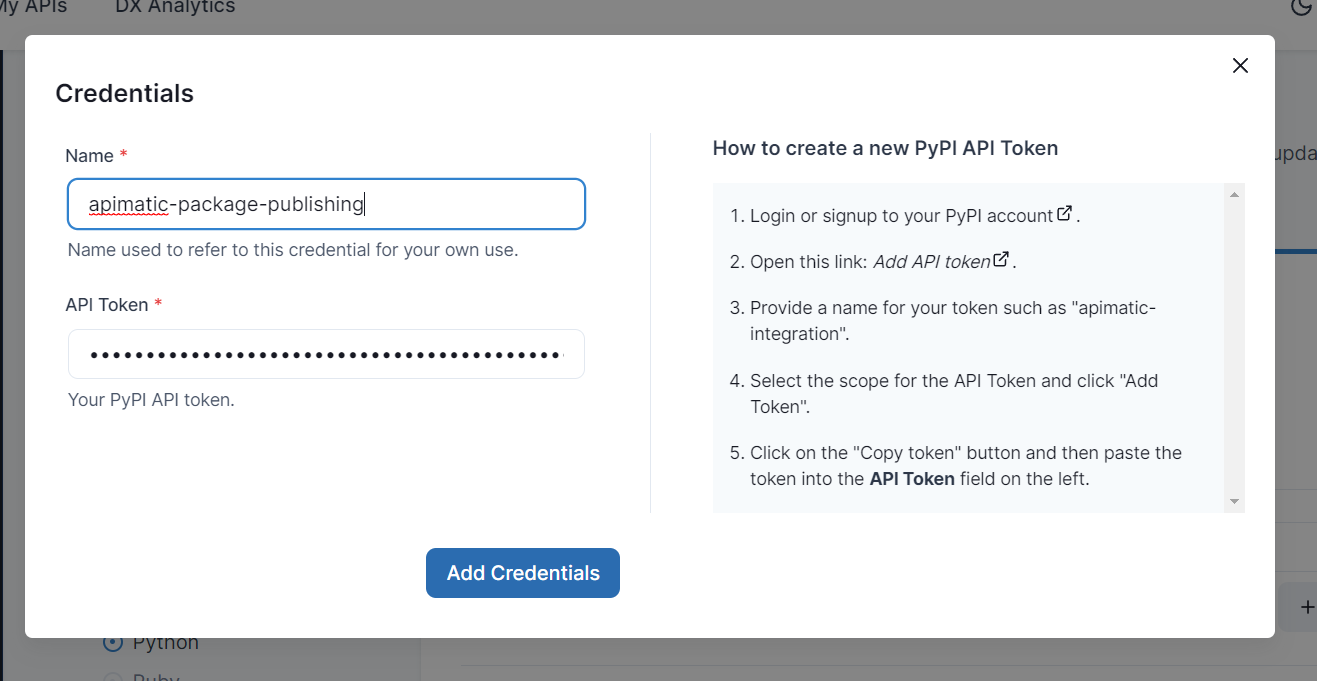
To create Credentials, navigate to the Credentials menu item from the sidebar.

Click on + Add Credential button and follow the provided instructions to create the required credentials for your desired platform.
Publish SDK Packages
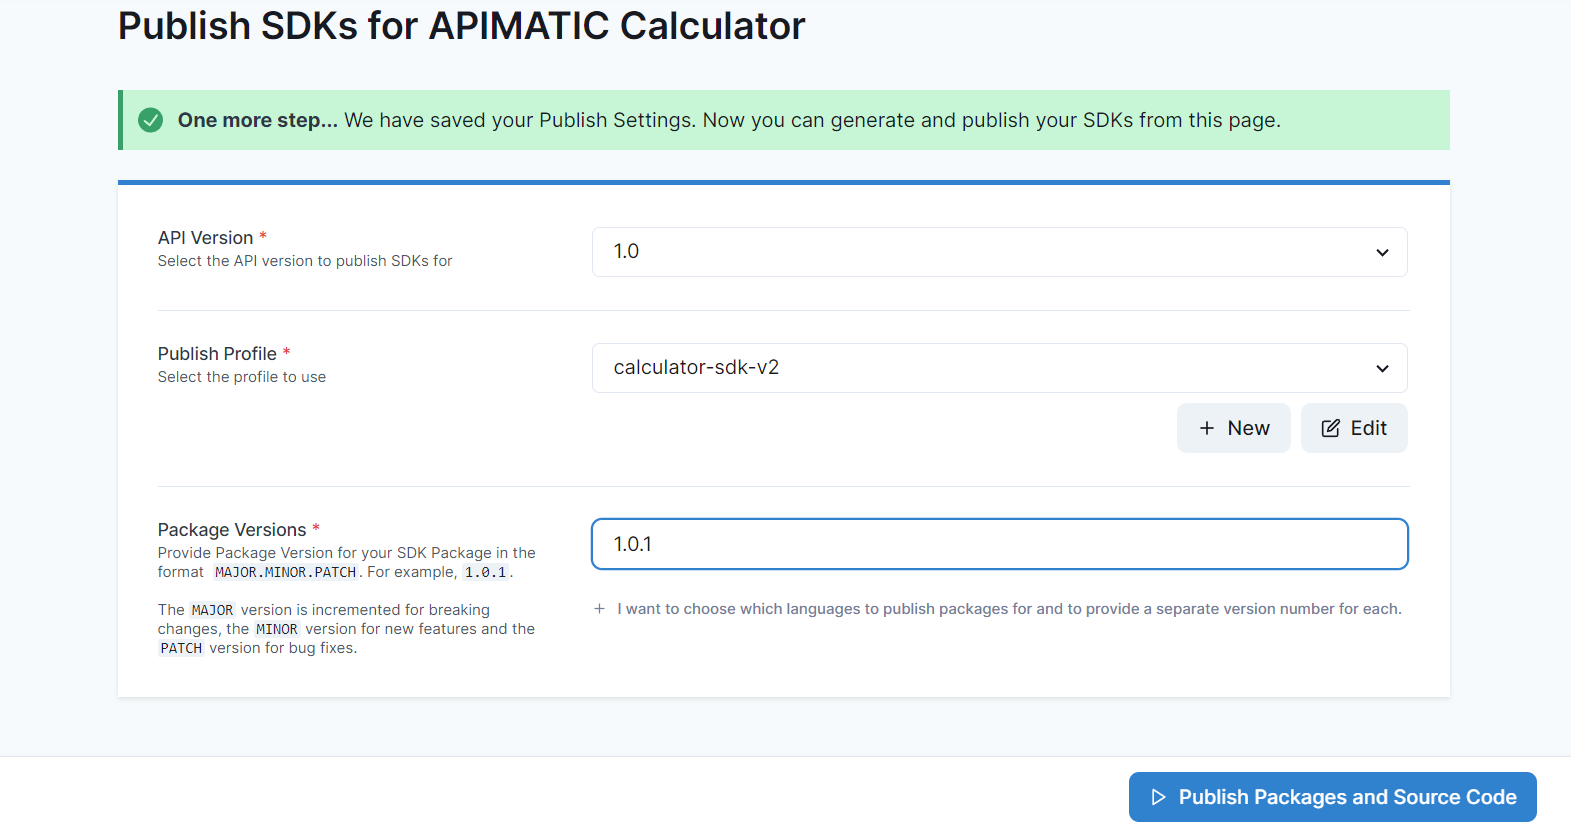
After providing all the Package settings, you are ready to Publish your SDKs.
Select a Publishing Profile to use for publishing the SDKs. If you just set up a Profile, it will be pre-selected for you. Next, provide a Package Version for your SDK Package that follows the semantic version format MAJOR.MINOR.PATCH e.g. 1.0.1. You can either provide a single version for all SDK Packages or a separate version for each. After providing Package Versions, click on Publish Packages and Source Code to initiate the Publishing process.
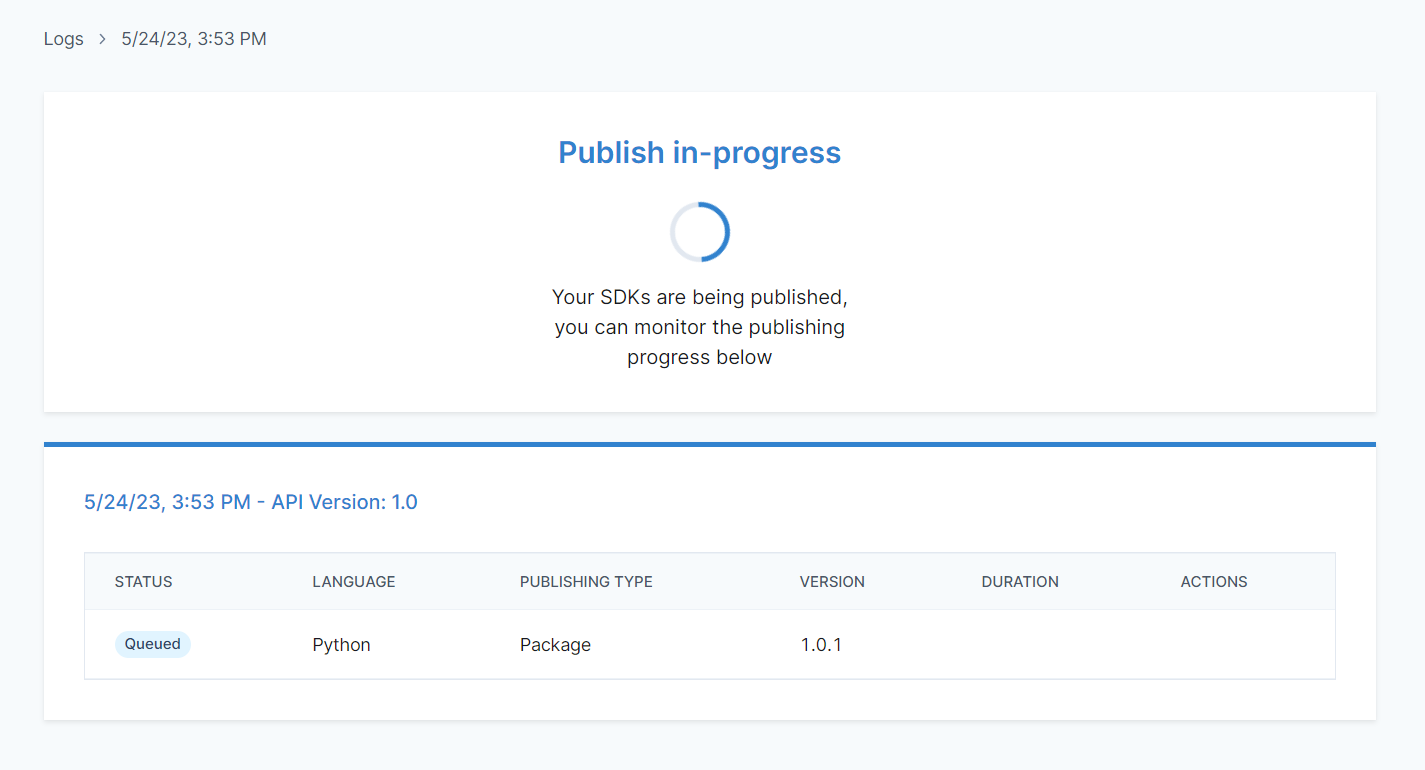
Publishing can take a few minutes. You can track the publishing status of each individual SDK while it is being published. The status is updated dynamically as publishing progresses.
After Publishing completes, the status of all initiated publishing attempts will be updated to reflect either success or failure.
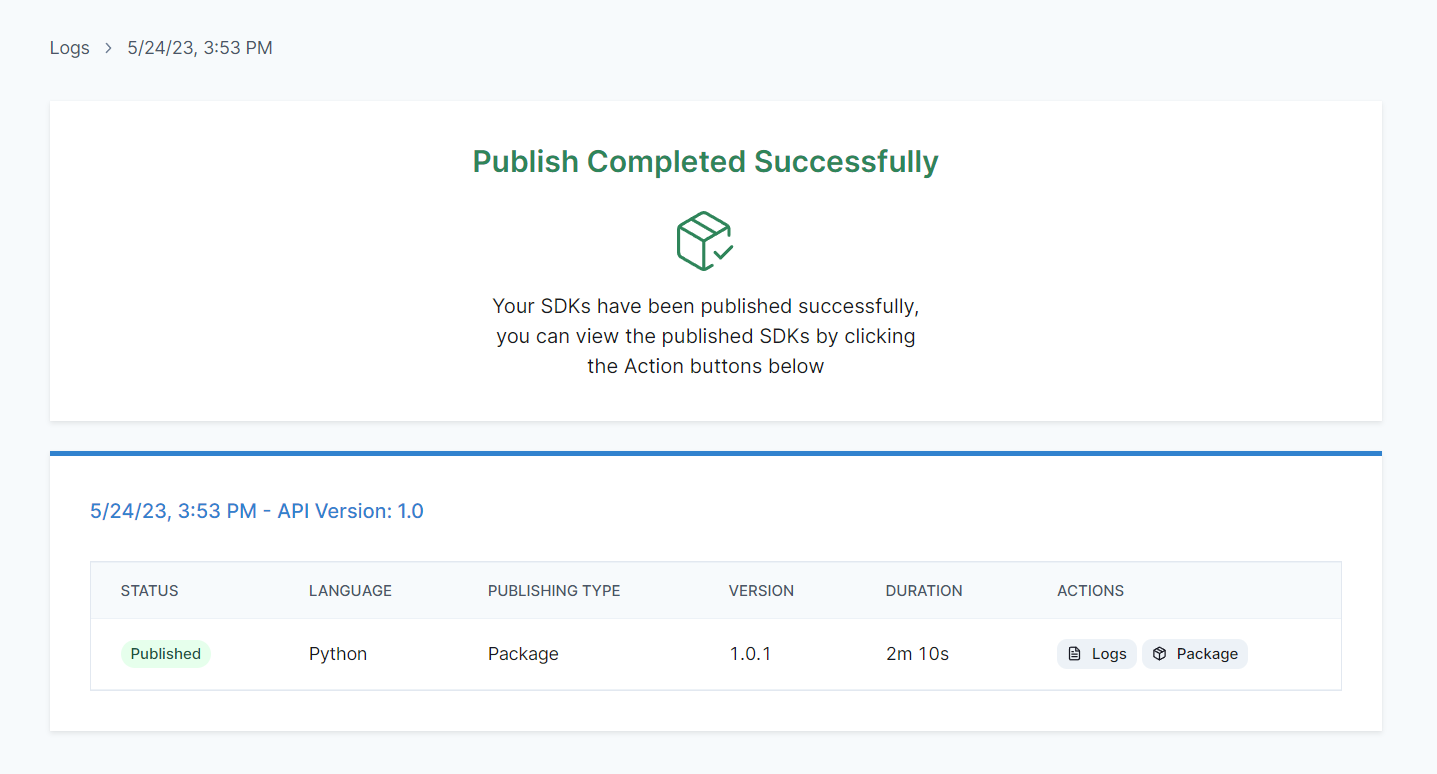
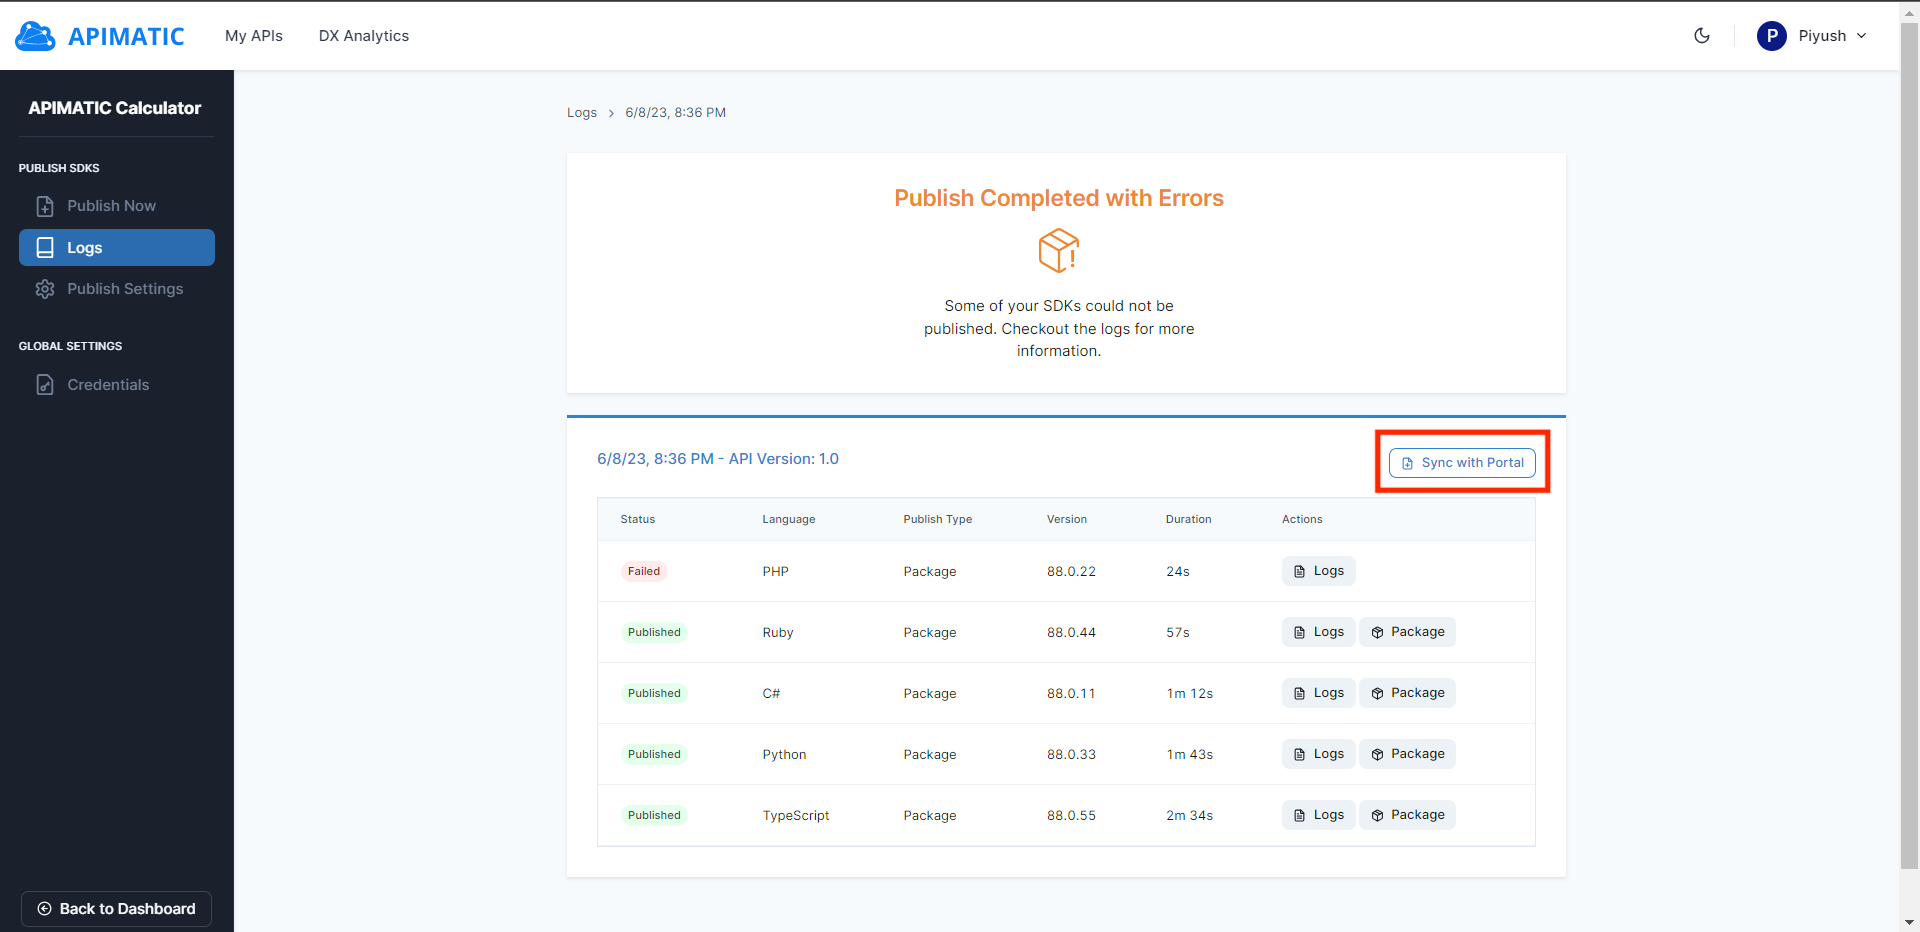
If SDK Publishing is successful, you will be able to see the published Package on the relevant Package Registry by clicking the Package button in the Actions column. The Actions column also contains a Logs button which will allow you to view the Publishing Logs listing the commands that were executed to Publish your SDKs along with their output.
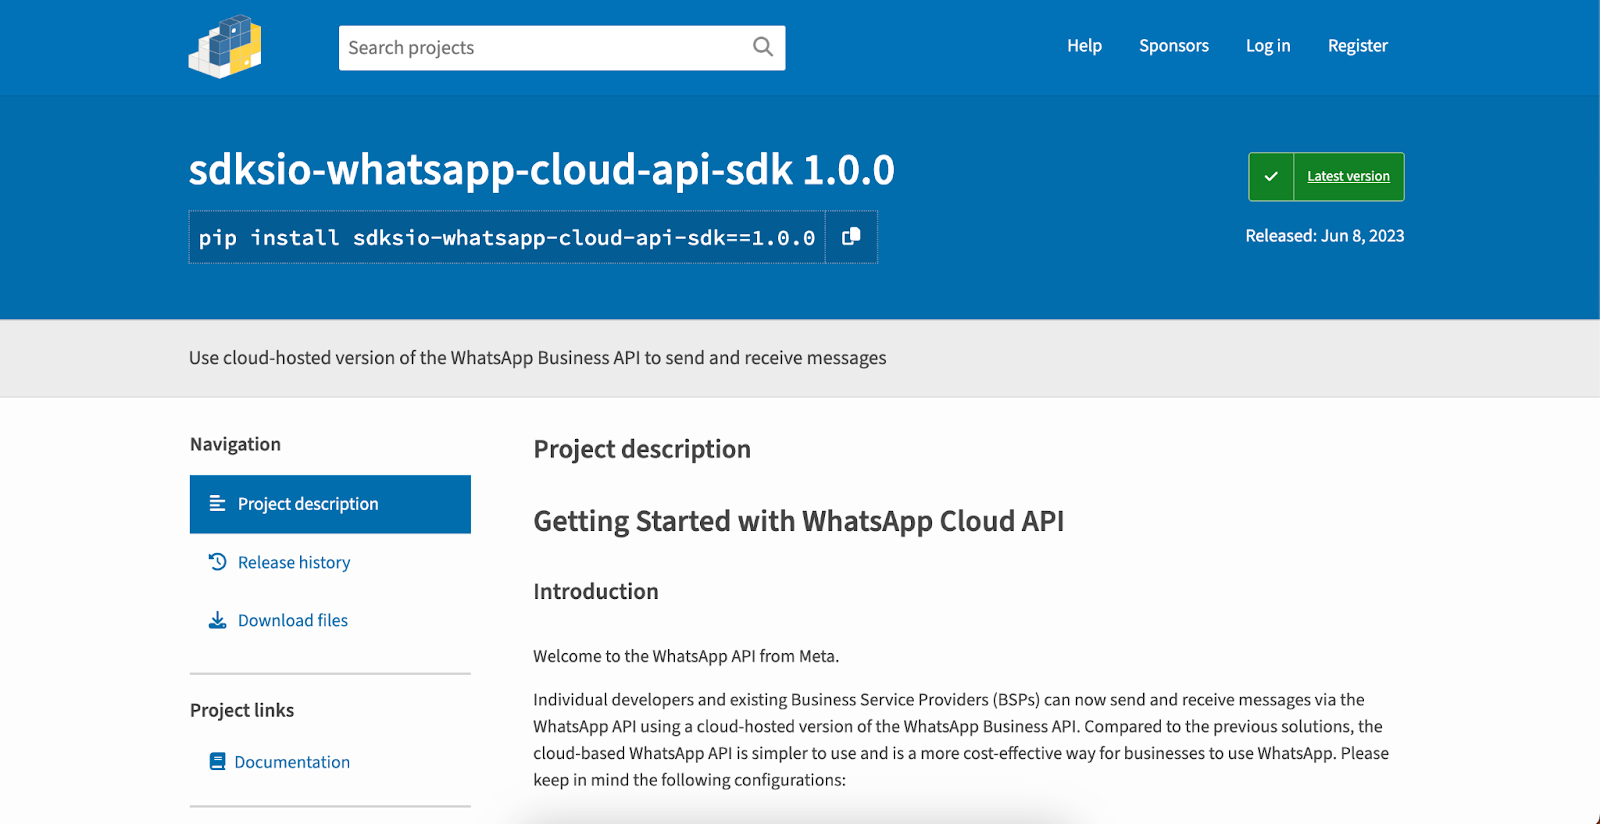
Add Published SDKs to API Documentation Portal
Published SDKs can be added to your API Documentation Portal so developers can discover and use them. You can add successfully published SDKs to your Portal by clicking the Sync with Portal button on the Logs screen. This will add all the successfully published versions included in a particular Publishing run to your Portal.
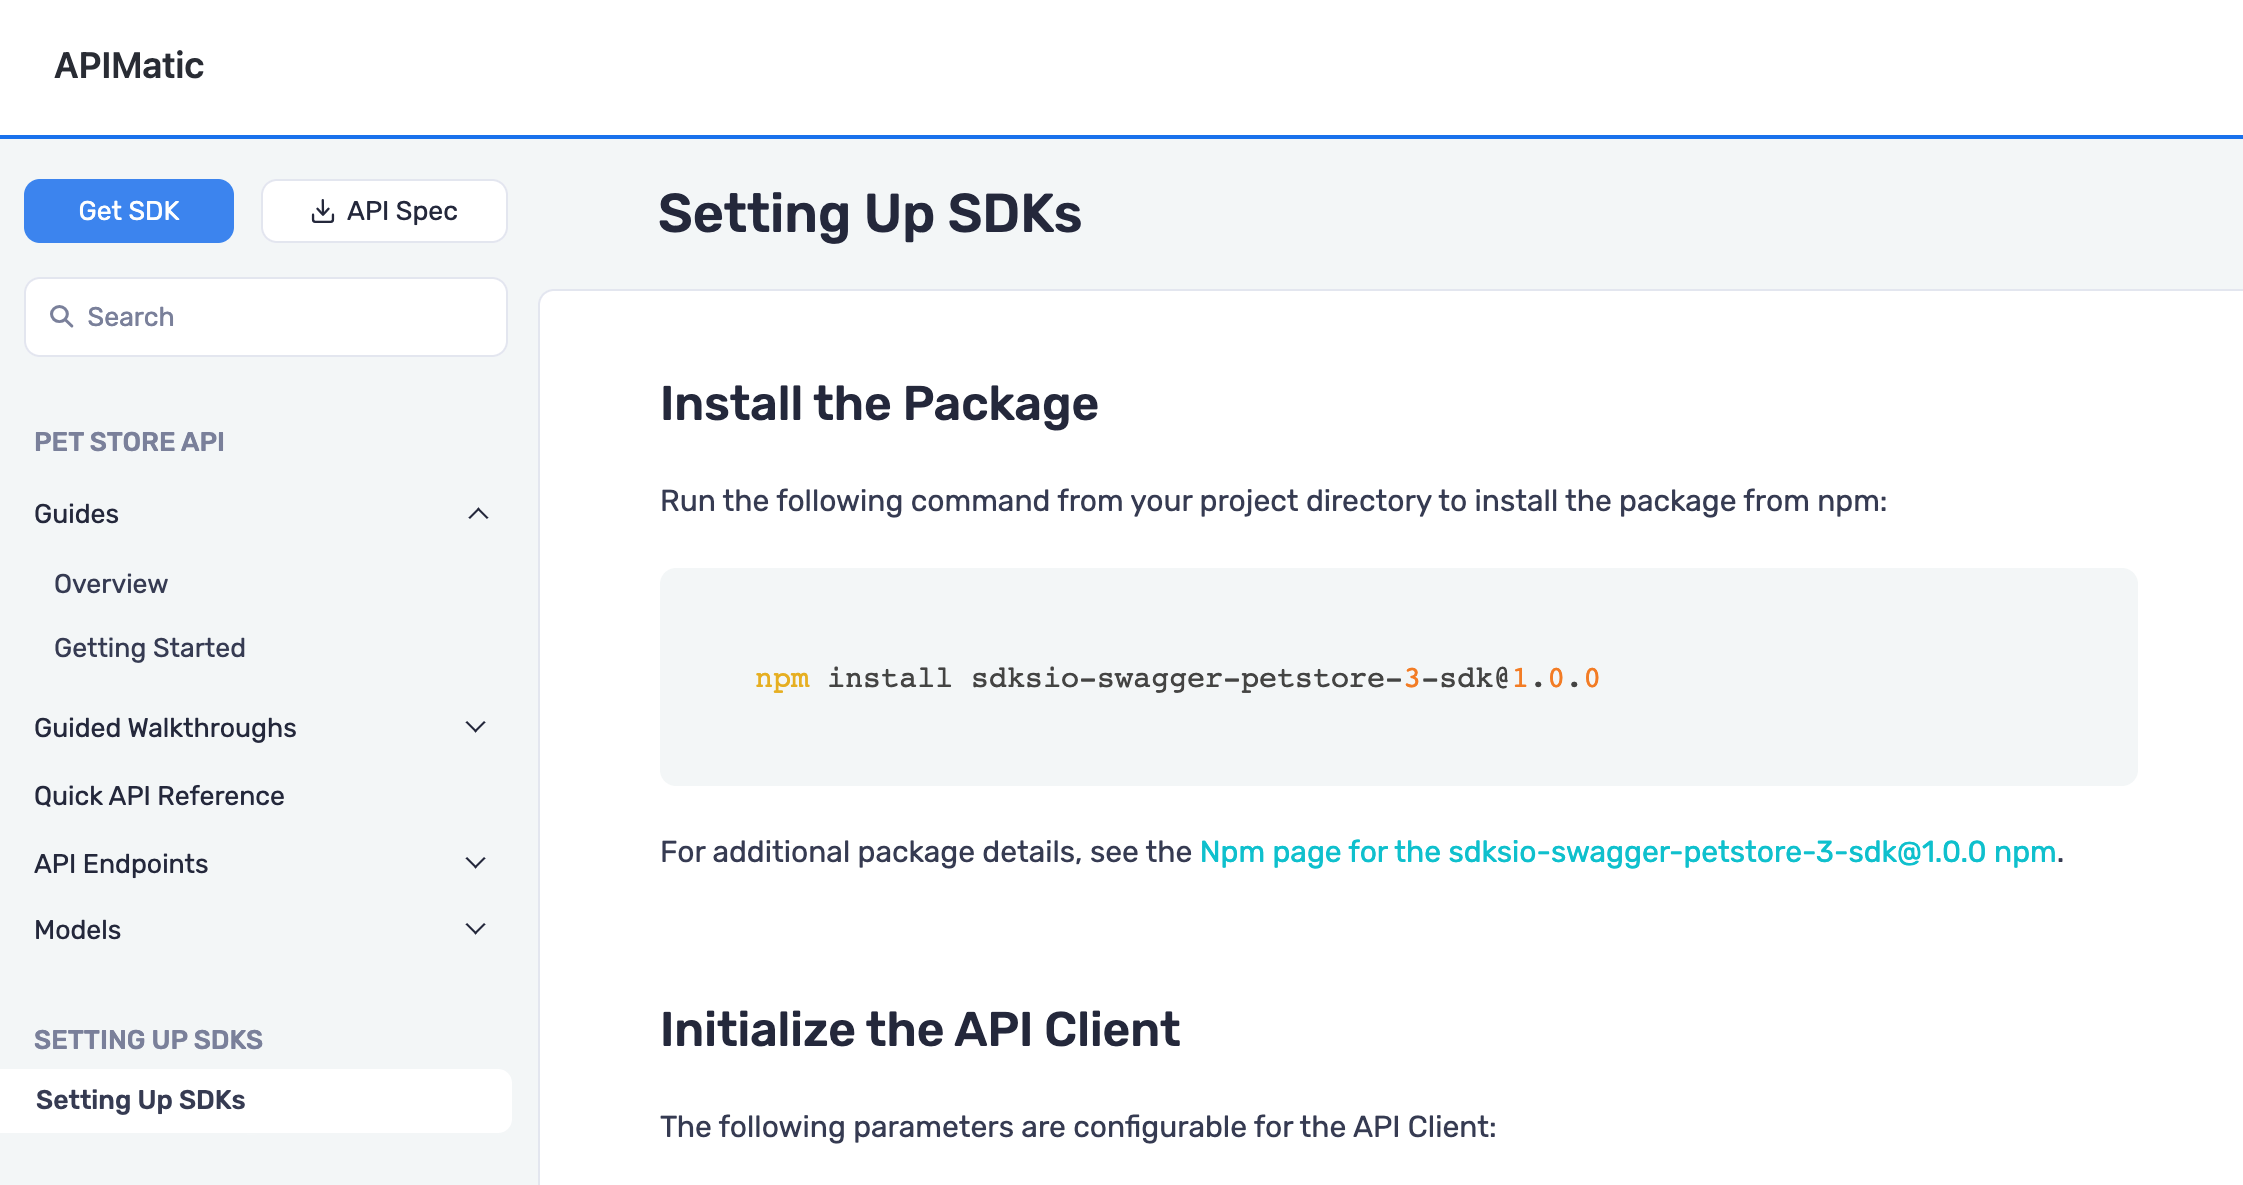
Once SDK Package information is added to your API Documentation Portal, APIMatic will insert Package installation commands into your auto-generated Getting-Started guides. as seen in this Portal.
