Consume SDK via Project Reference
Follow the steps mentioned below to use SDK as a project reference.
- C#
- Java
- Python
- Ruby
- PHP
- TypeScript
- Go
Installation:
The following section explains how to use a C# client library in a new project.
This section explains how to consume an SDK in Visual Studio 2022.
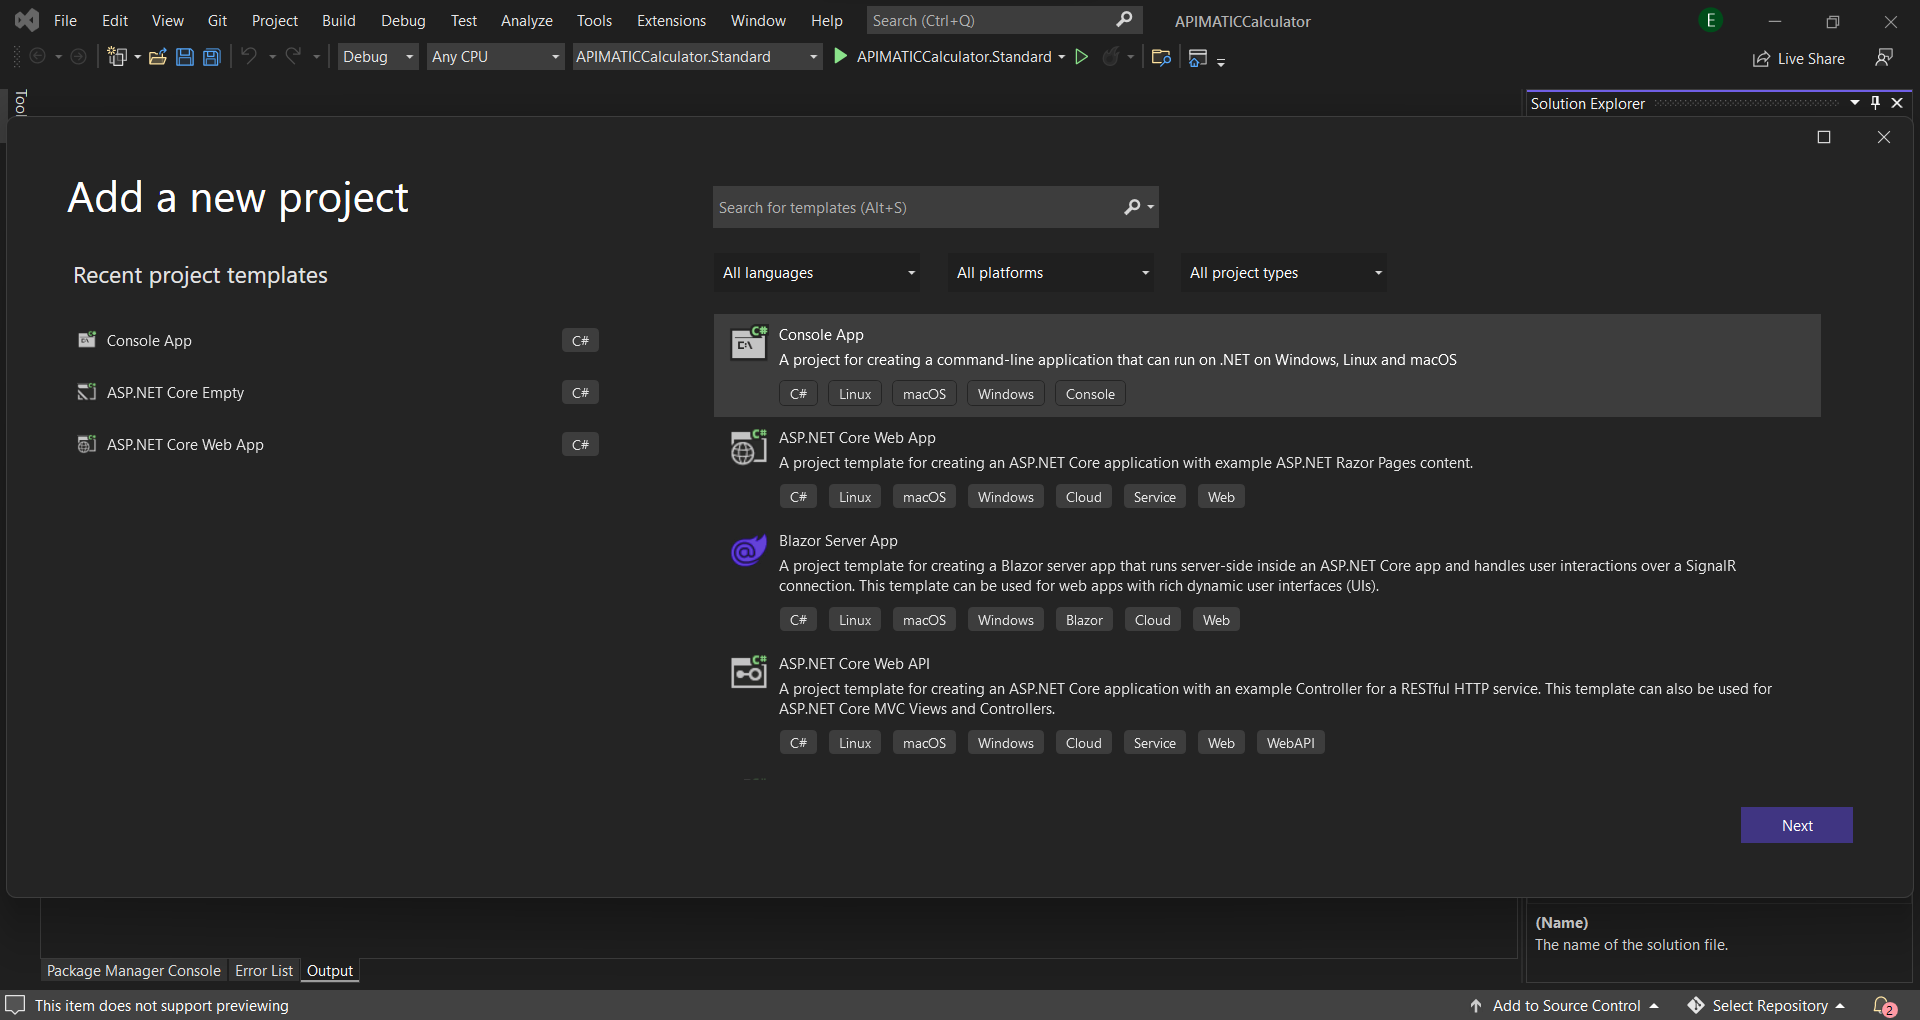
To start a new project, right click on the current solution from the solution explorer and choose Add -> New Project.

Next, choose Console Application.
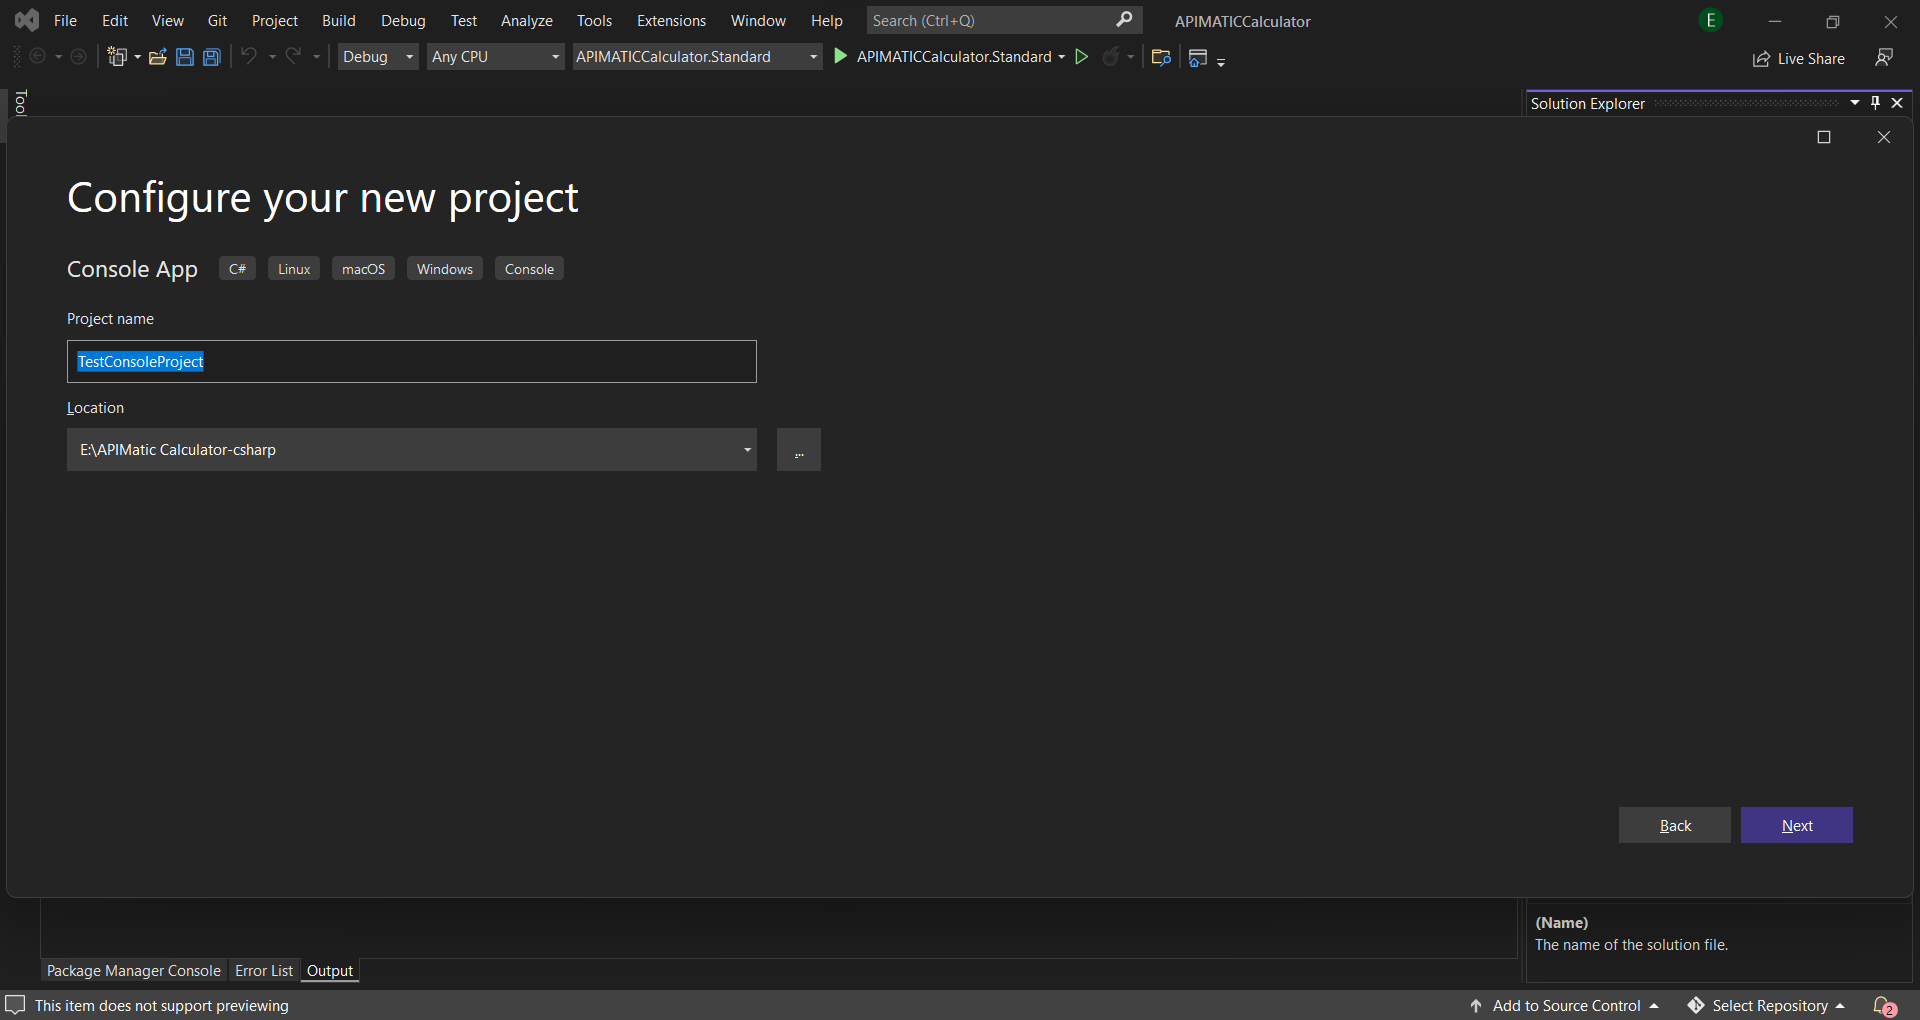
Provide TestConsoleProject as the project name and click on the Next button.
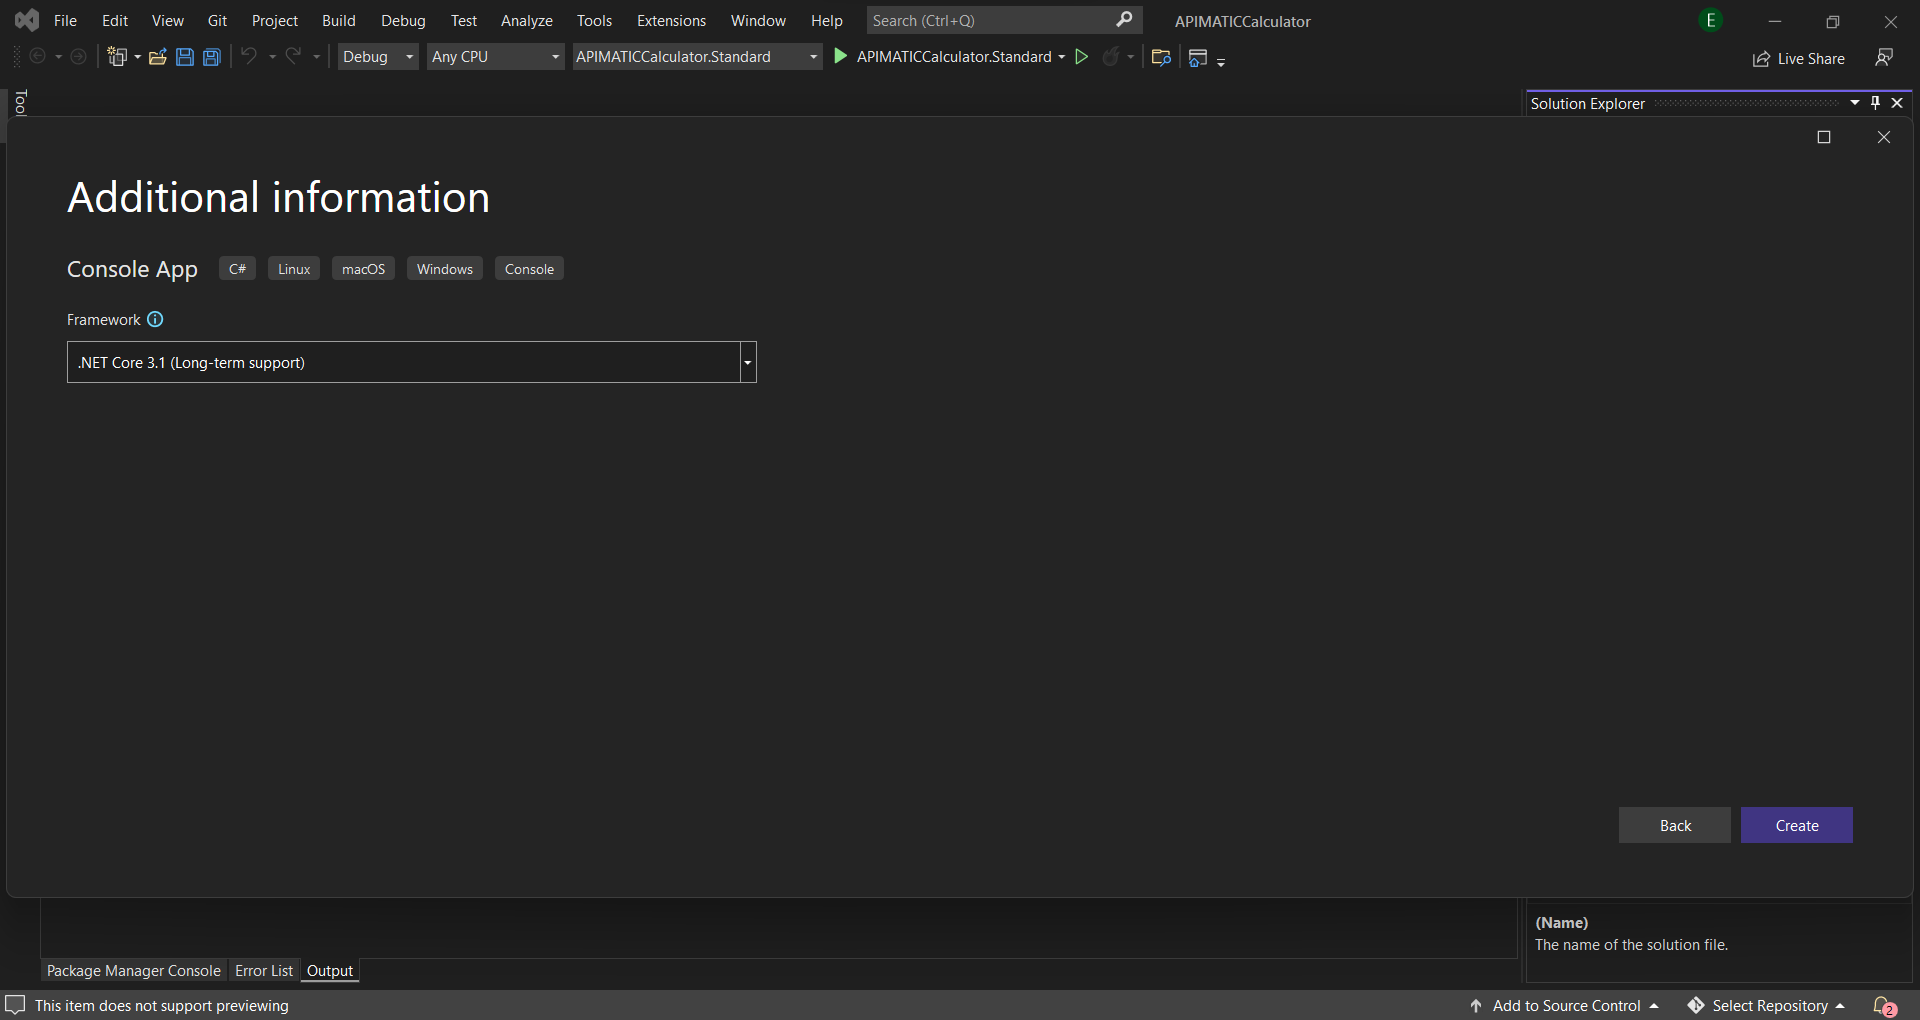
Select the target framework for your console application and click on the Create button.
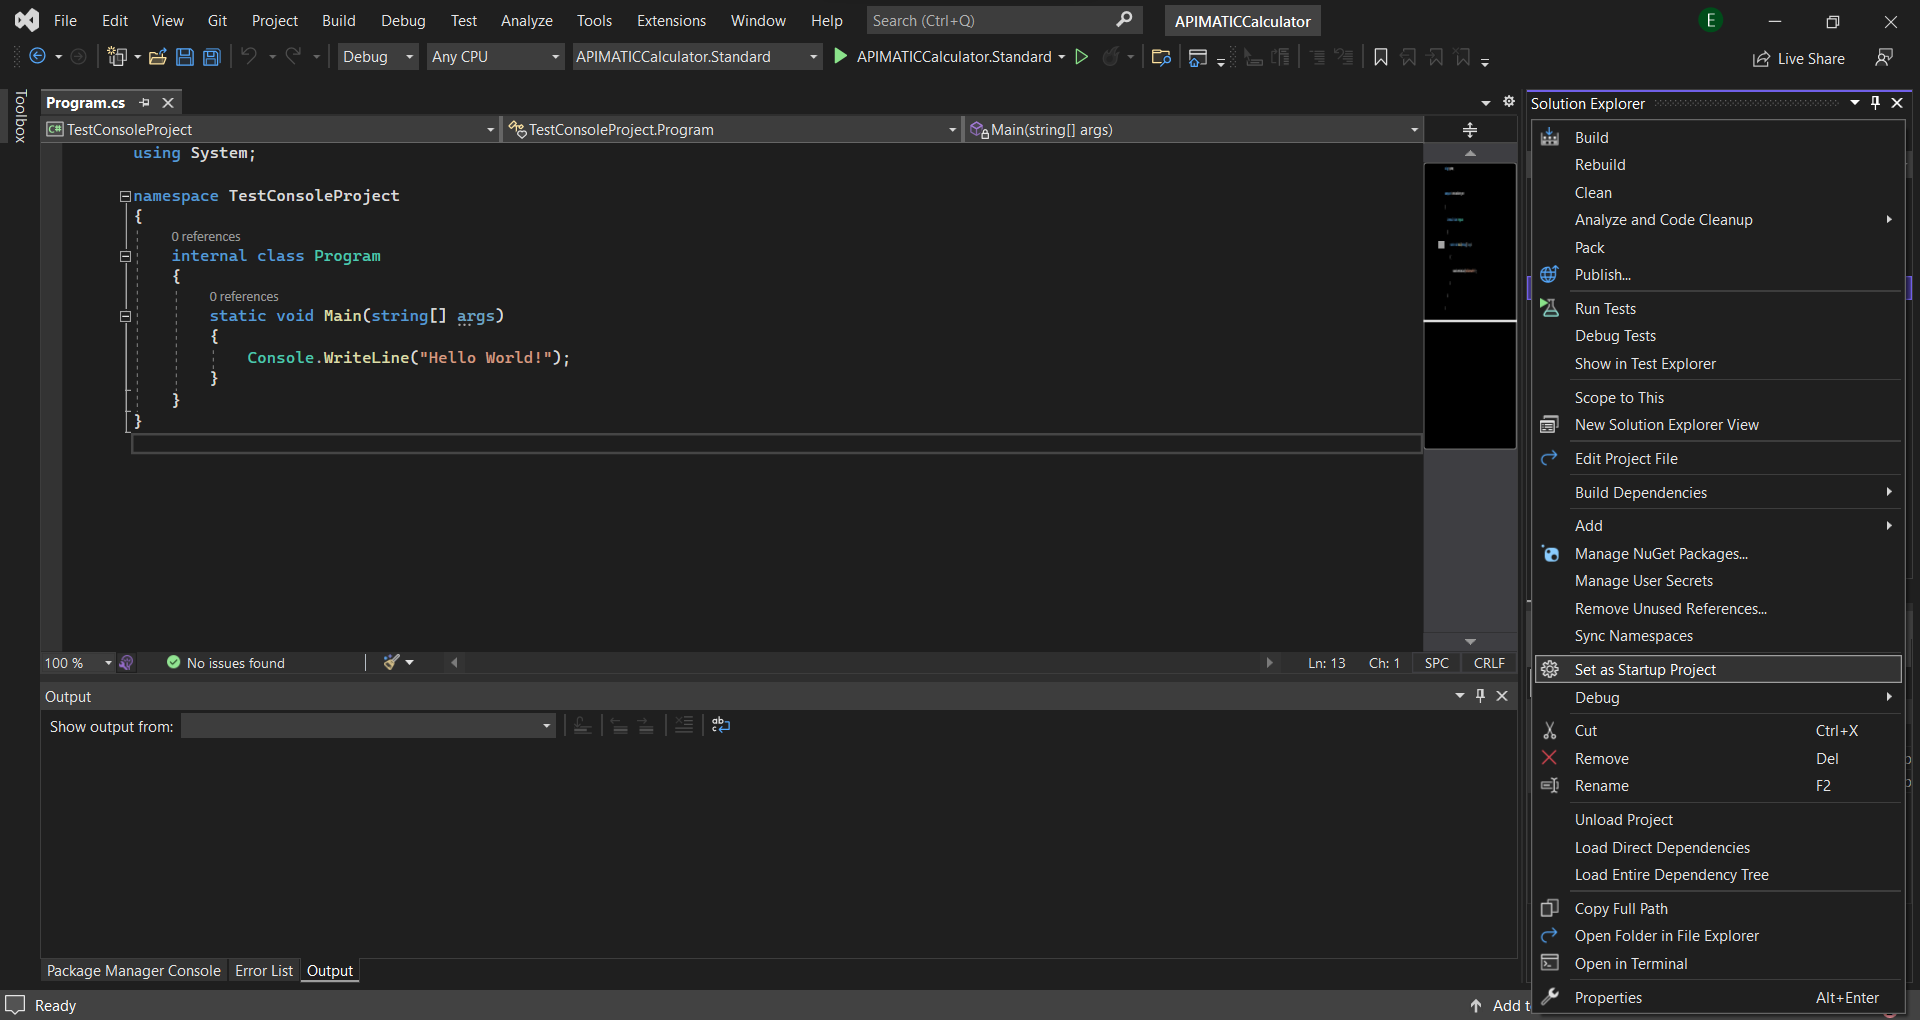
The new console project is the entry point for the execution. This requires you to set this new TestConsoleProject as the start-up project. To do this, right-click on the TestConsoleProject and choose Set as StartUp Project form the context menu.
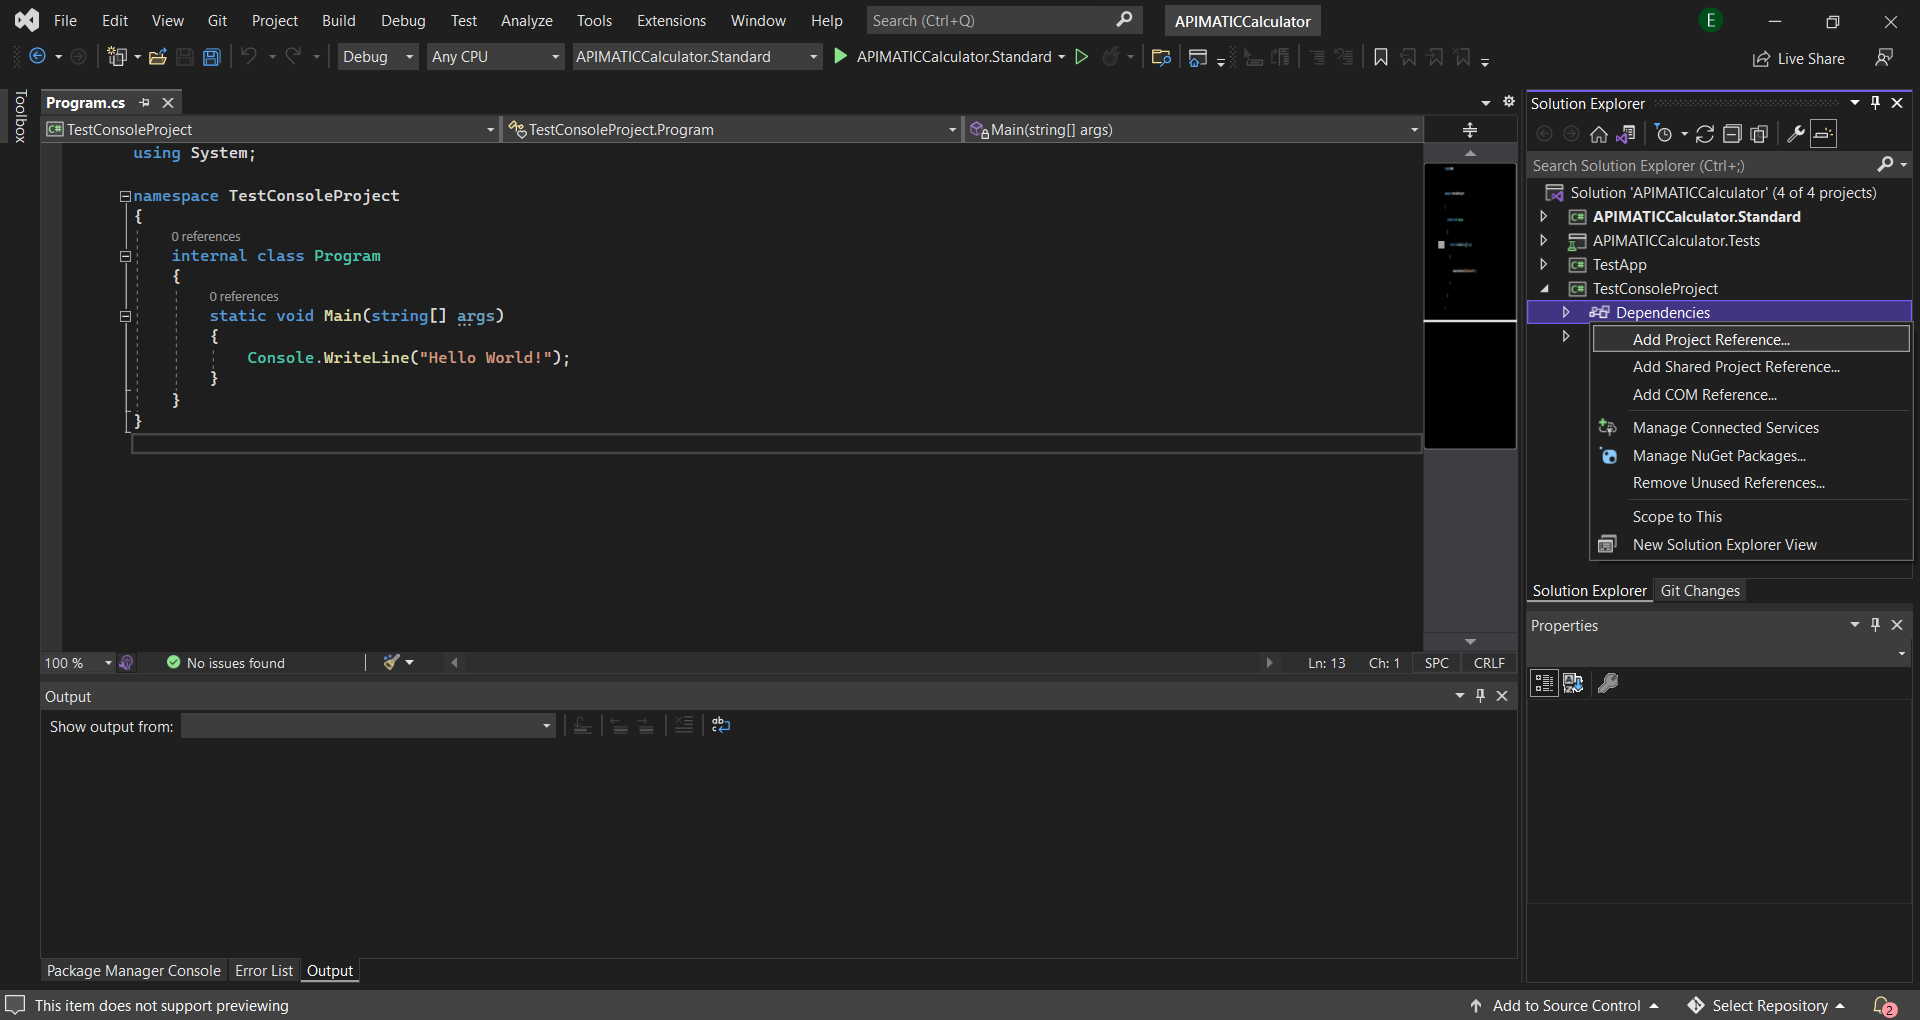
In order to use the generated library in the new project, first you need to add a project reference to the TestConsoleProject. Right click on the Dependencies node in the solution explorer and click on Add Project Reference....
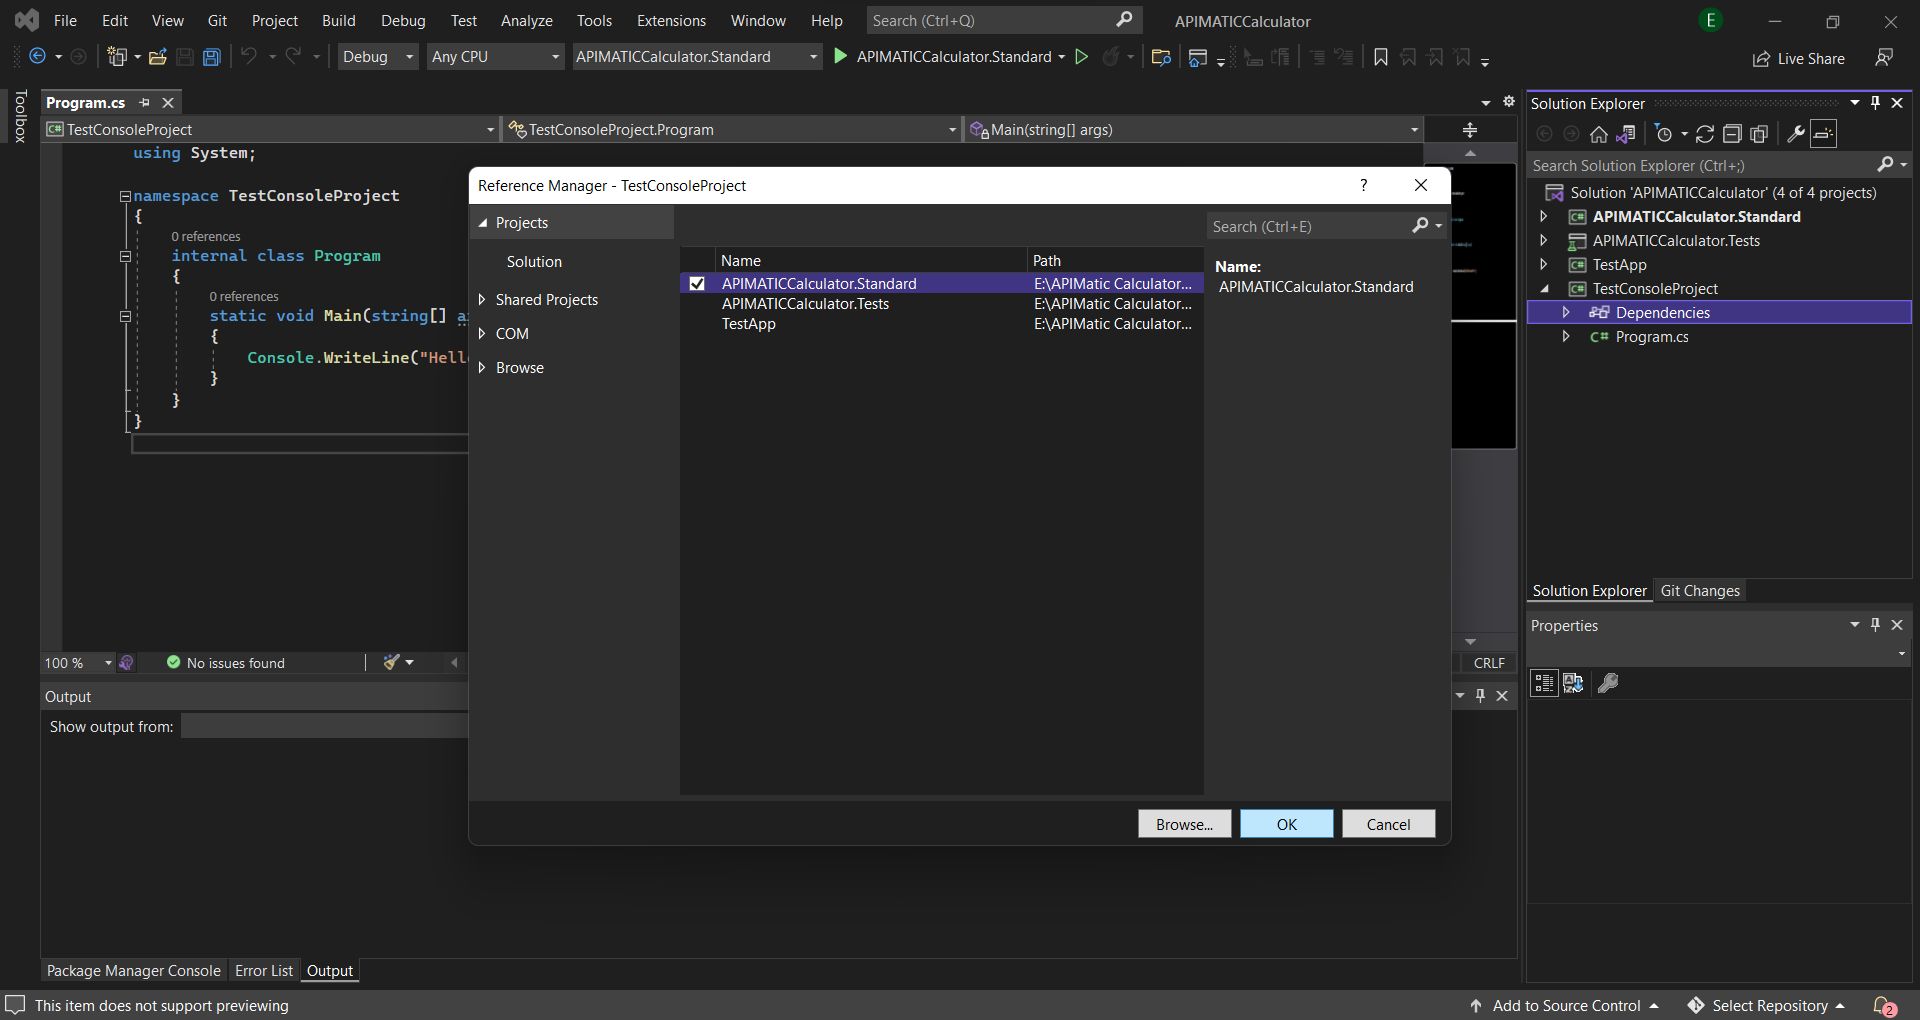
On the window displayed, check the client project checkbox and click OK.
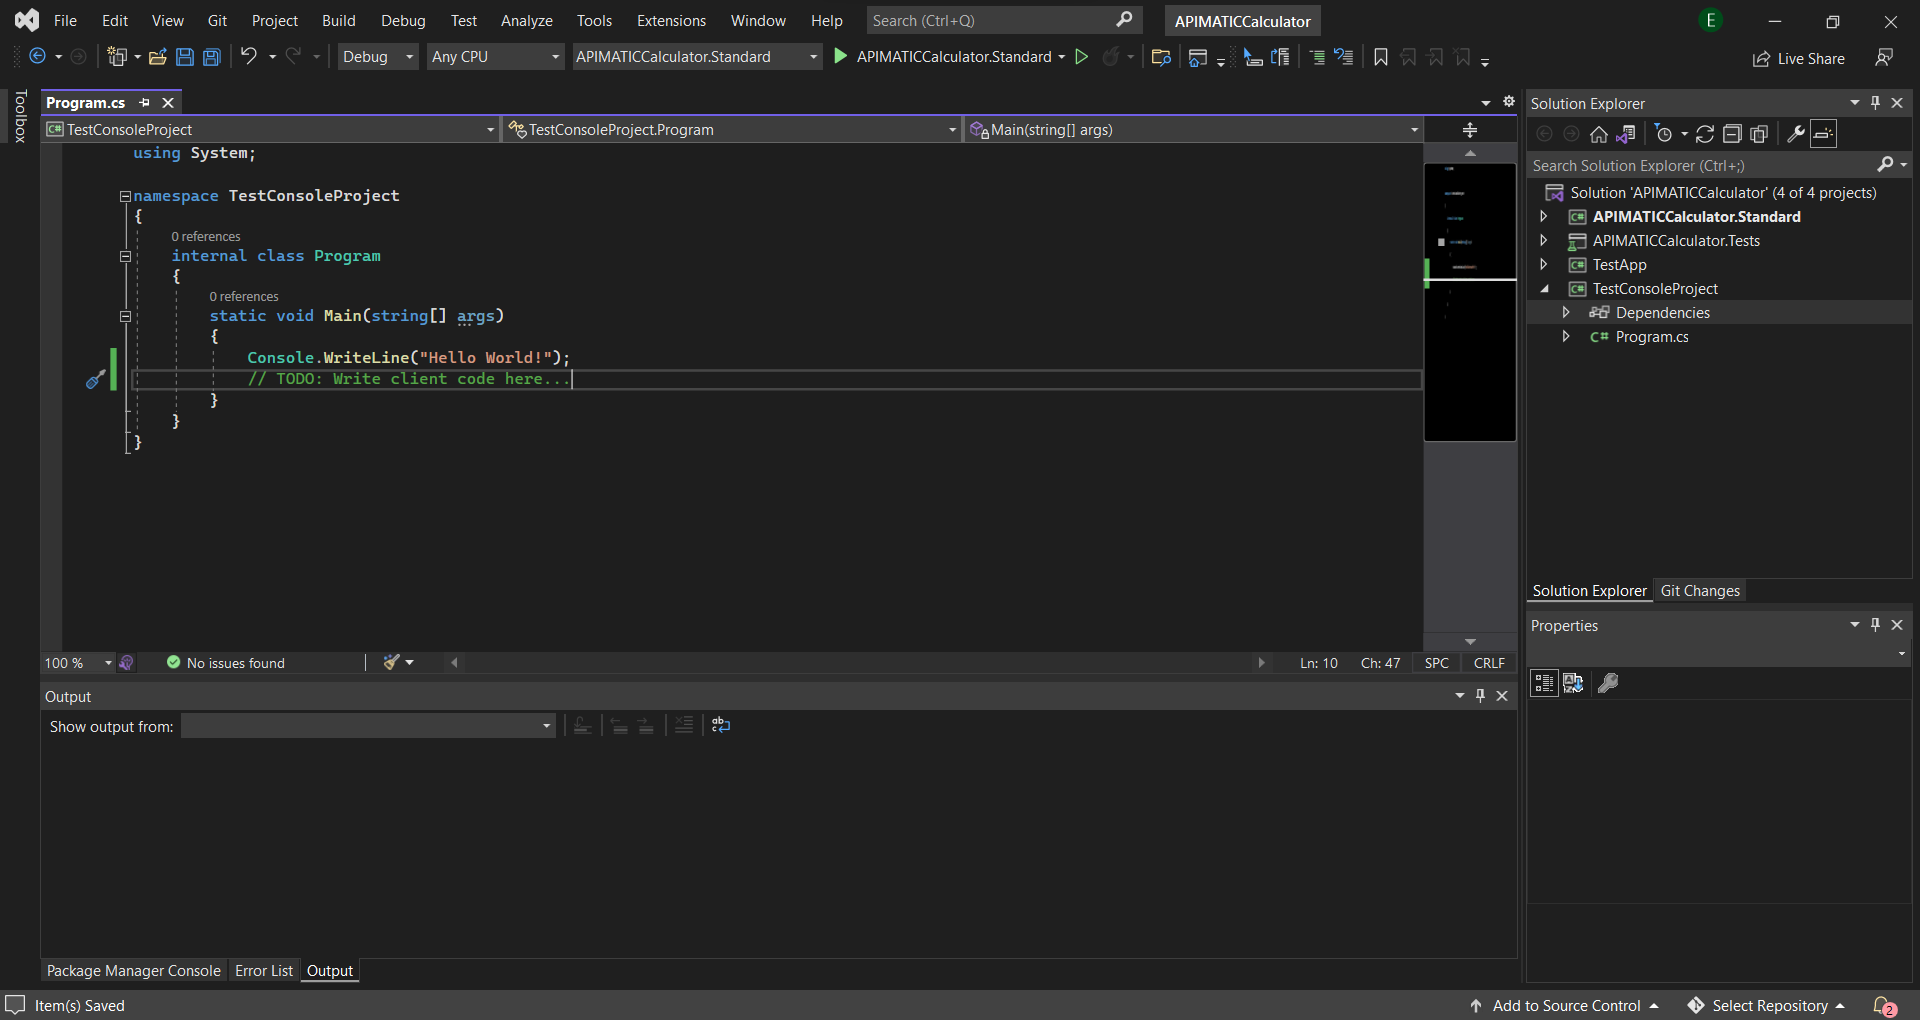
Once the TestConsoleProject is created, a file named Program.cs will be visible in the solution explorer with an empty Main method. Here, you can add code to initialize the client library and acquire the instance of a Controller class.
Test the SDK:
The generated SDK also contains one or more tests in the Tests project. In order to invoke these test cases, you need NUnit 3.0 Test Adapter Extension for Visual Studio. Once the SDK is complied, the test cases should appear in the Test Explorer window. Here, you can click Run All to execute these test cases.
The generated code uses a few Maven dependencies that are already added in the pom.xml file and will be installed automatically.
The following section explains how to consume a Java SDK in Eclipse.
Installation:
The following section explains how to use the Java client library in a new project.
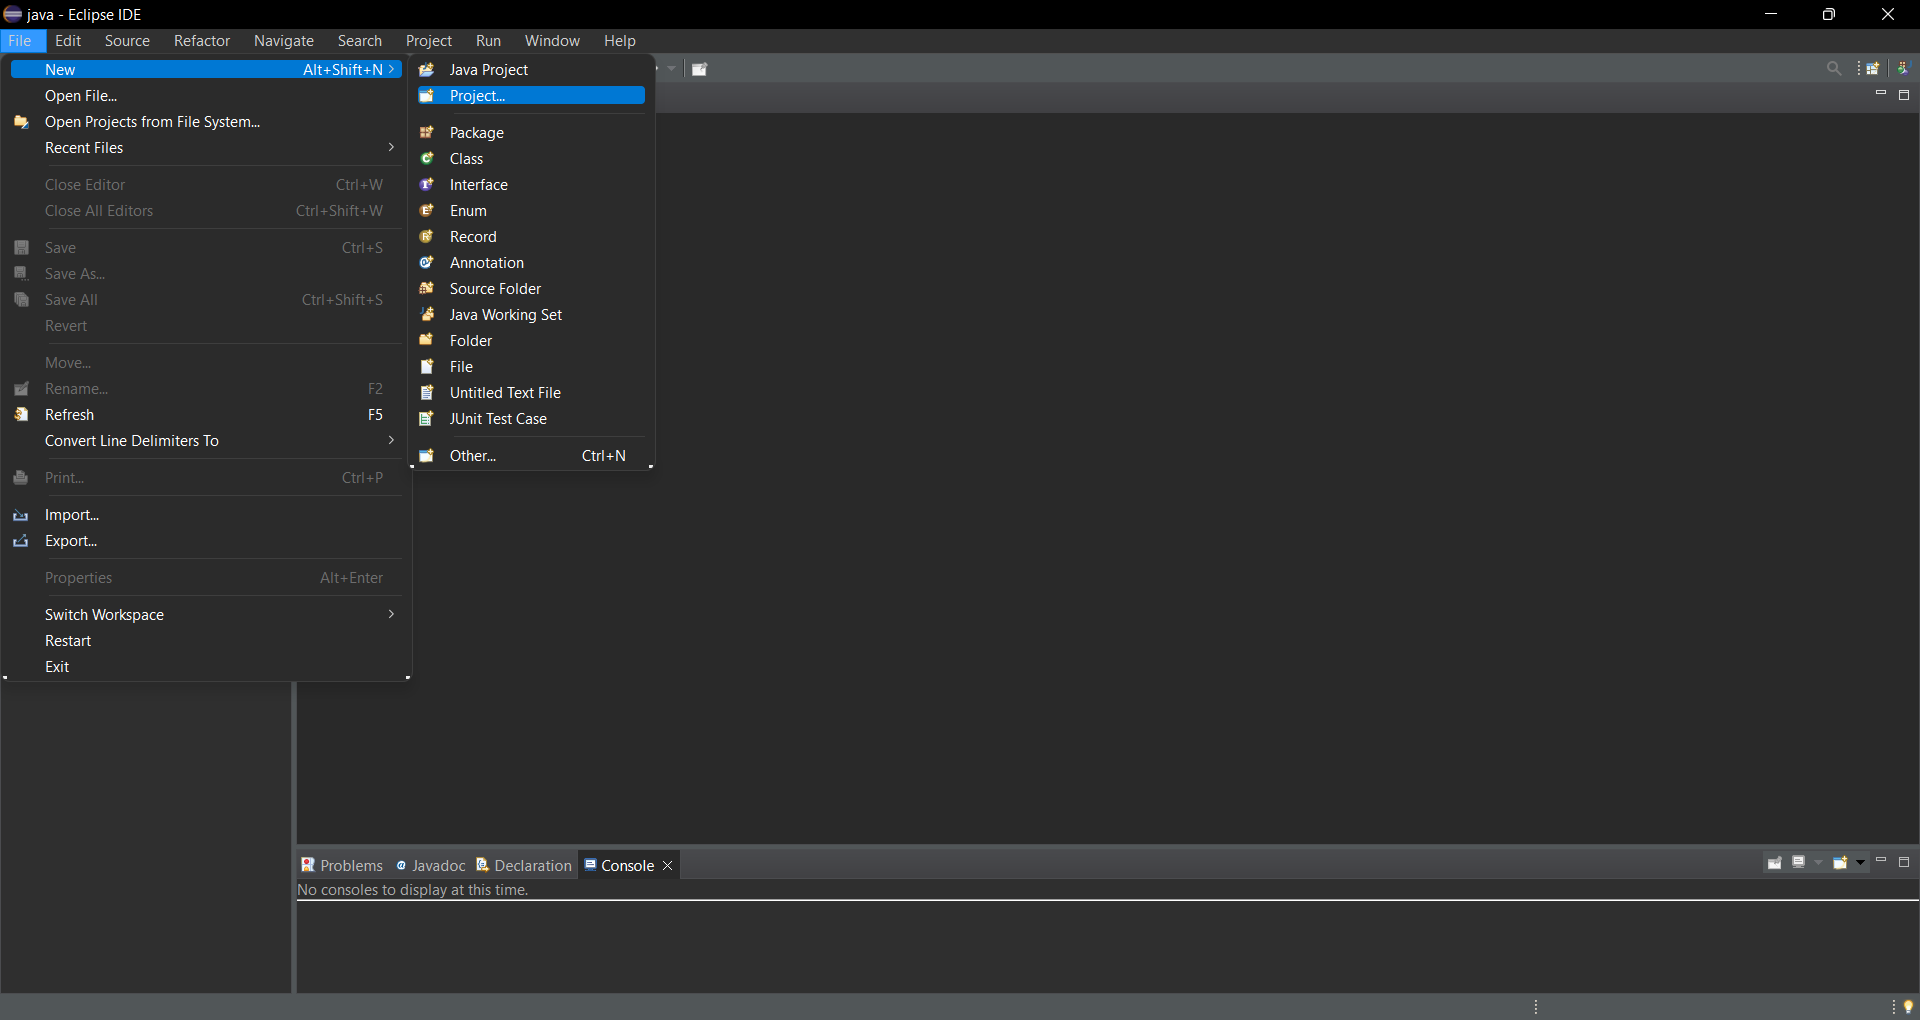
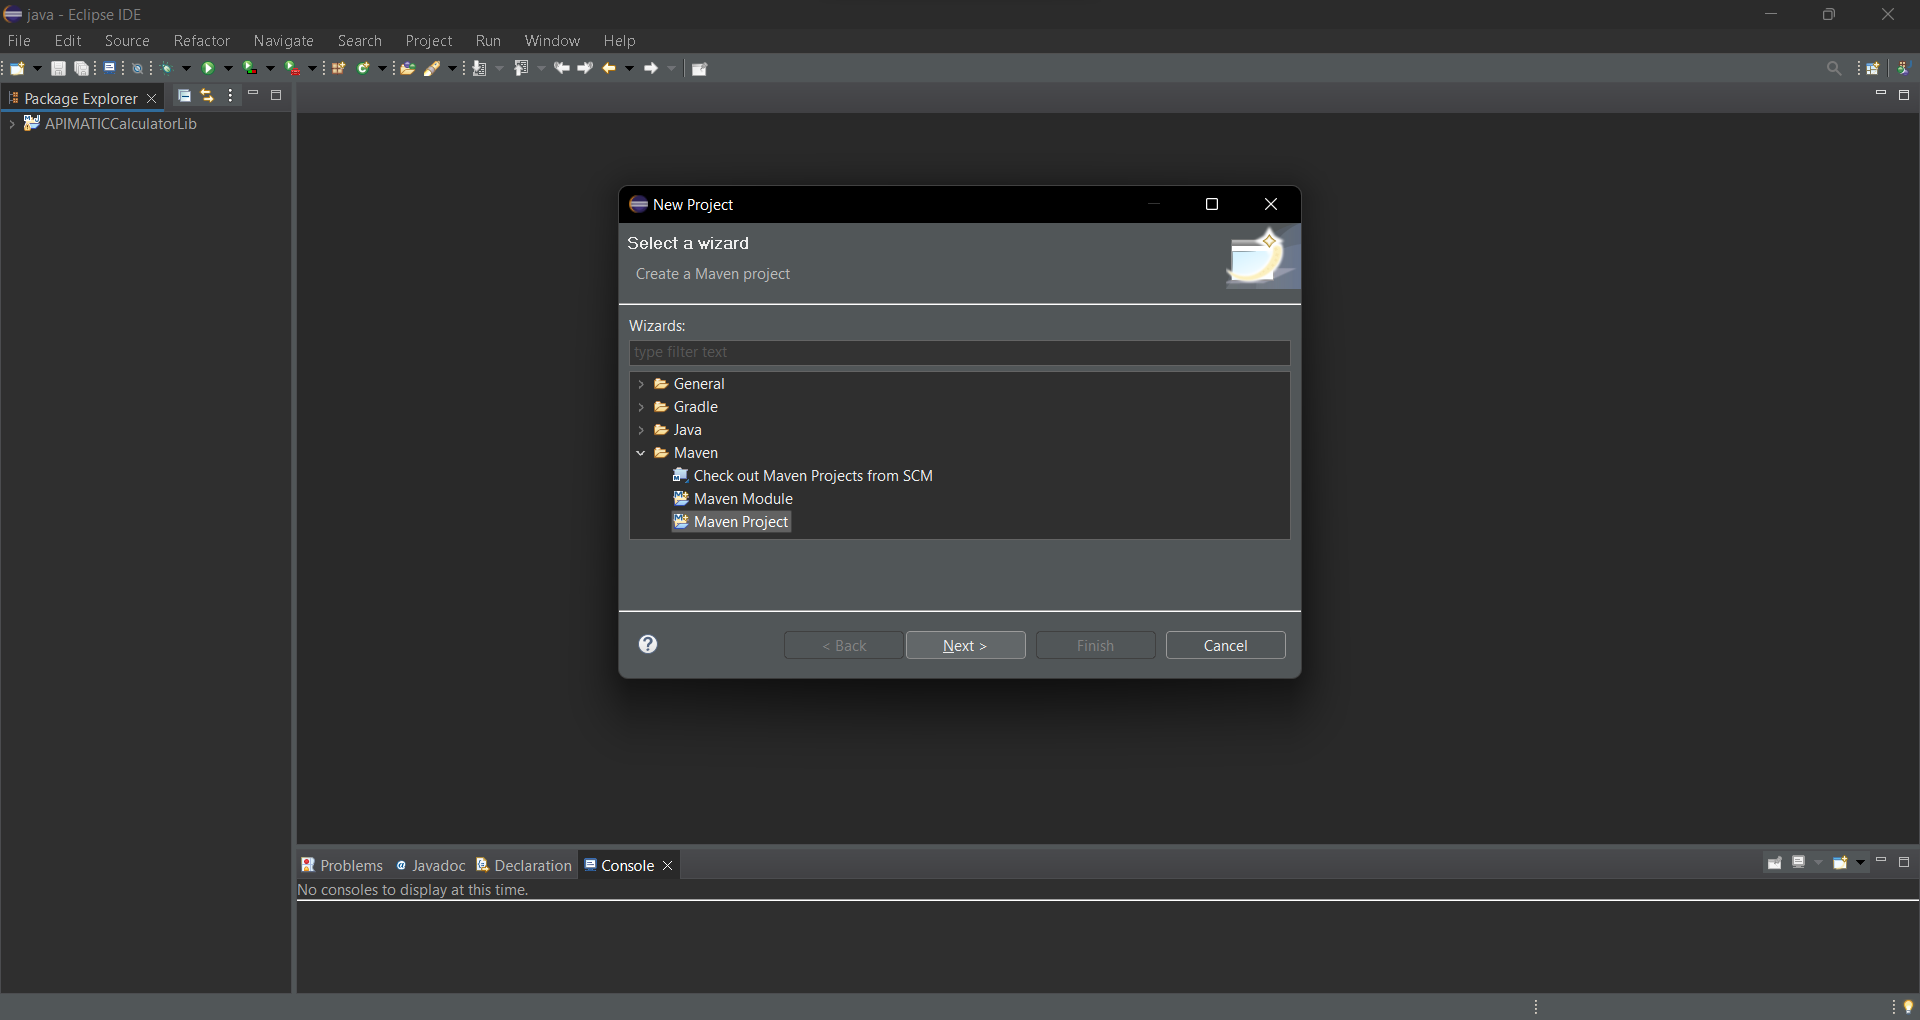
To start a new project, go to the menu command File > New > Project.
Next, choose Maven > Maven Project and click Next.
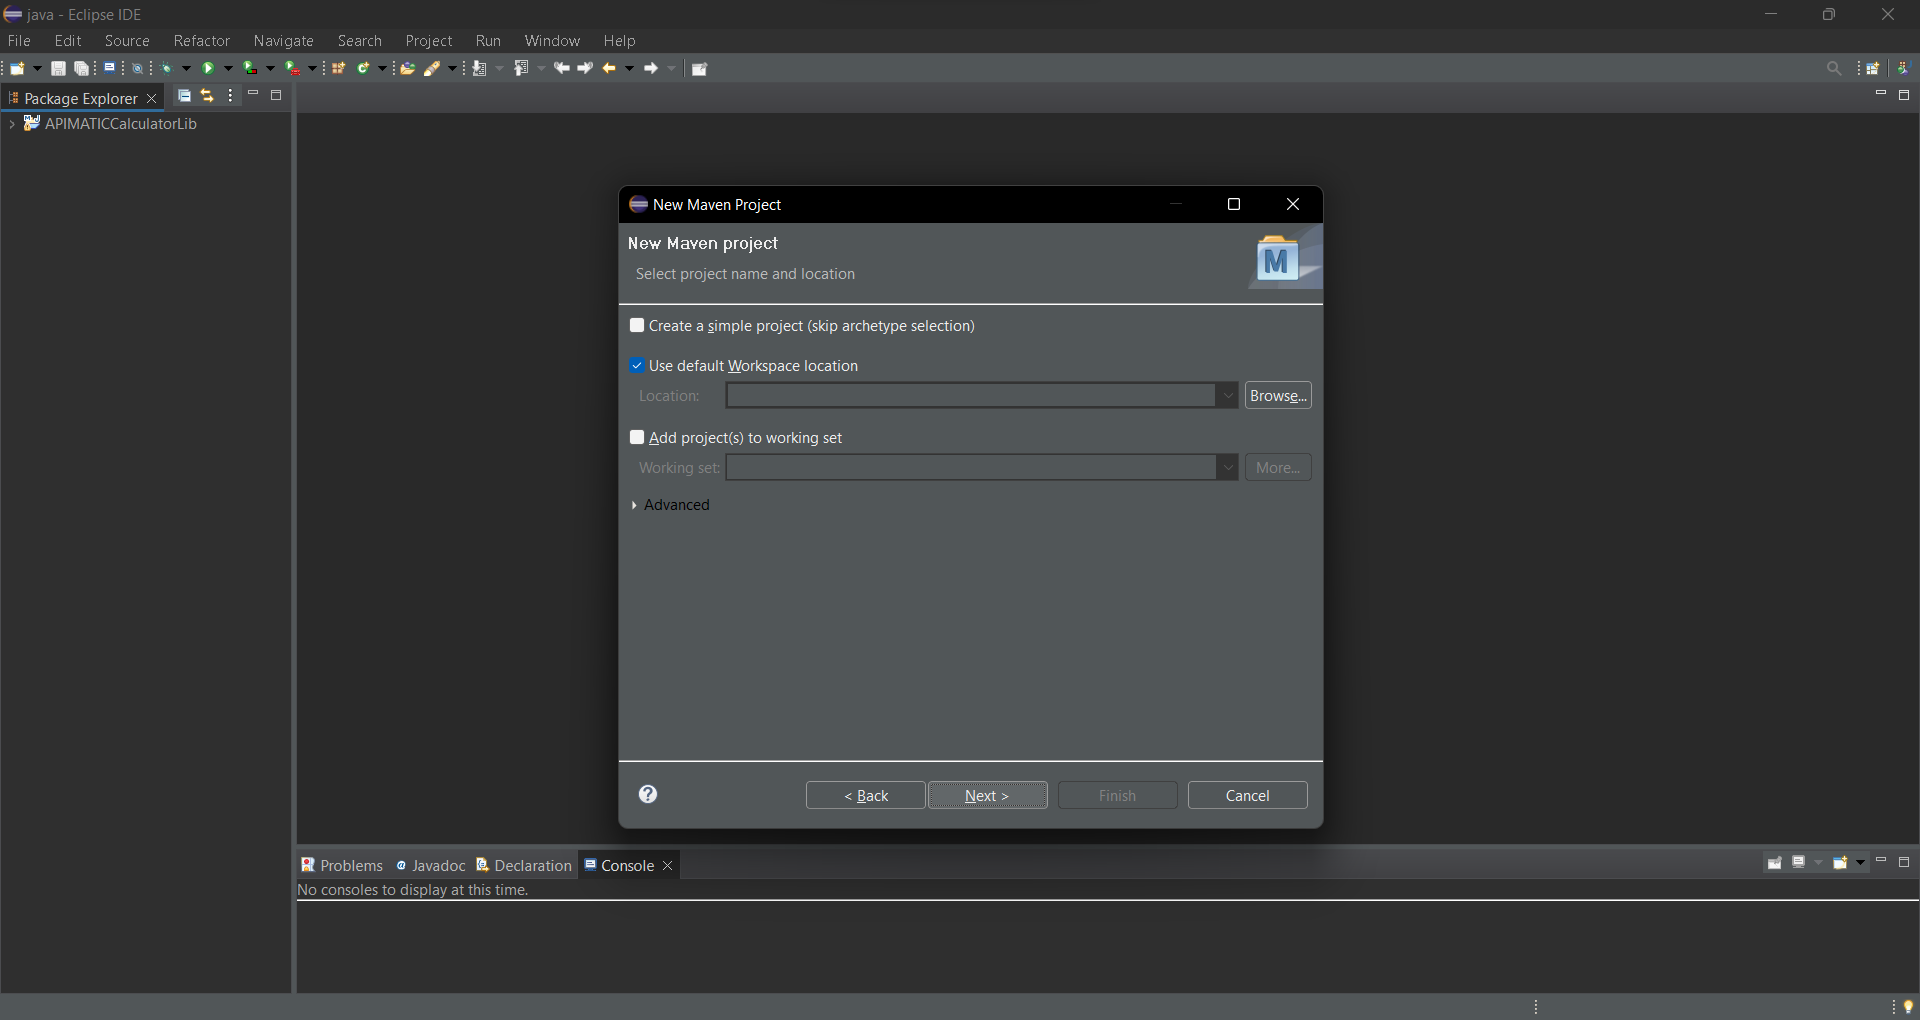
Here, make sure to use the current workspace by choosing Use default Workspace location and click Next.
Select the quick start project type to create a simple project with an existing class and a
mainmethod. To do this, choose maven-archetype-quickstart item from the list and click Next.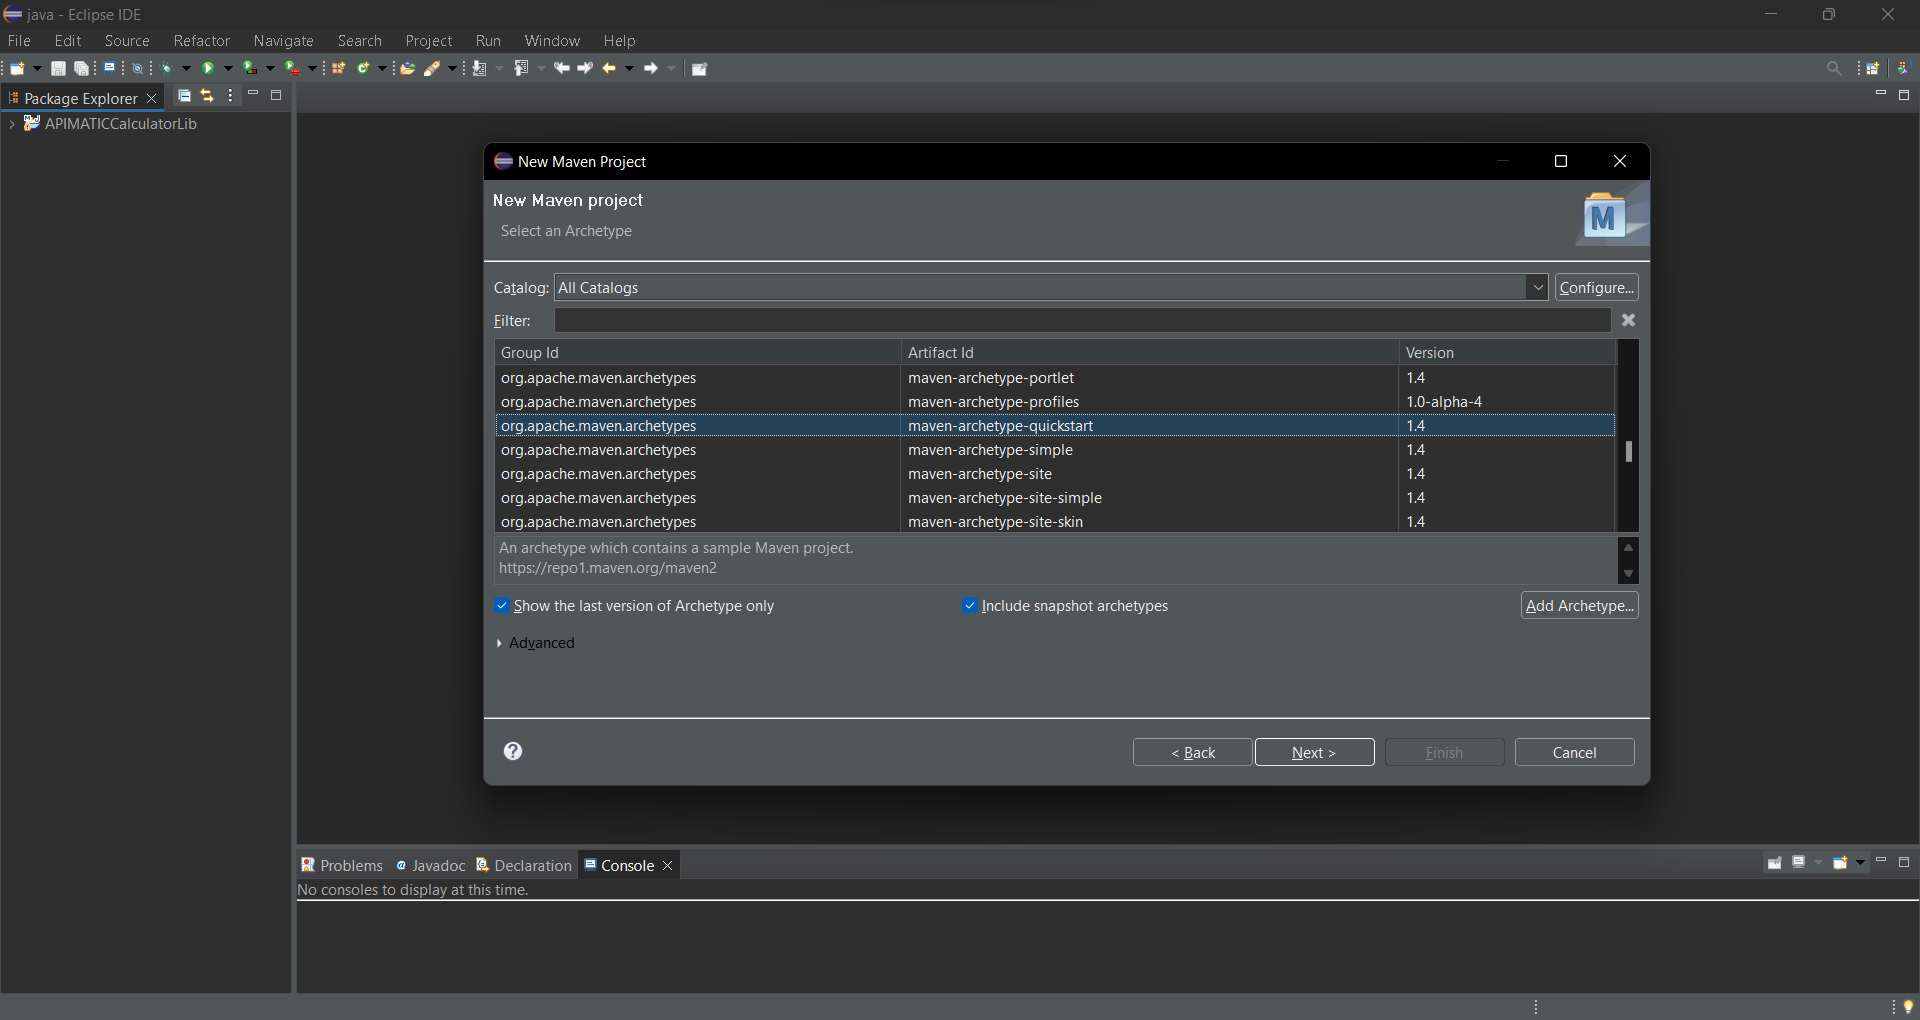
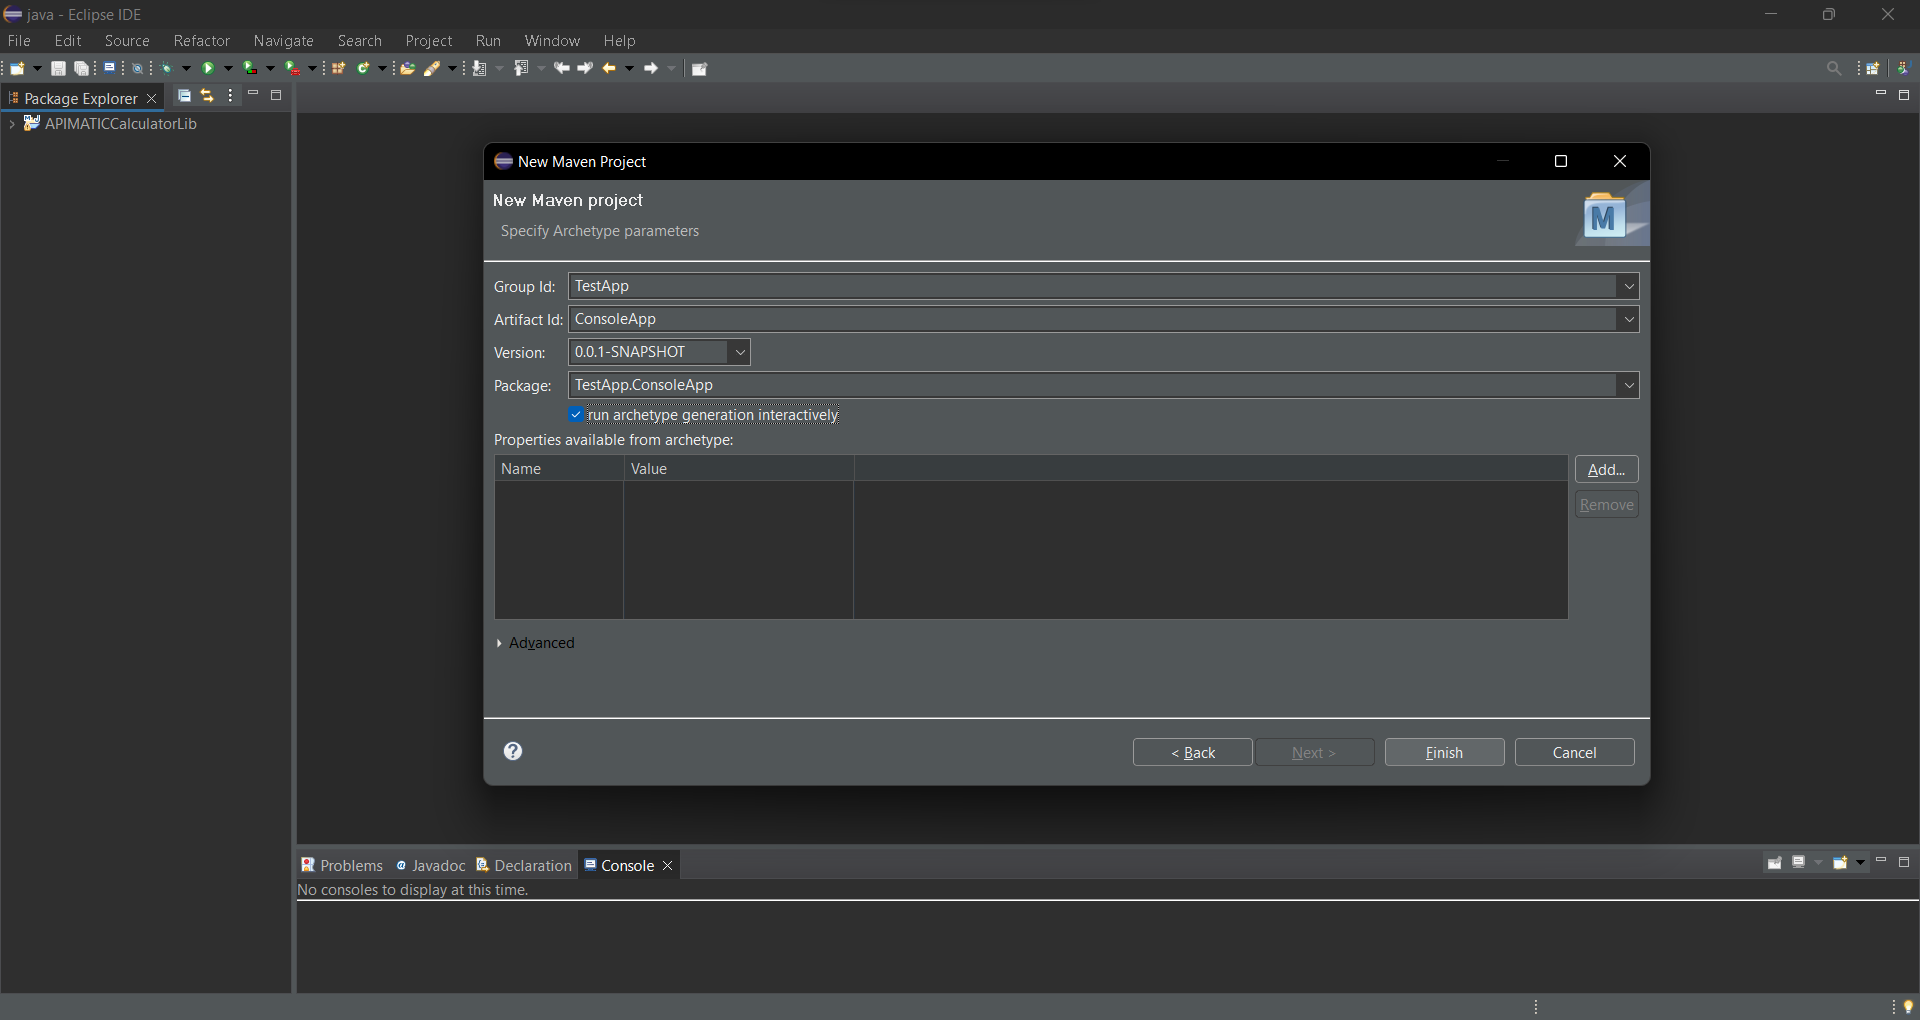
Lastly, provide a Group Id and Artifact Id and click Finish.
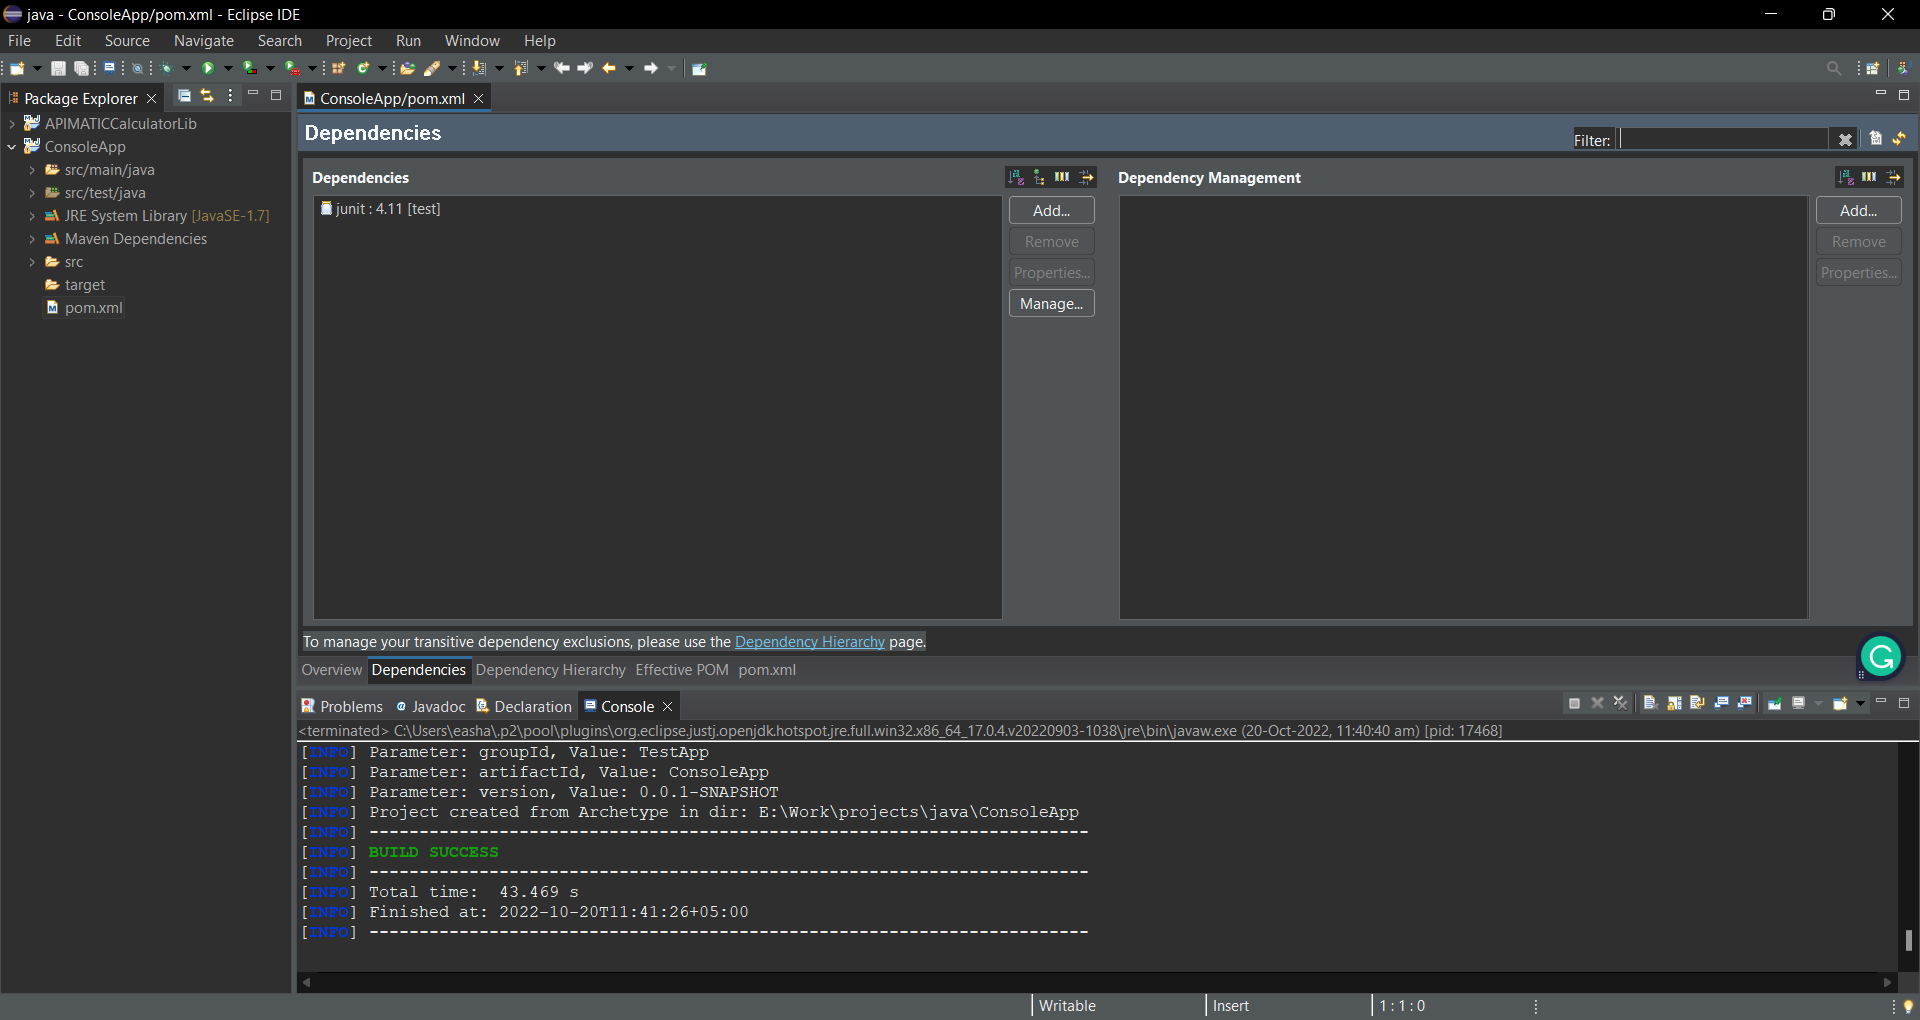
The created Maven project manages its dependencies using its pom.xml file. In order to add a dependency on the Java client library, open the pom.xml file through Package Explorer. Here, switch to the Dependencies tab and click the Add button.
The Add button opens a dialog where you need to specify the details of your client library in
Group Id,Artifact IdandVersionfields. Add these details and click OK. Save the pom.xml file.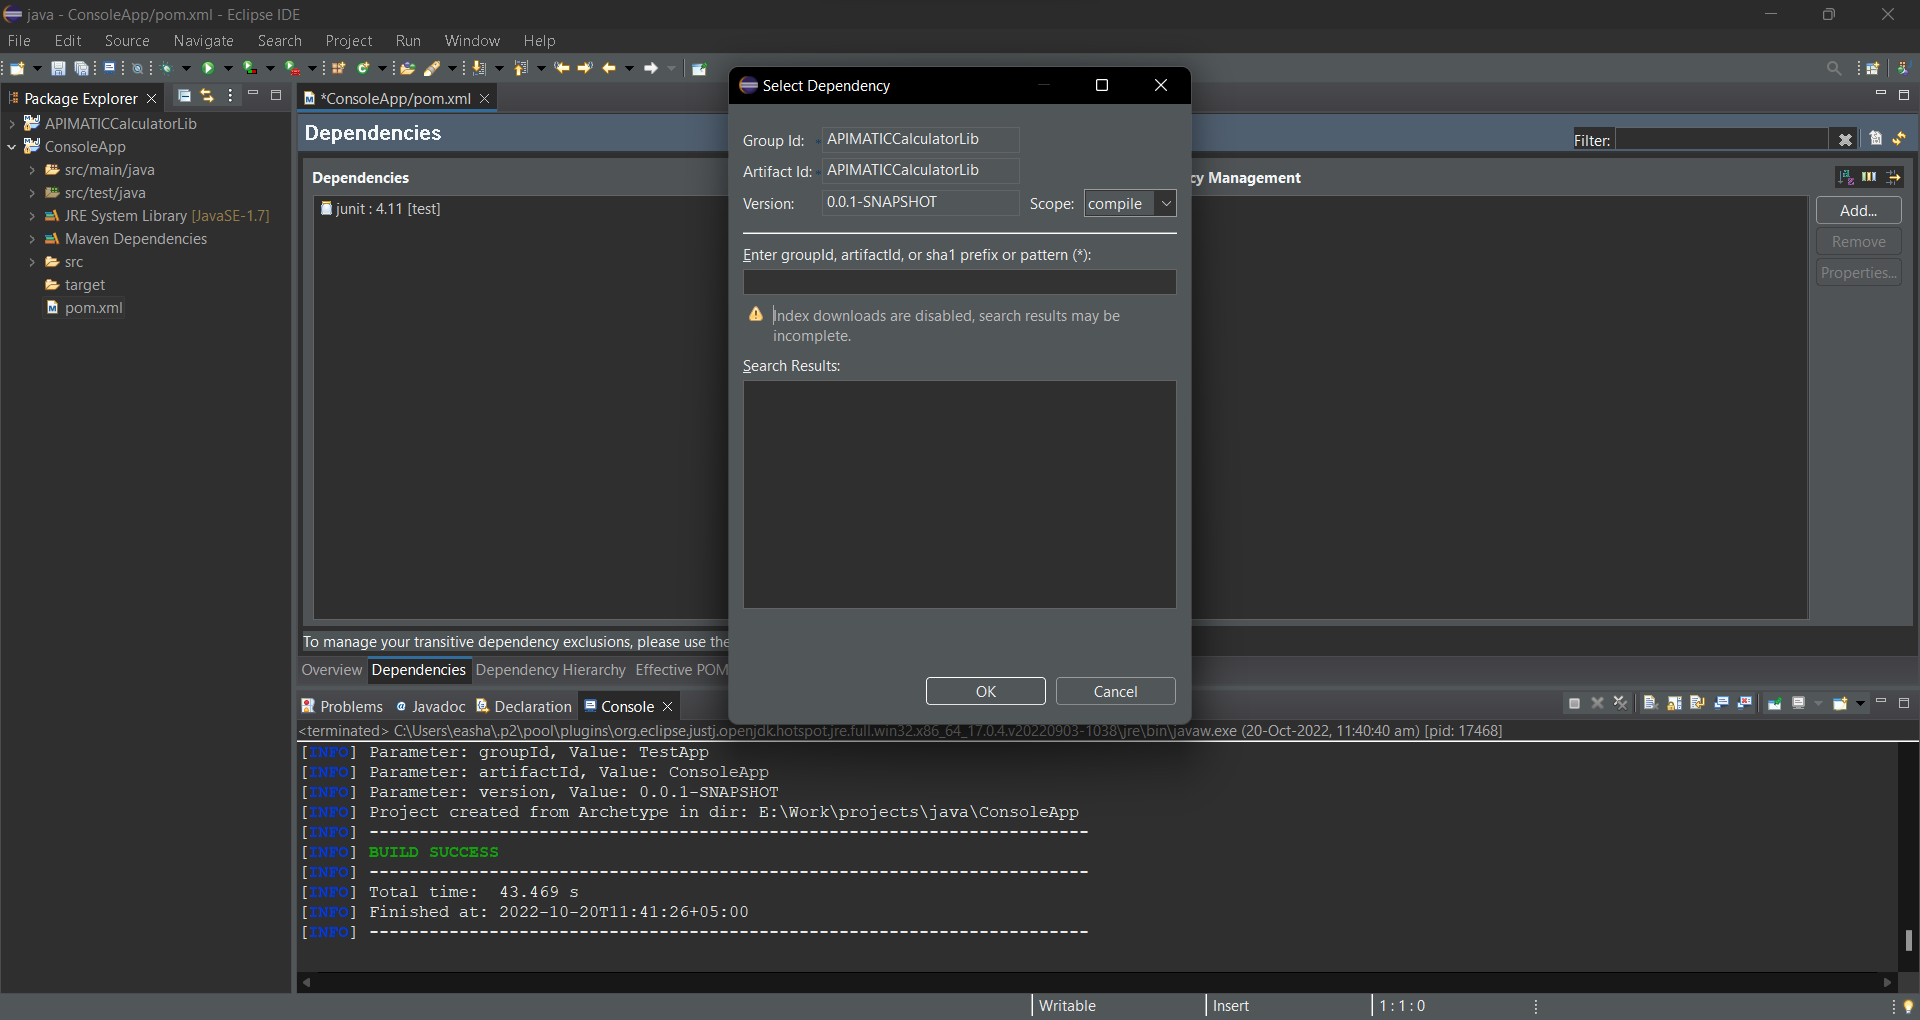
Once the console app is created, a file named App.java will be visible in the Package Explorer with a main method. Here, you can add code to initialize the client library and instantiate a Controller class.
Test the SDK:
The generated code and the server can be tested using automatically generated test cases.
JUnit is used as the testing framework and test runner.
To run these tests in Eclipse, do the following:
- Select the project from the package explorer.
- Go to Run -> Run as -> JUnit Test or use Alt + Shift + X followed by T to run the Tests.
Installation:
The following section explains how to use a Python SDK in PyCharm.
Open up a Python IDE like PyCharm.
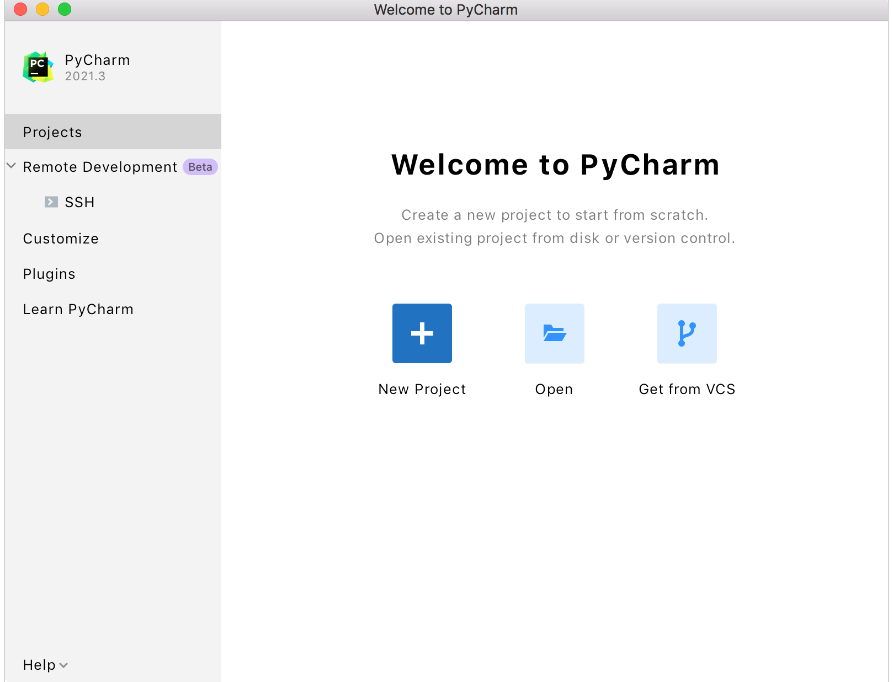
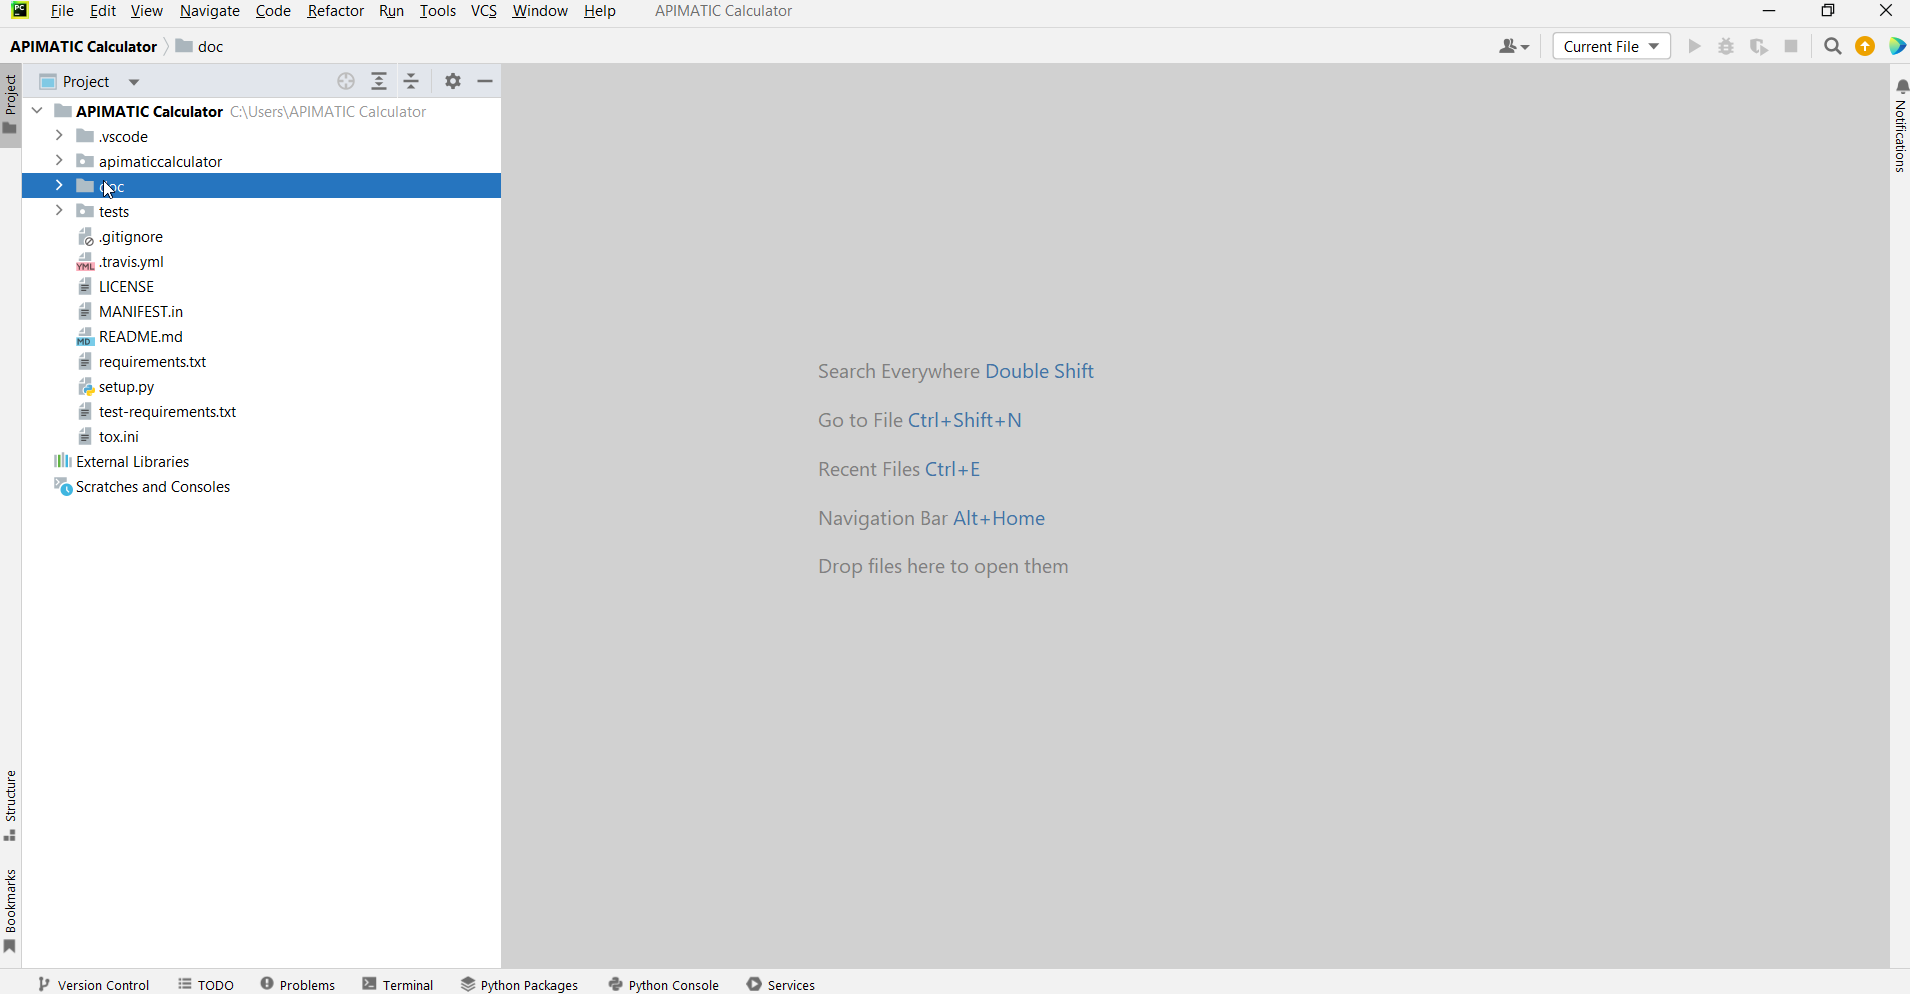
Click on Open in PyCharm to browse to your generated SDK directory and then click OK.
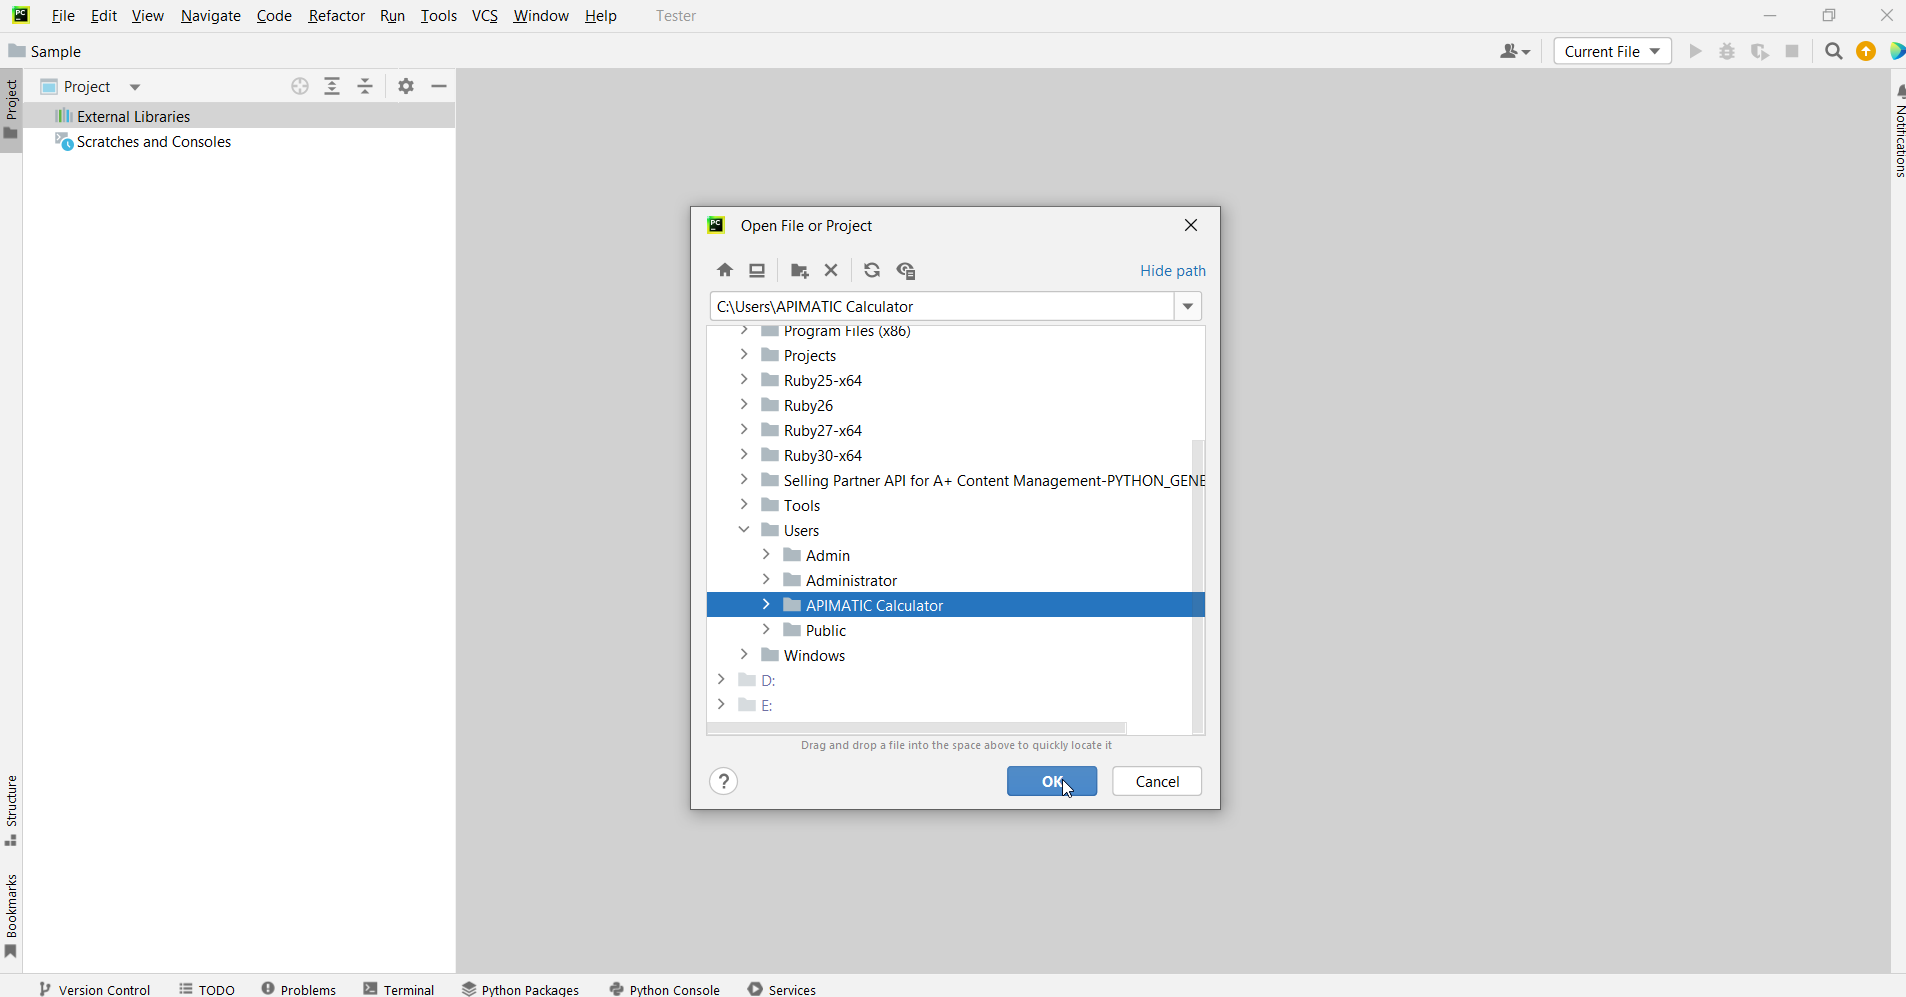
The project files will be displayed in the side bar as follows:
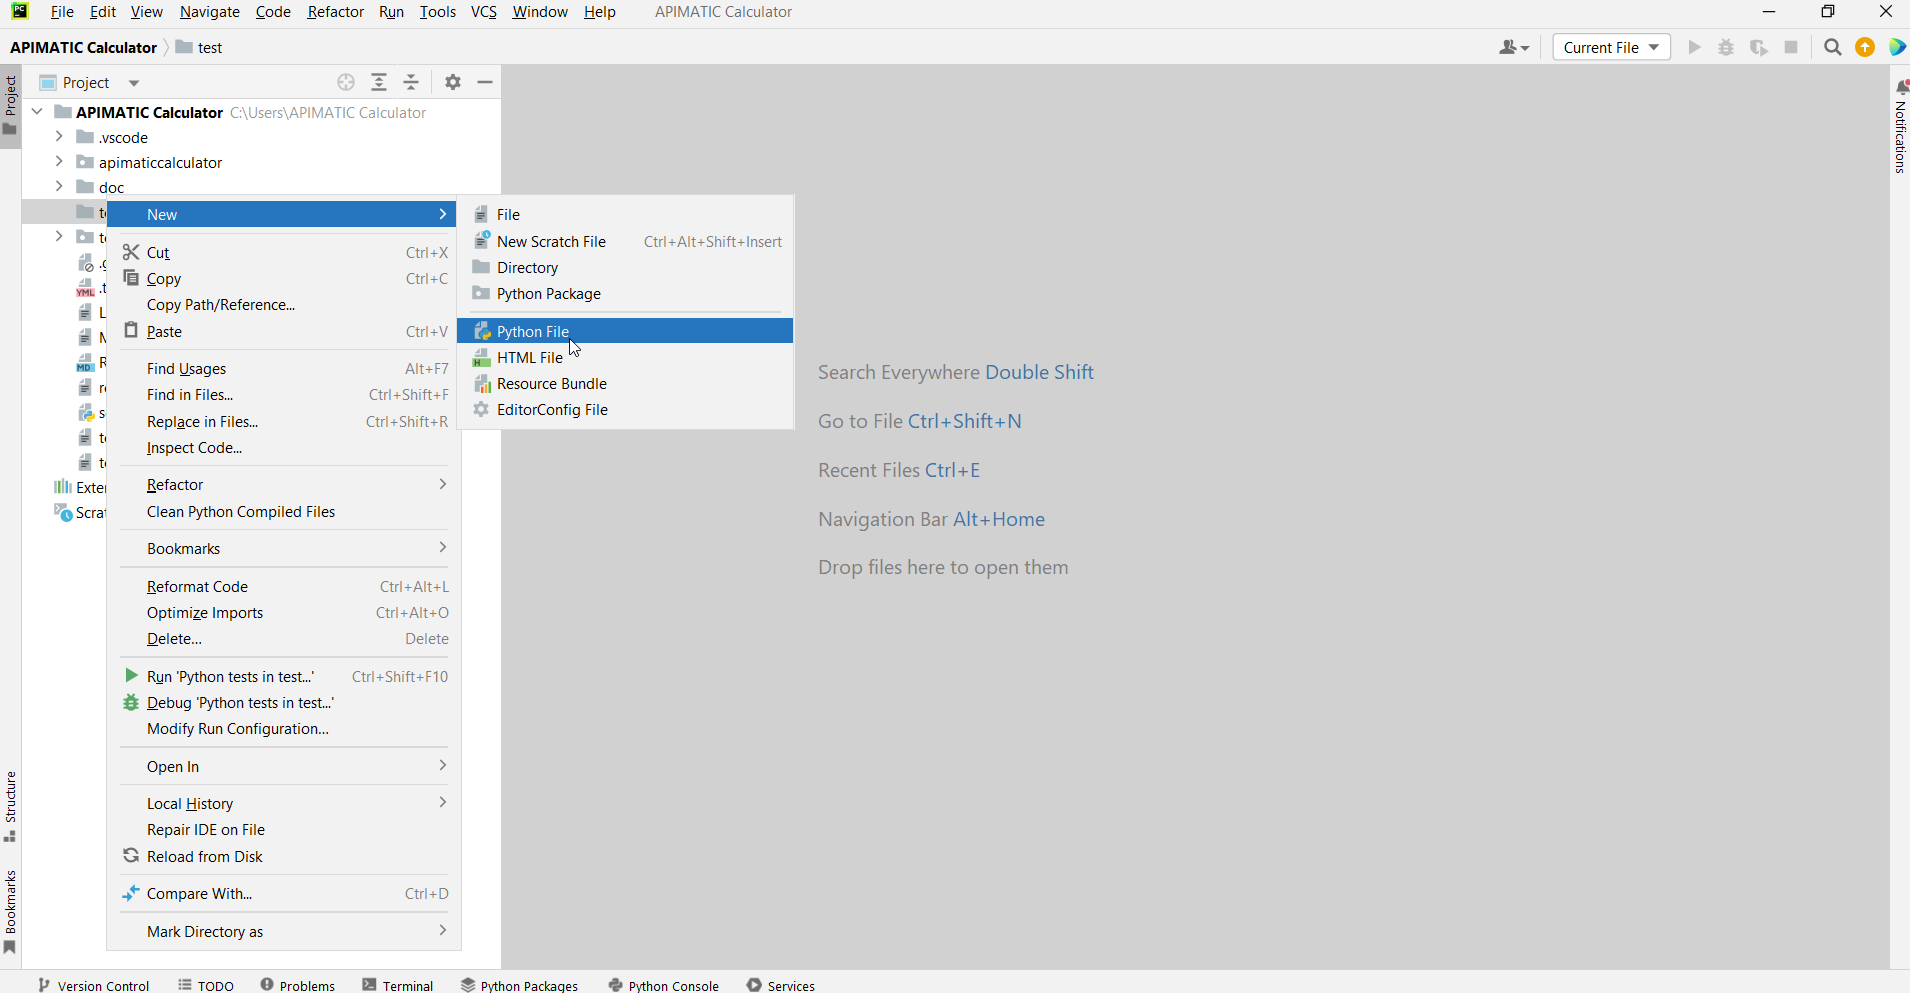
Create a new directory by right clicking on the solution name and name this directory as test.

Add a python file to this project and name it testSDK.
In your python file, you will be asked to import the generated python library using the following code lines:
from apimatic.apimaticc_client import ApimaticClient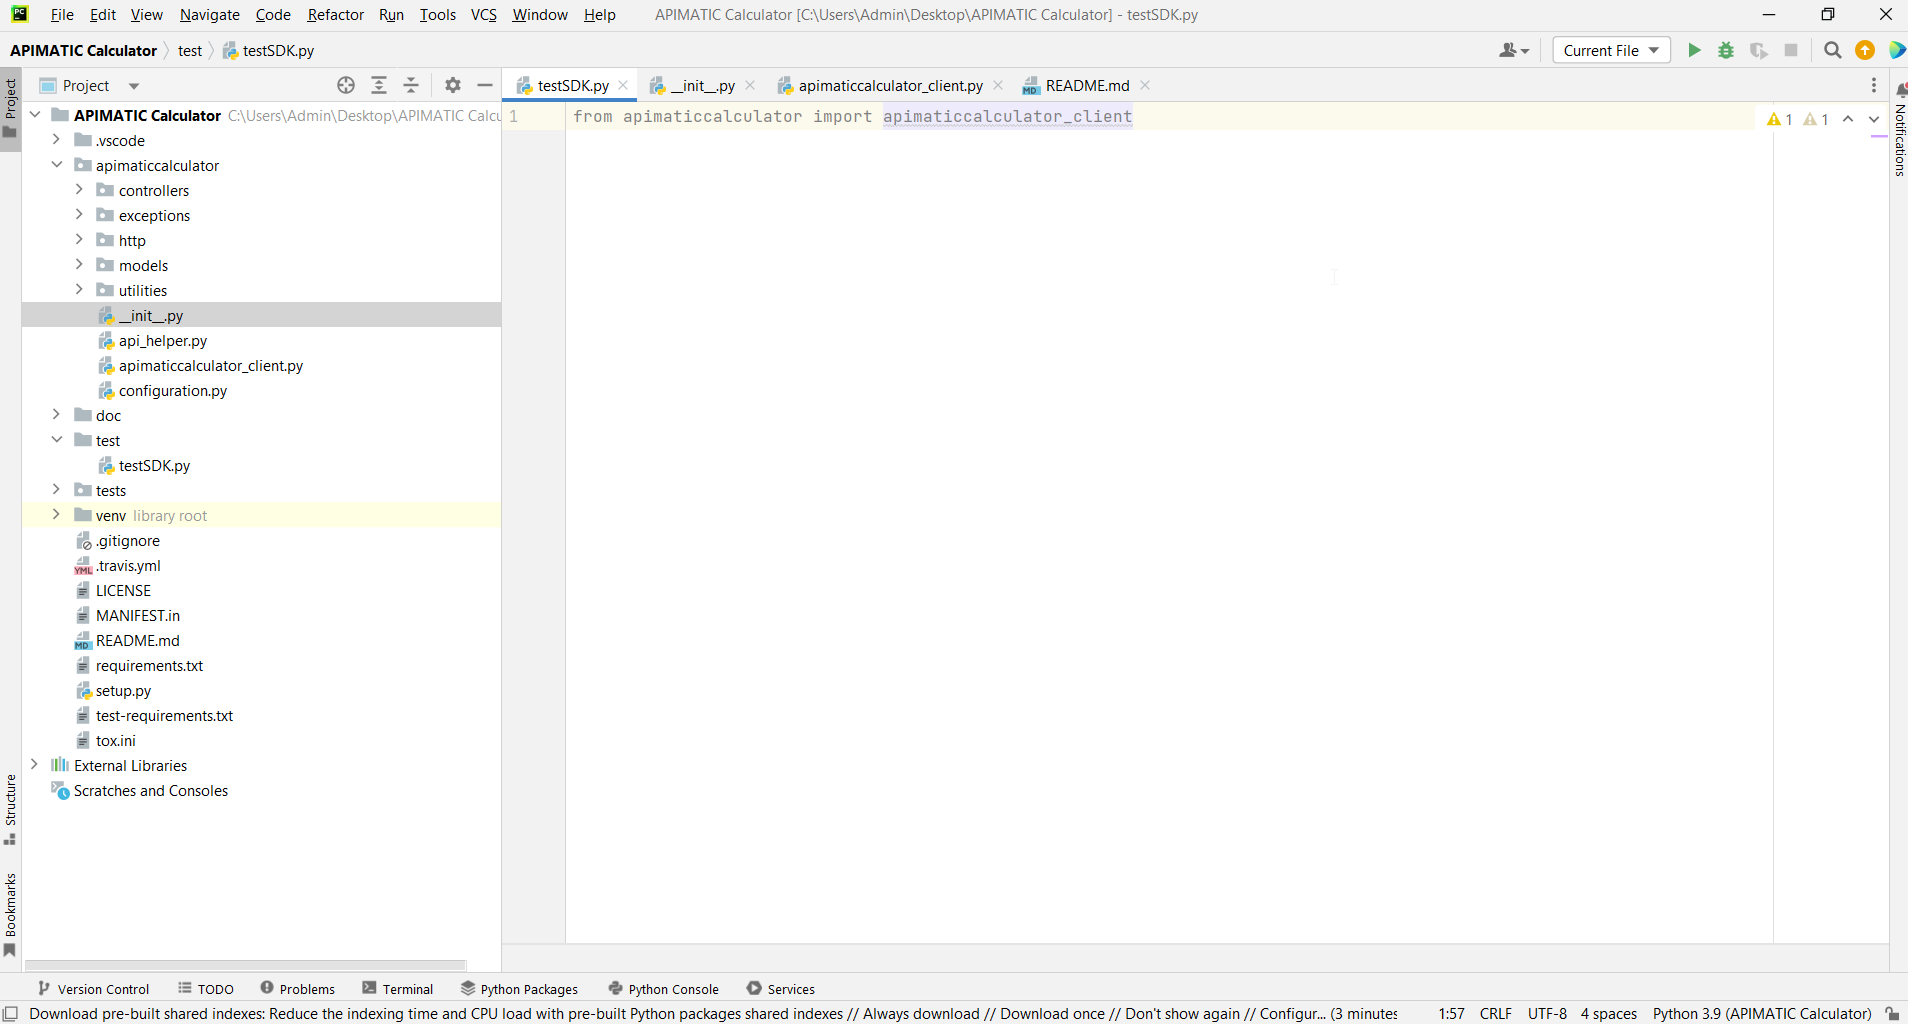
After this you can write code to instantiate an API client object, get a controller object and make API calls.
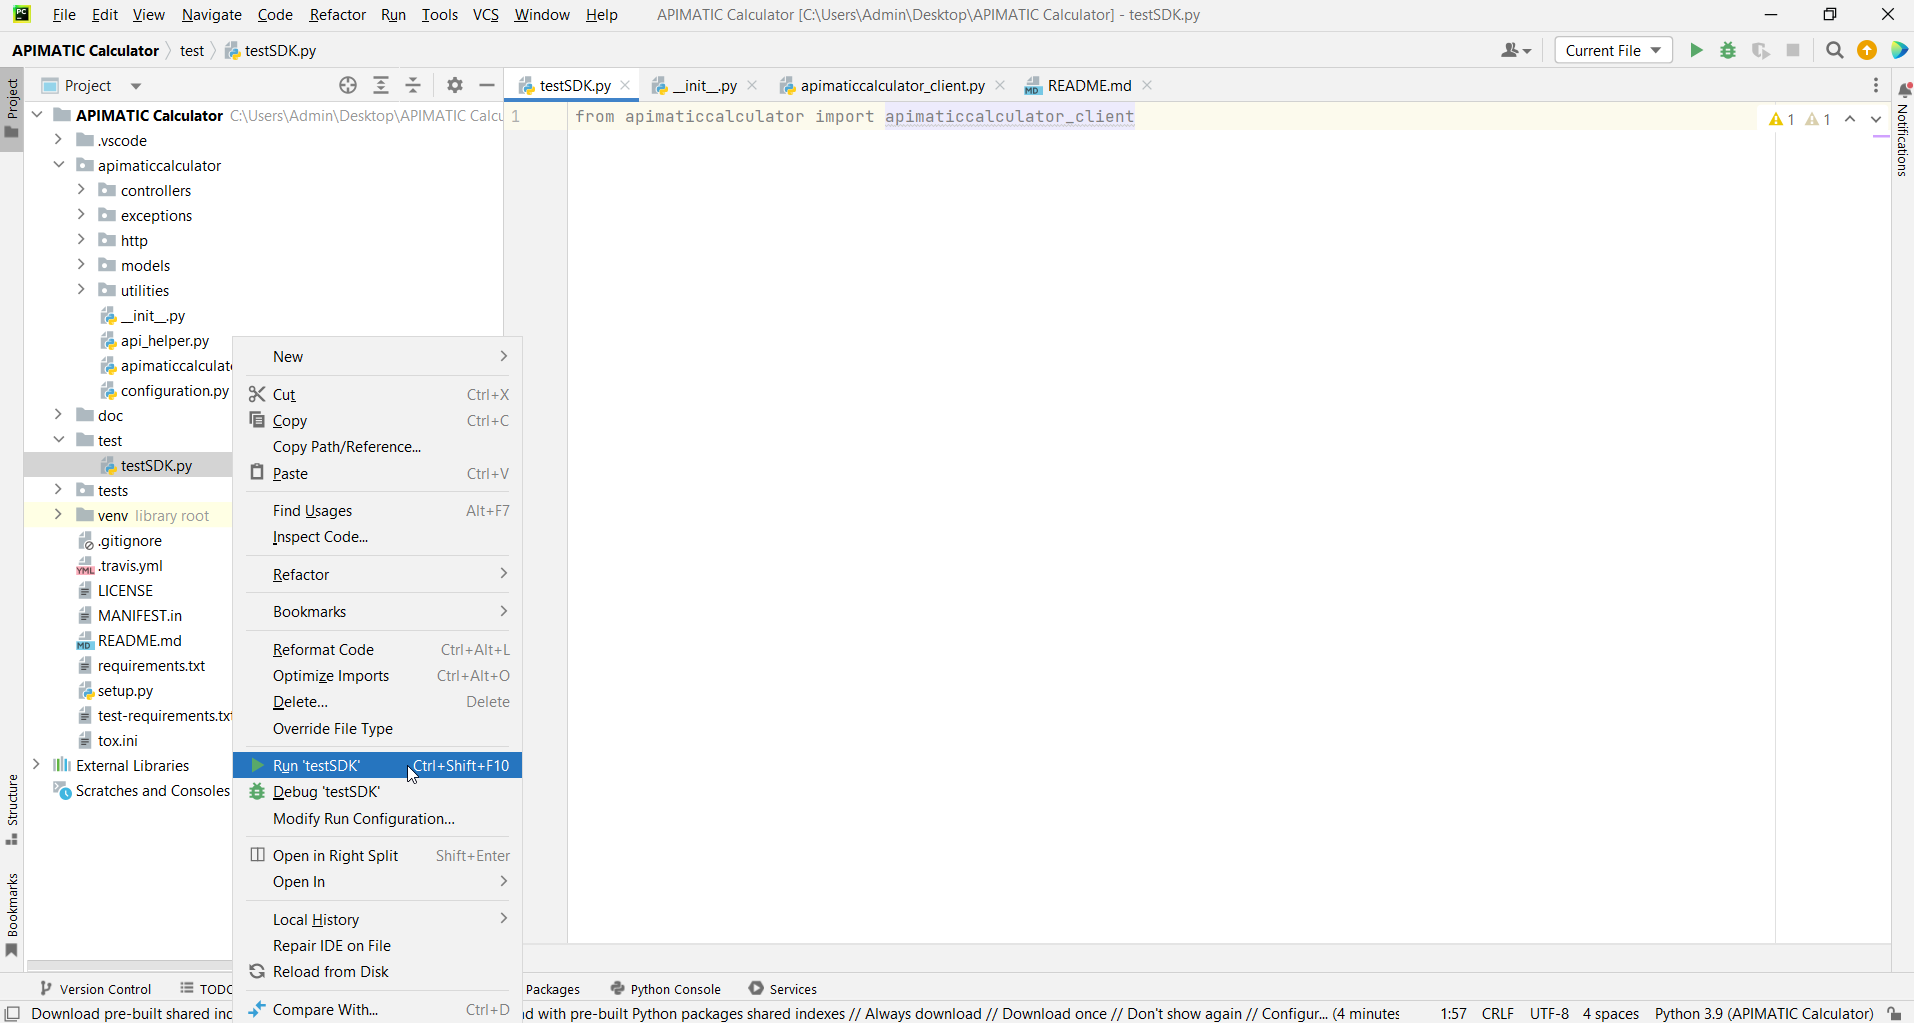
To run the file within your test project, right click on your Python file inside your Test project and click on Run.
Test the SDK:
You can test the generated SDK and the server with test cases. unittest is used as the testing framework and pytest is used as the test runner. You can run the tests as follows:
- Navigate to the root directory of the SDK and run the following commands:
pip install -r test-requirements.txt
pytest
Installation:
The following section explains how to use an APIMatic generated ruby gem in a new Rails project using RubyMine™.
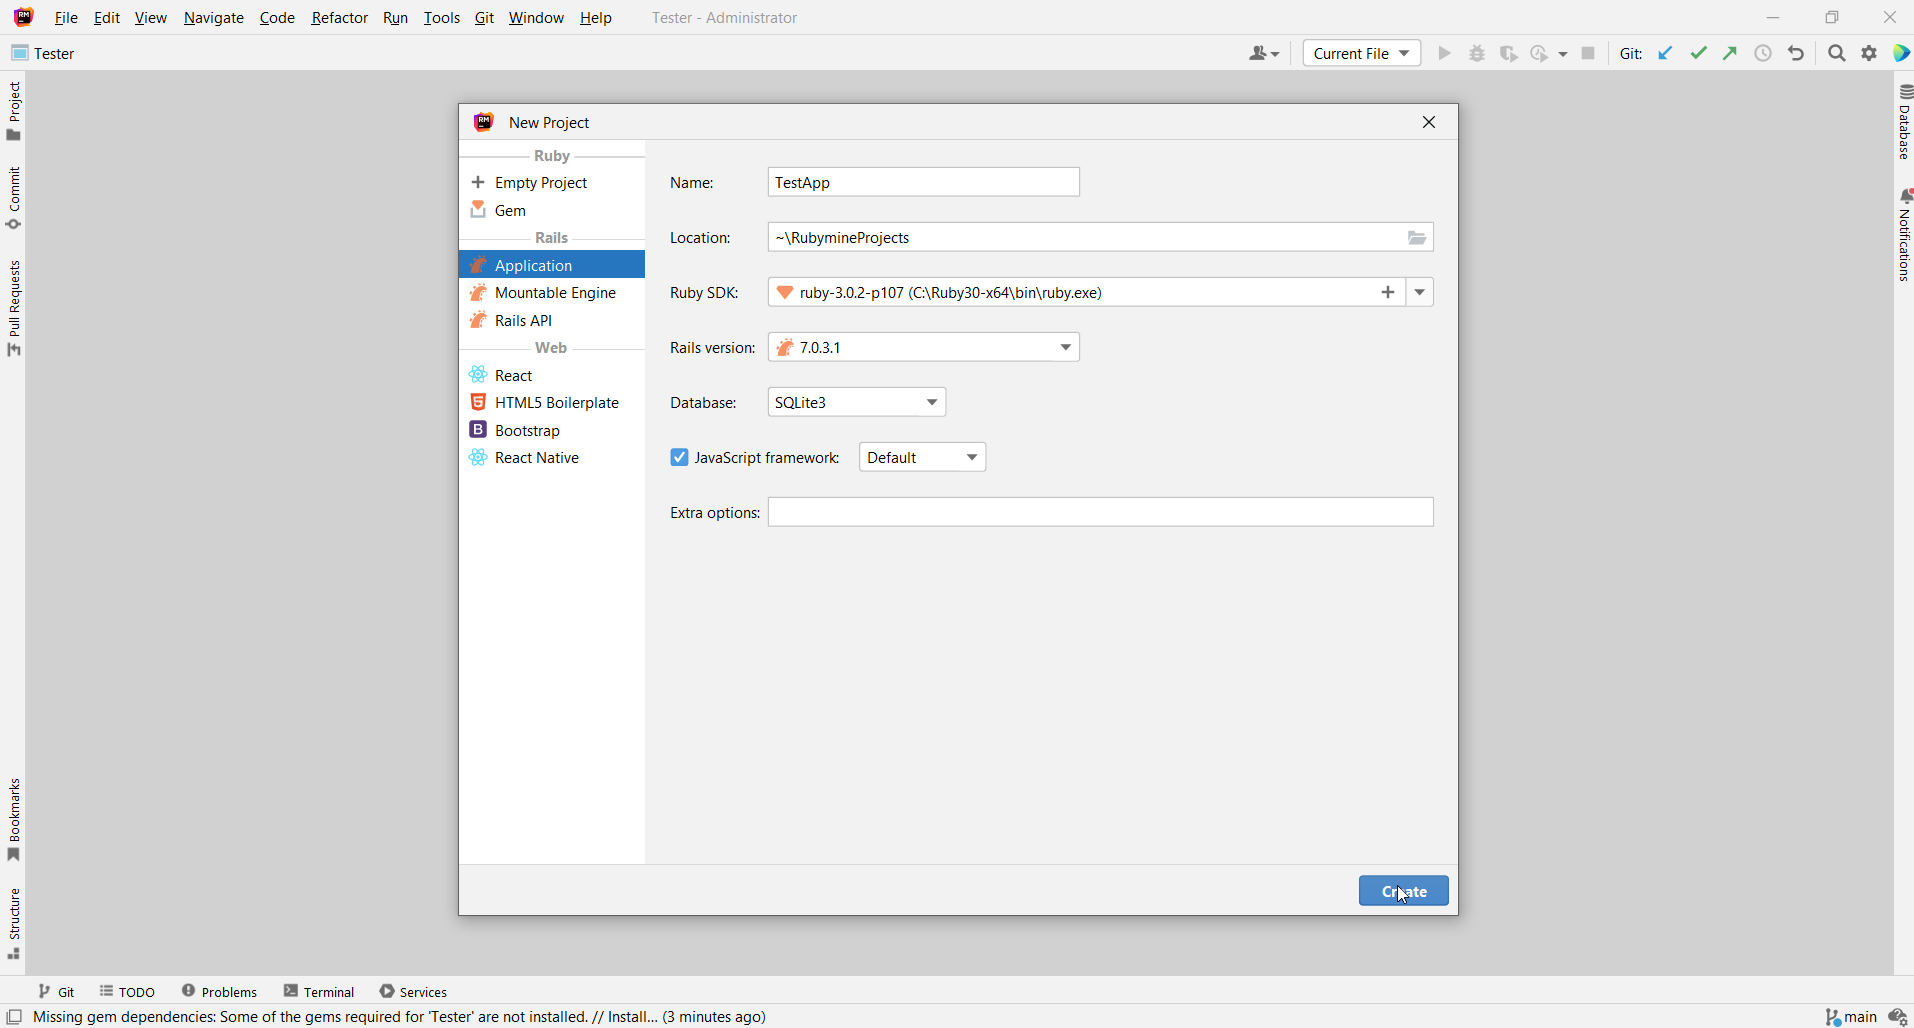
Close any existing projects in RubyMine™ by selecting File -> Close Project. Next, click on Create New Project to create a new project from scratch.

Next, provide TestApp as the project name, choose Rails Application as the project type, and make sure that the correct Ruby SDK is being used (>= 2.6 and < 3.1) and click OK.
In order to use the generated gem in the new project, you need to add a gem reference. Locate the Gemfile in the Project Explorer window under the TestApp project node. The file contains references to all gems being used in the project. Here, add the reference to the library gem.
gem 'apimatic_calculator', '1.1.0'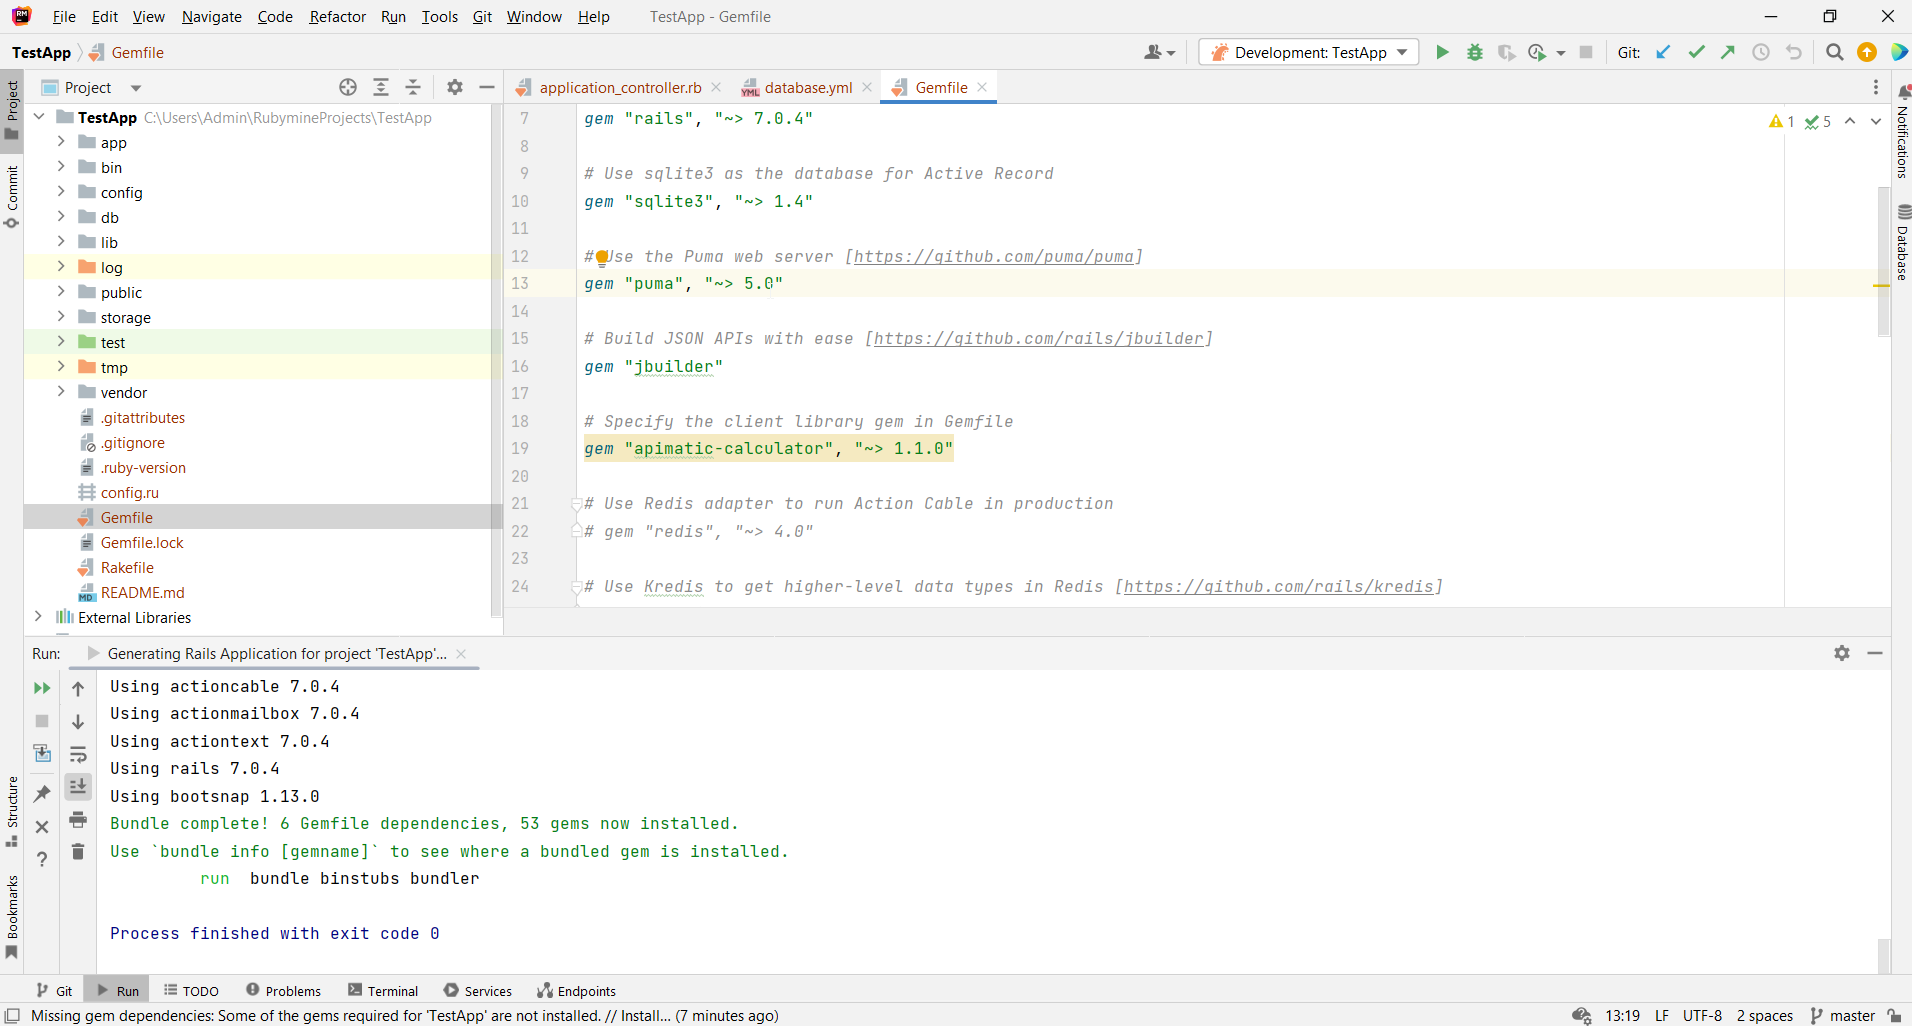
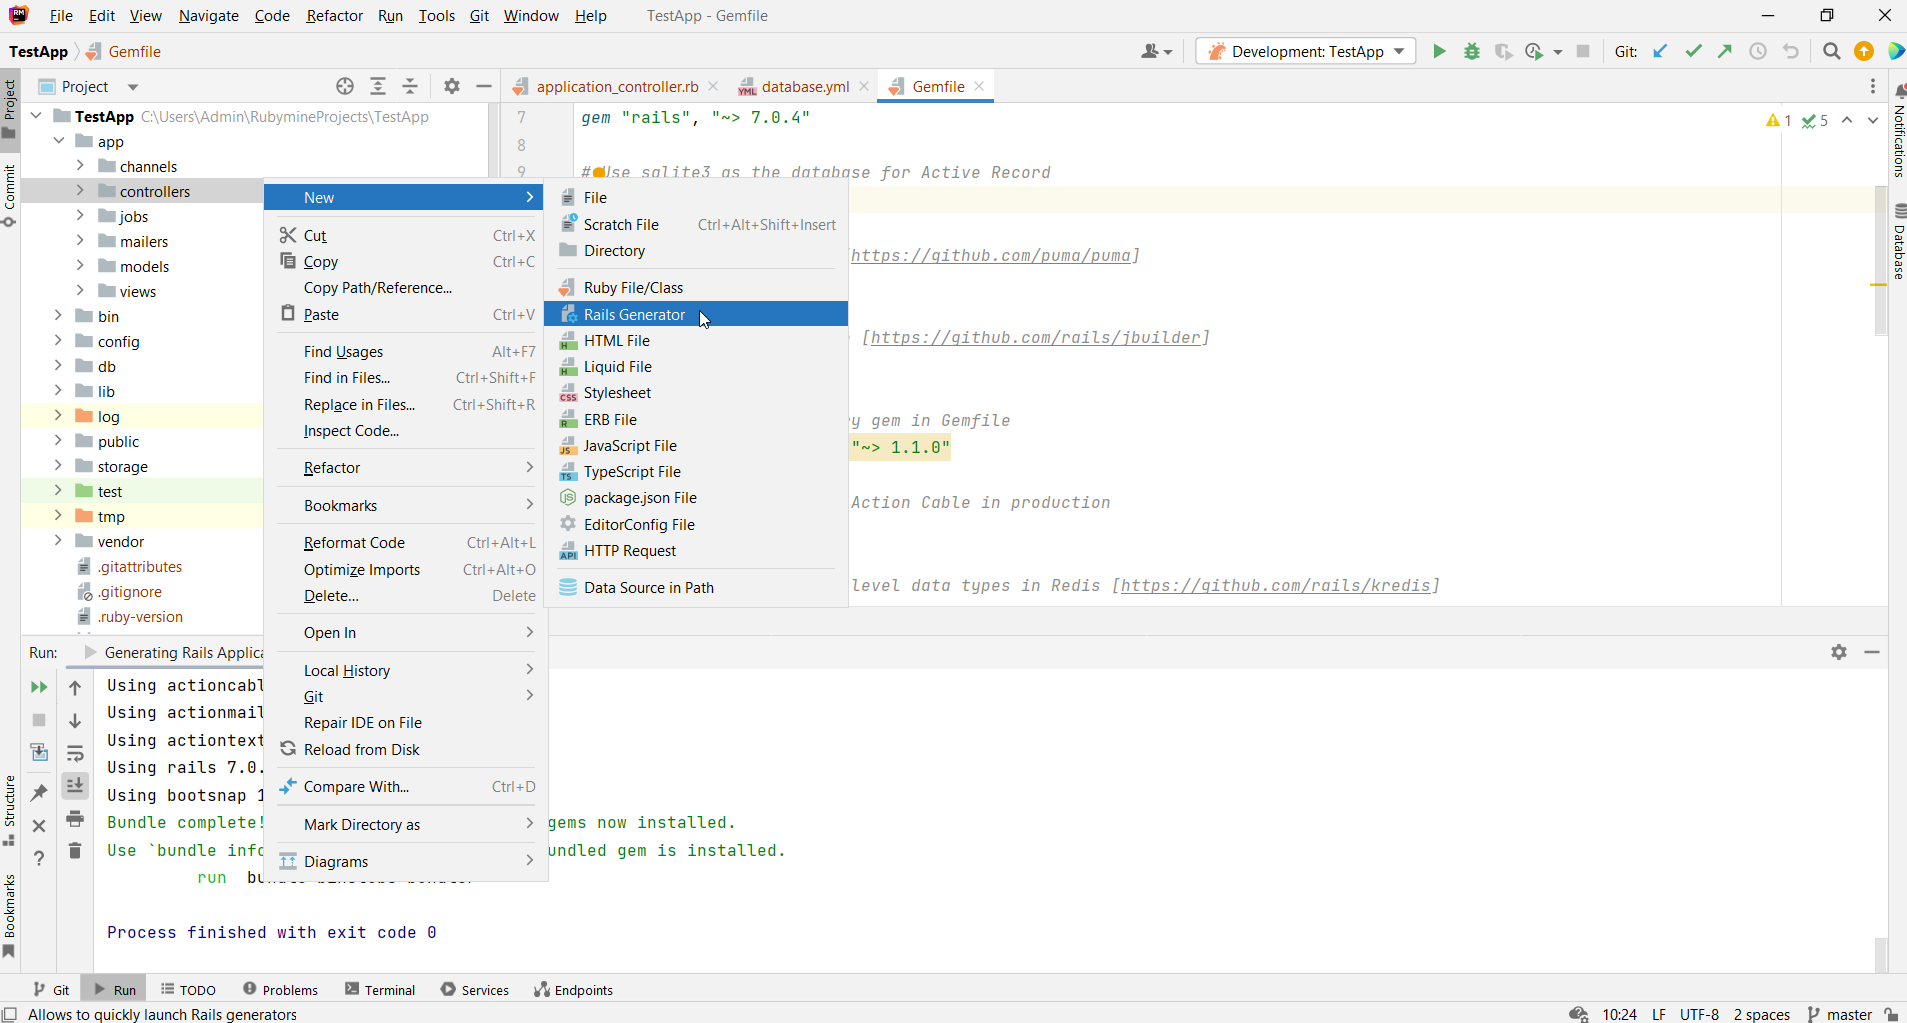
Once the TestApp project is created, a folder named controllers will be visible in the Project Explorer under the following path: TestApp > app > controllers. Right click on this folder and select New -> Run Rails Generator....
This opens a window where the generator names are displayed. Here, select the controller template.
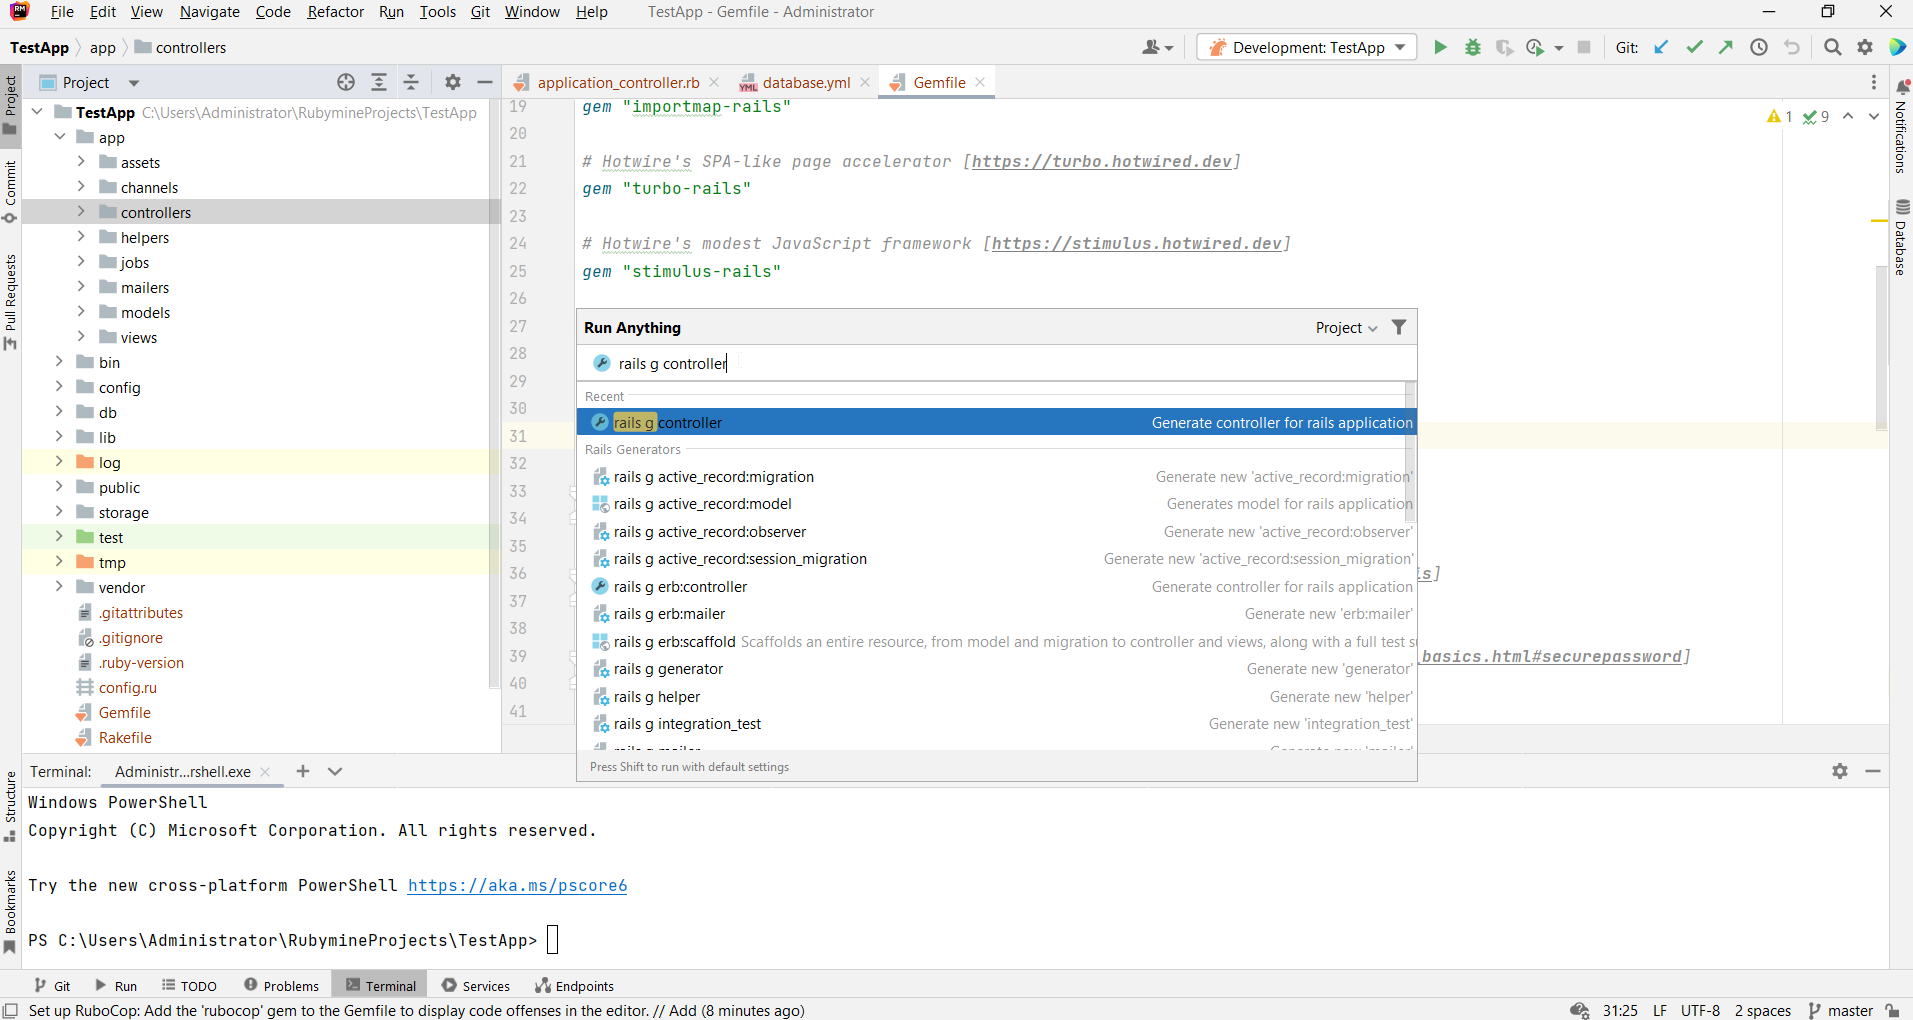
Next, add a Controller name and included Actions. Click OK.

A new controller class named
HelloControllerwill be created in a file named hello_controller.rb containing a method namedIndex. In this method, add code for initialization and a sample for its usage.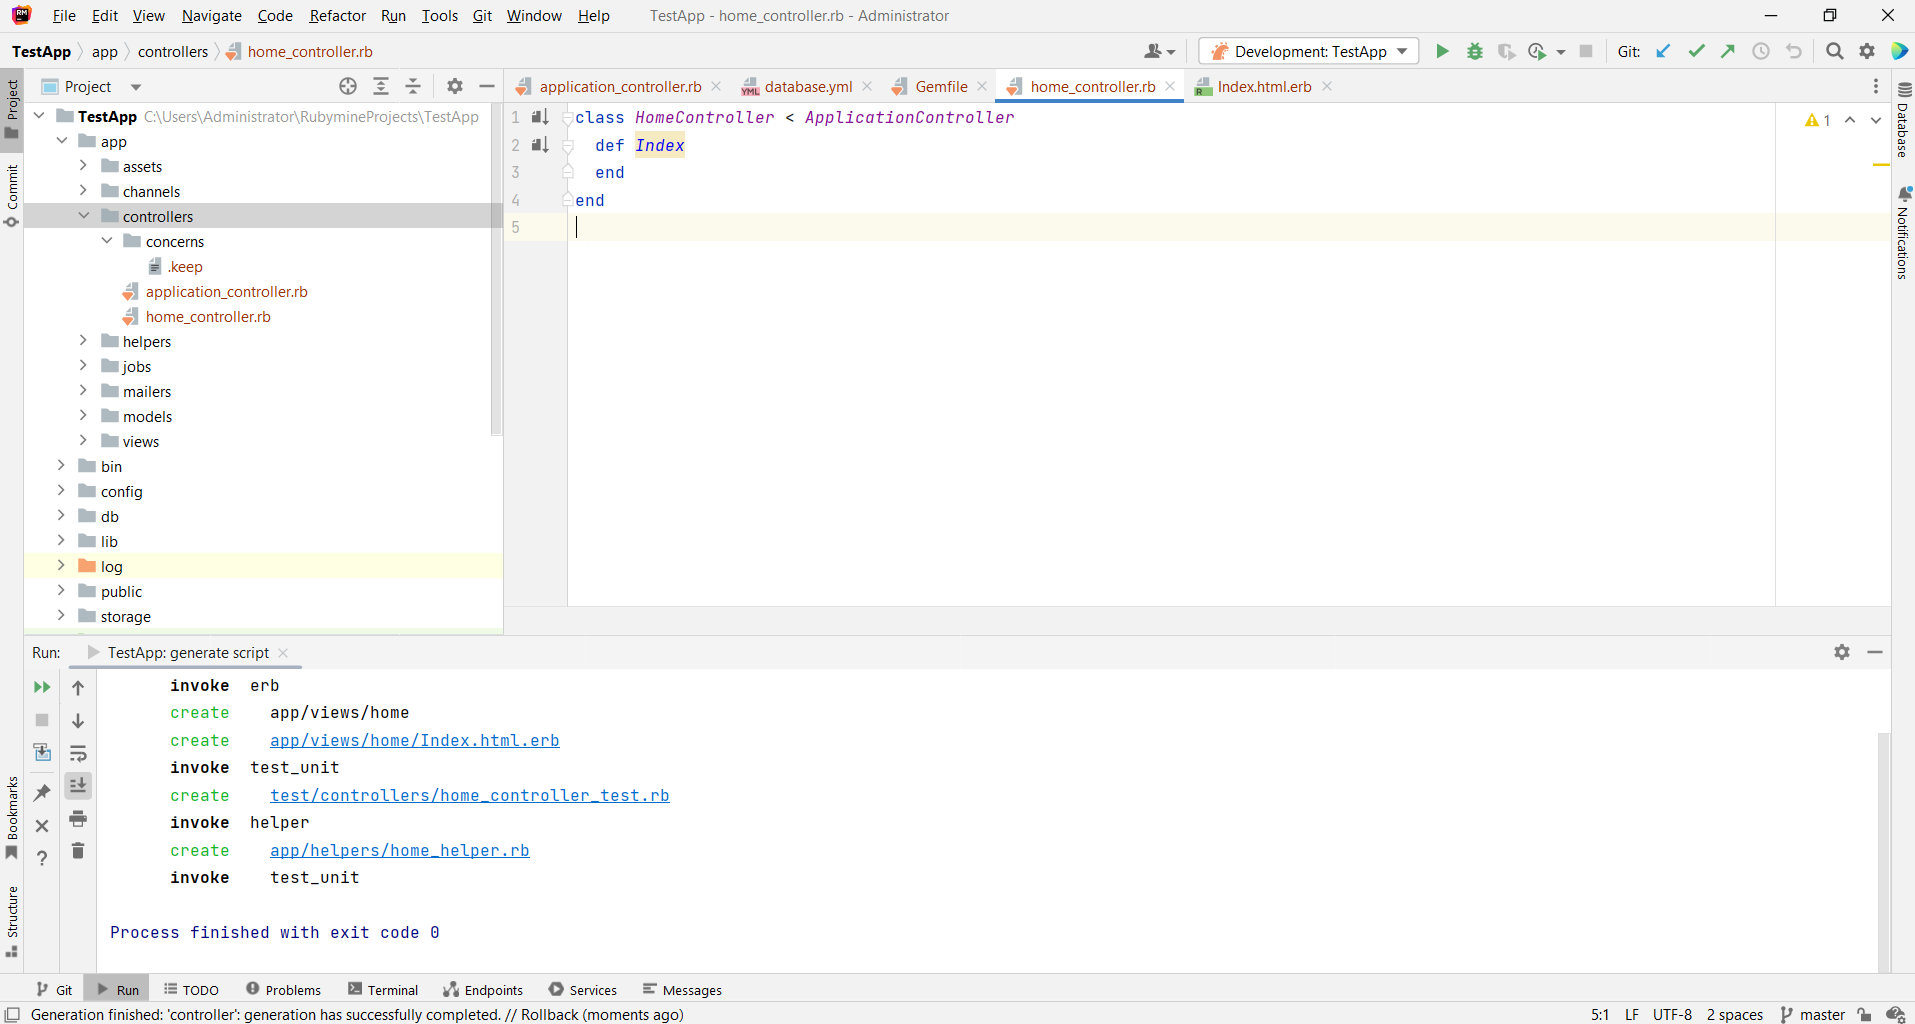
Test the SDK:
To run the automatically generated tests, navigate to the root directory of the SDK in your terminal and execute the following command:
rake
Installation:
This section explains how to consume a PHP SDK in PhpStorm.
Open an IDE for PHP like PhpStorm.
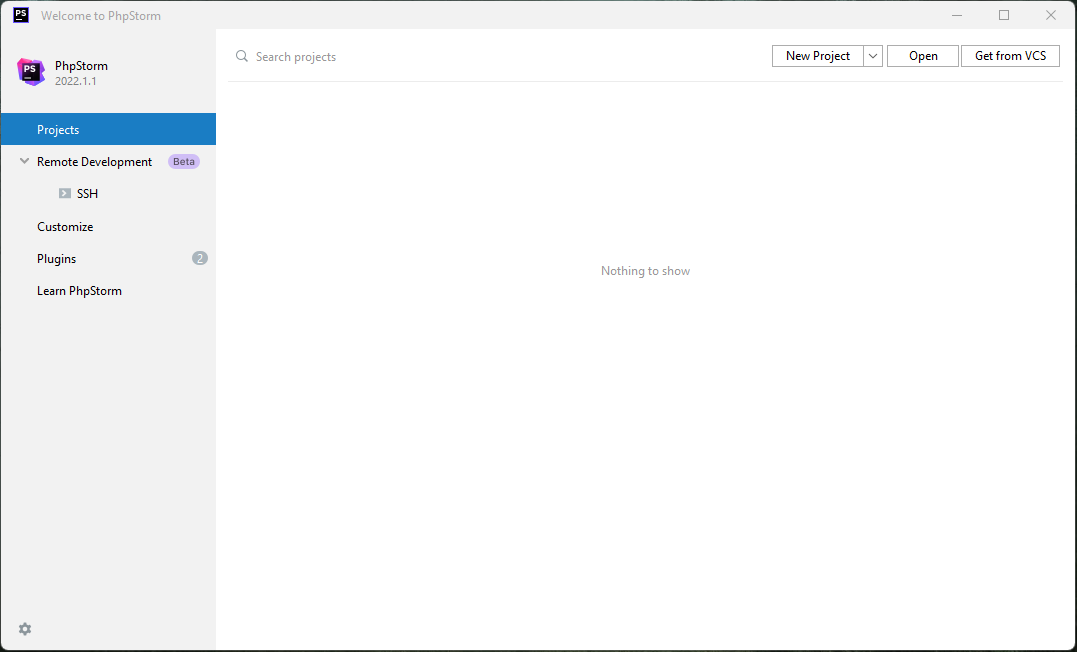
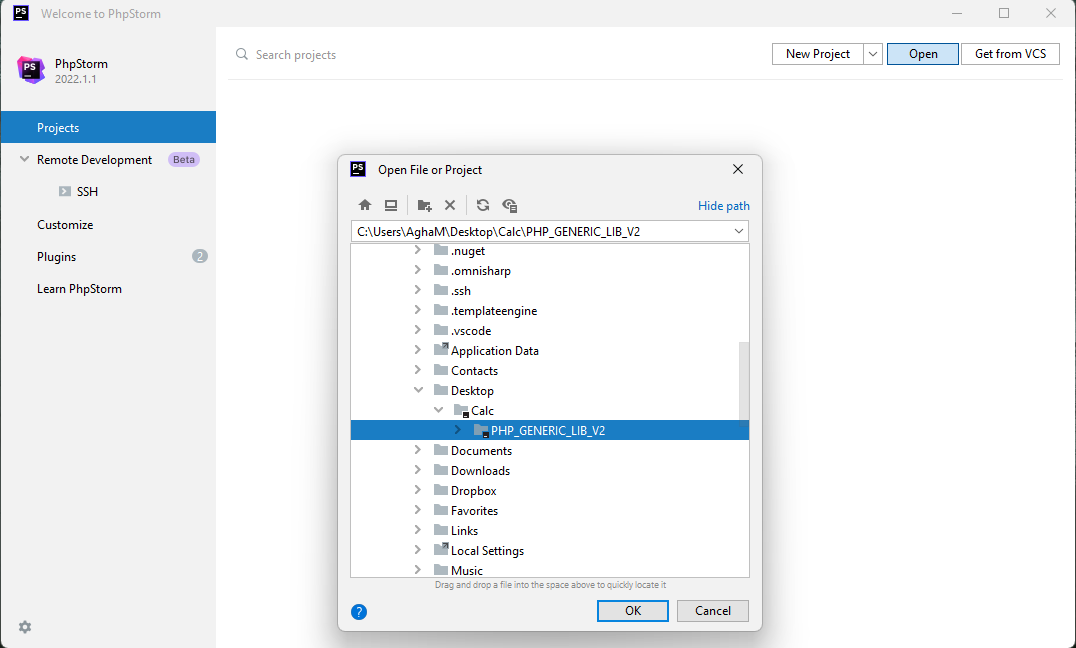
Click on Open in PhpStorm to browse to your generated SDK directory and then click OK.
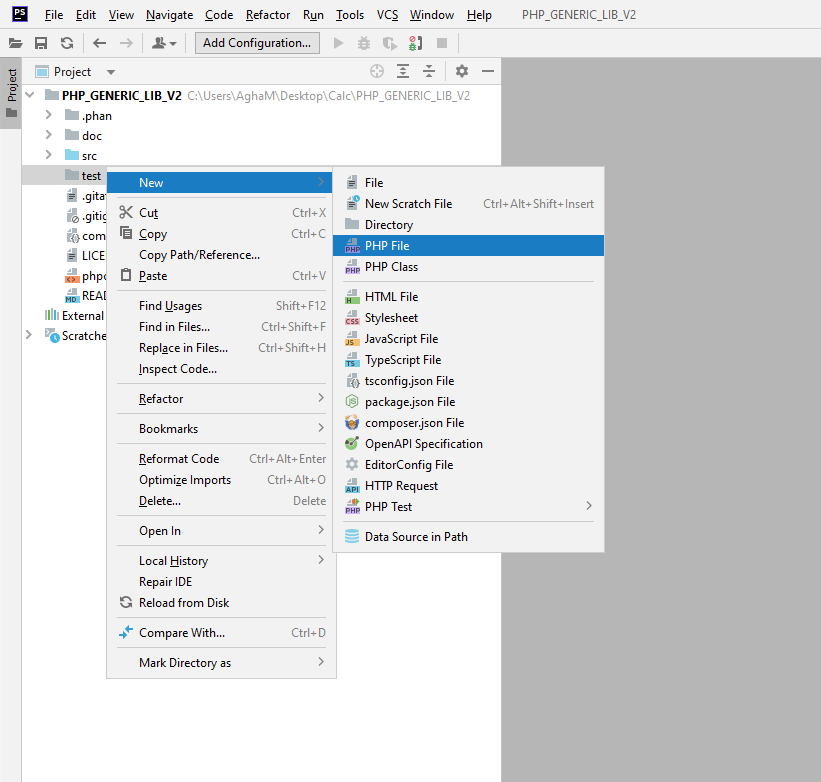
Create a new directory by right clicking on the solution name.
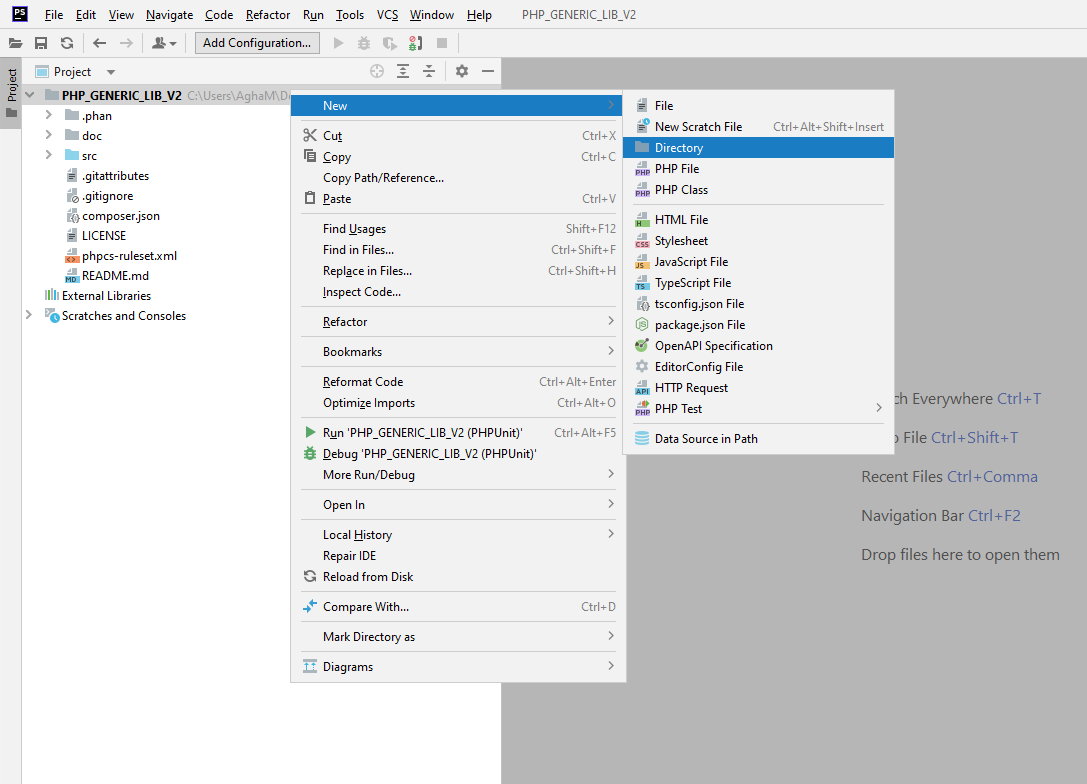
Name this directory as test.

Add a PHP file to this project and name it testSDK.
Depending on your project setup, you might need to include composer's autoloader in your PHP code to enable auto loading of classes.
require_once "vendor/autoload.php";
It is important that the path inside require_once correctly points to the file autoload.php inside the vendor directory created during dependency installations.
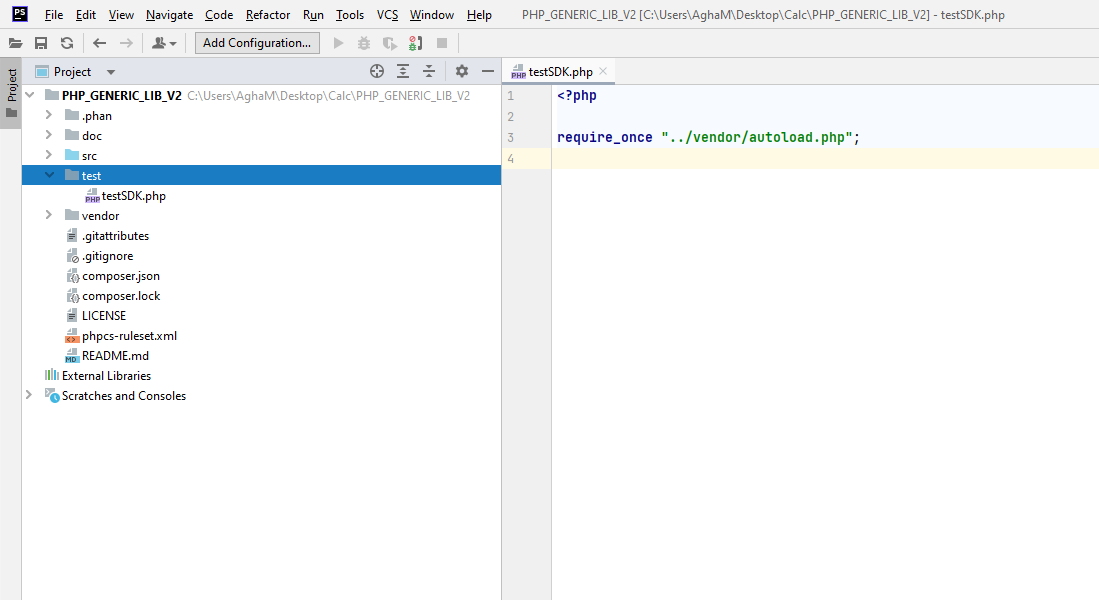
After this you can add code to initialize the client library and acquire the instance of a Controller class.
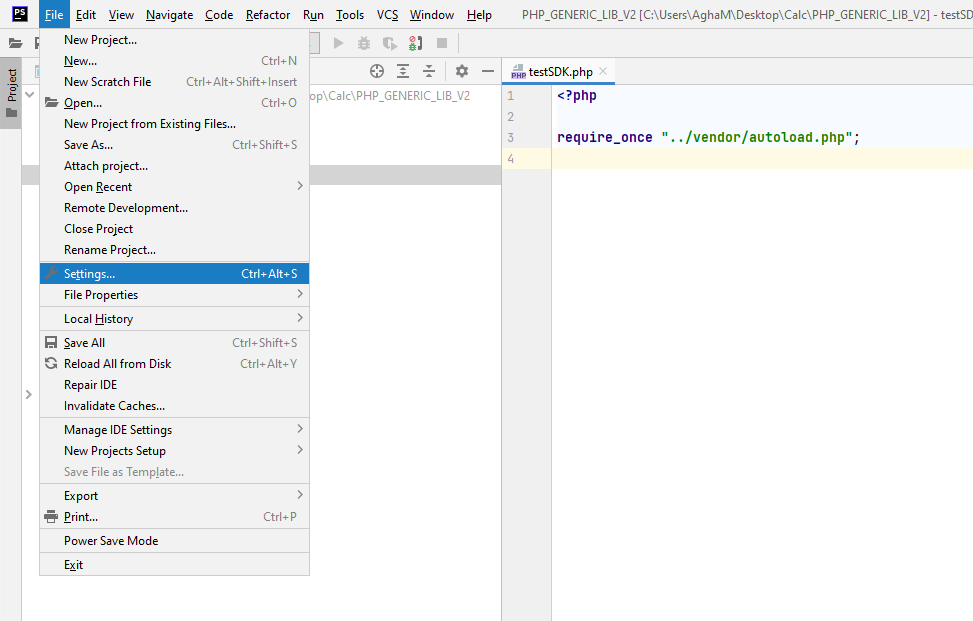
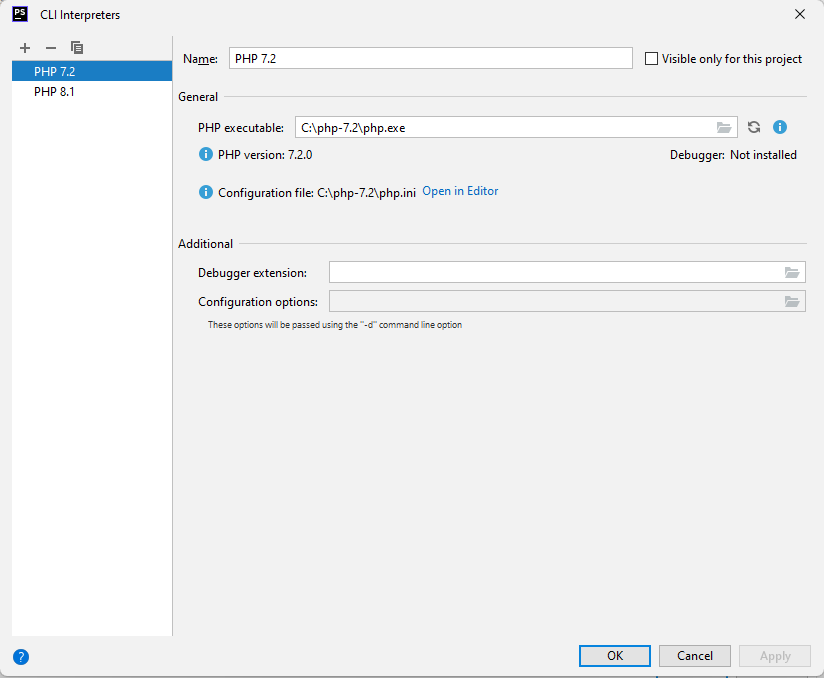
To run your project you must set the Interpreter for your project. This Interpreter is the PHP engine installed on your computer.
Open Settings from File menu.
Select PHP from within Languages & Frameworks. Browse for Interpreters near the Interpreter option and choose your interpreter.
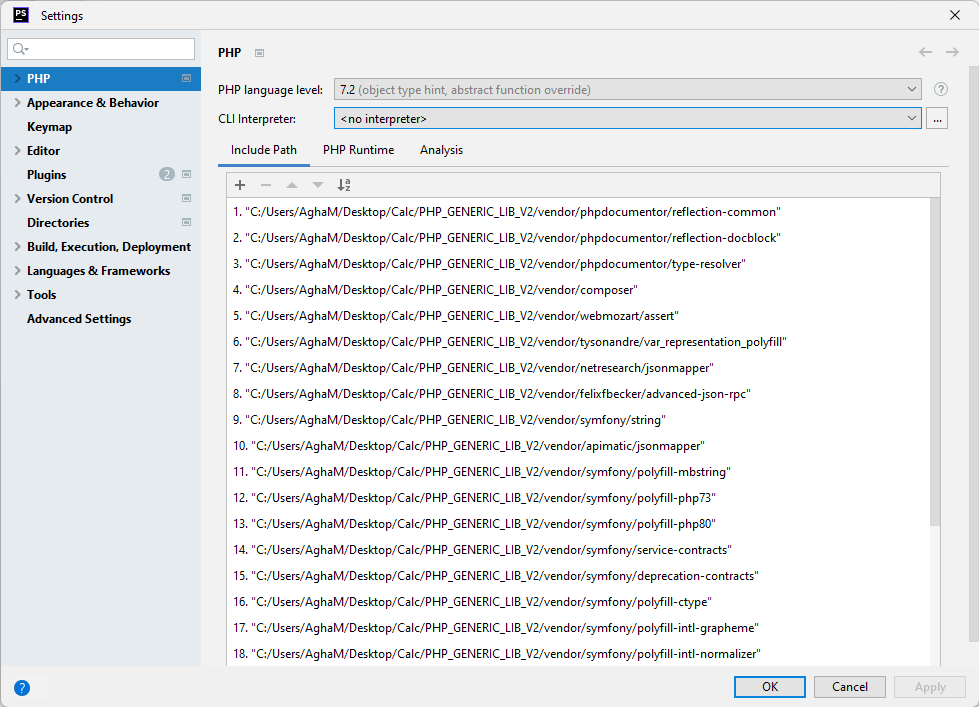
Once the interpreter is selected, click OK.
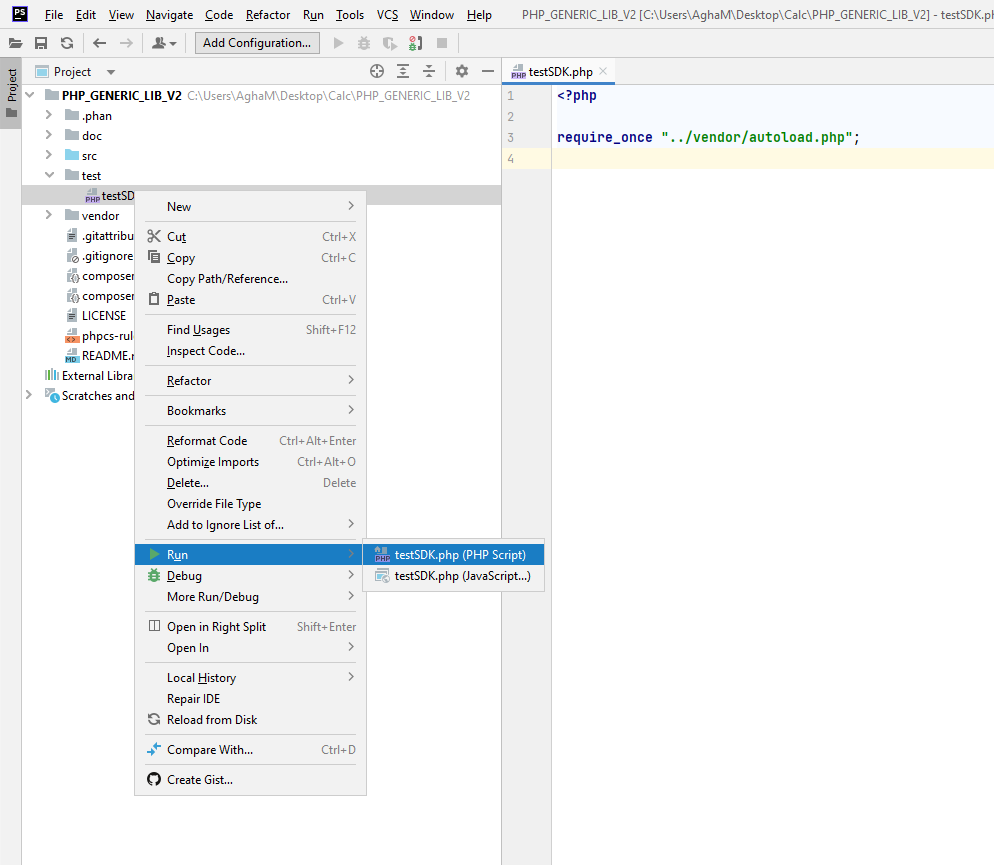
To run your project, right click on your PHP file inside your Test project and click on Run.
Test the SDK:
Unit tests in this SDK can be run using PHPUnit.
- First install the dependencies using composer including the
require-devdependencies. - Run the following command from terminal to execute tests.
vendor\bin\phpunit --verbose
- If you have installed PHPUnit globally, run tests using the following command instead.
phpunit --verbose
You can change the PHPUnit test configuration in the phpunit.xml file.
Installation:
The following section explains how to use the generated library in a new project.
The following section explains how to use an APIMatic generated TypeScript SDK using Visual Studio Code.
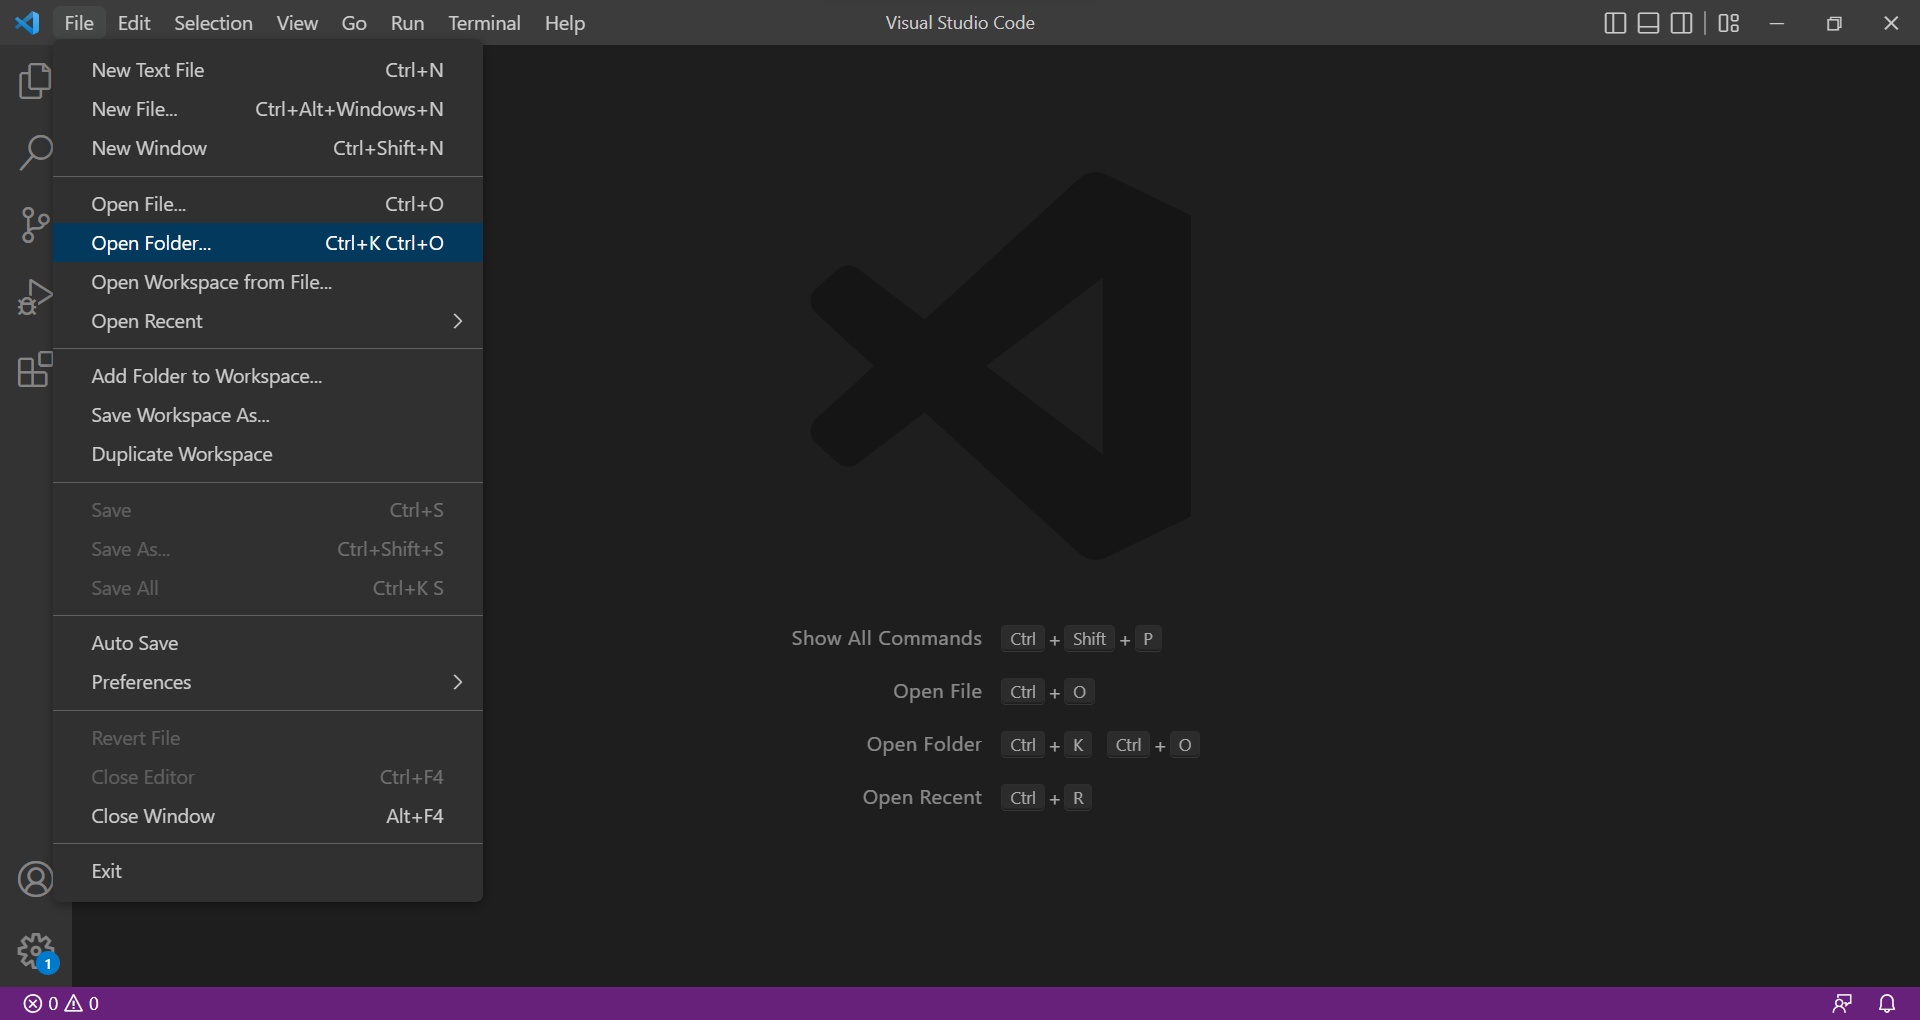
Open a JavaScript editor like Visual Studio Code.
Click on File and select Open Folder. Select an empty folder of your project, the folder will become visible in the sidebar on the left.
To initialize the Node project, click on Terminal and select the New Terminal option. Execute the following command in the terminal:
npm init --y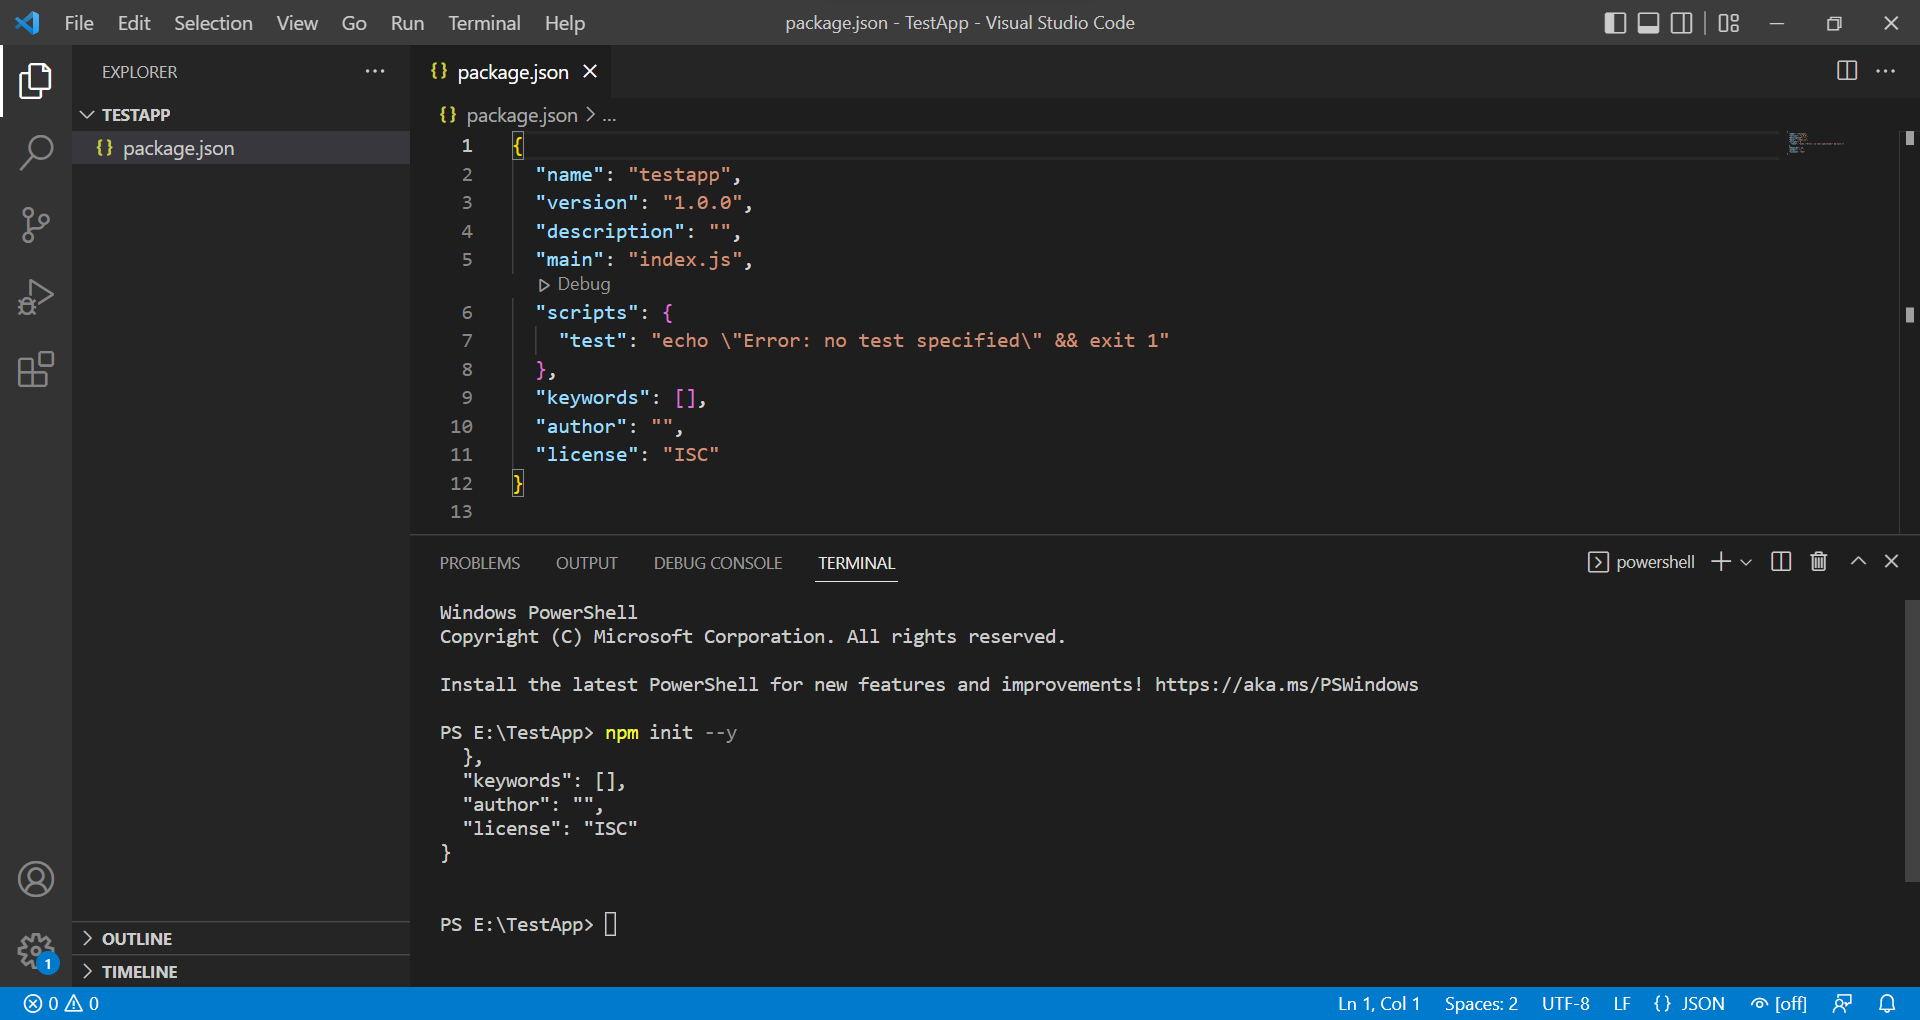
Run the following command in the terminal to add dependencies of the client library in your current project.
npm install --save ../path/to/calculatorSdk
Installation:
The following section explains how to use a Go client library in a new project.
- Add the following lines to your application's
go.modfile to reference the SDK in your project:
replace calculator => "../path/to/calculatorSdk"

require calculator v0.0.0
- Resolve the dependencies in the updated
go.modfile, using thego getcommand.