Apiary
Apiary is commonly used for API documentation. APIMatic allows you to embed APIMatic SDK generation widgets into your API documentation on Apiary so your users can get one click access to SDKs for your API. This article will take you through the integration process of APIMatic and Apiary.
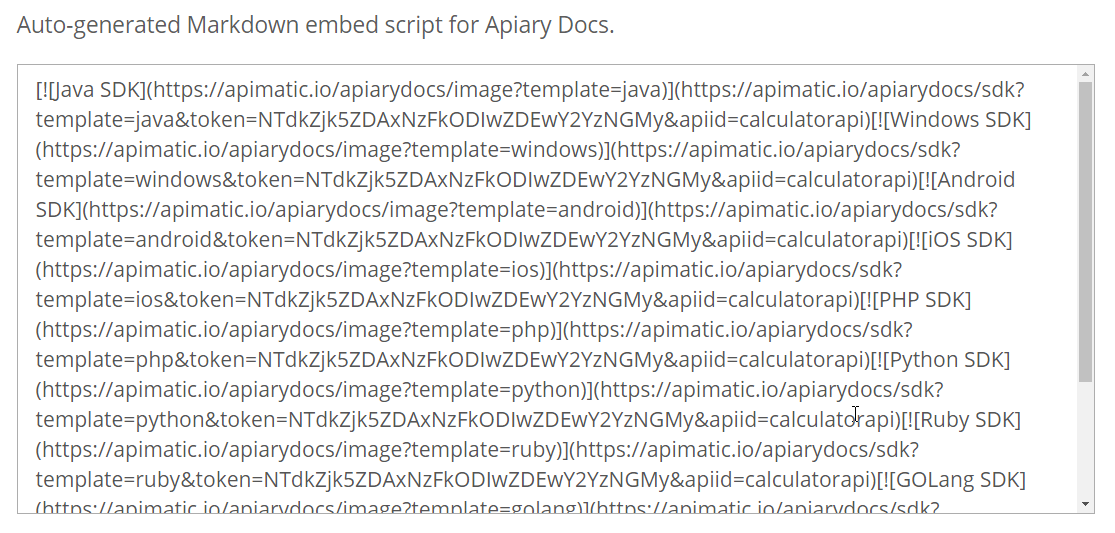
[](https://www.apimatic.io/apiarydocs/sdk?template=java&token=NTdkZjk5ZDAxNzFkODIwZDEwY2YzNGMy&apiid=calculatorapi)
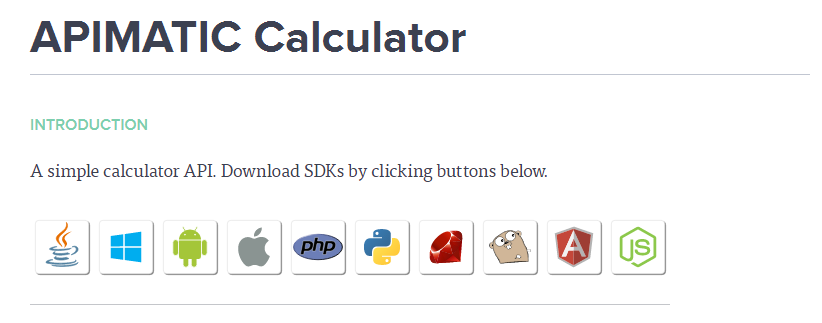
This markdown, when rendered, creates an image button which on click will generate and download your SDK. You can see multiple such image buttons in the picture below.

Each image link will include the following:
{TEMPLATE}, which is your chosen language or platform.
The allowed values are:java,windows,ios,android,php,ruby,python,golang,angularjsandnodejs.{TOKEN}, which is your integration token value{RAML_URL}, which is either RAML as YAML, or RAML as JSON. The latter has advantages in terms of faster response times.
Embedding SDK Buttons
All you need to do is provide APIMatic with your Apiart Documentation URL and we'll take care of the rest. Follow these simple steps to embed our widgets.
Step 1 - Open the Integrations Page
The integrations page can be found in the account section. The second tab on the page is for Apiary integration.

Step 2 - Input your Apiary Documentation URL
In the text area, input your Apiary Documentation URL as shown below.
Step 3 - Generate Markdown
After you've entered your Apiary Documentation URL, click on Update ID and Embed Script button. This will generate markdown for APIMatic widgets. A preview is also shown underneath.

Step 4 - Using Markdown
Copy this markdown code and paste it in your API definition in the Apiary editor as shown below.

If done correctly, you should see the embedded SDK buttons on your Apiary API documentation page as shown below.

You can learn about the customization options and error handling of these widgets here.