Publishing SDKs to GitHub
APIMatic streamlines your SDK publishing to GitHub. Just specify the target repository & branch names and the generated SDKs are automatically pushed along with version tags for easy reference.
How does the GitHub publishing work?
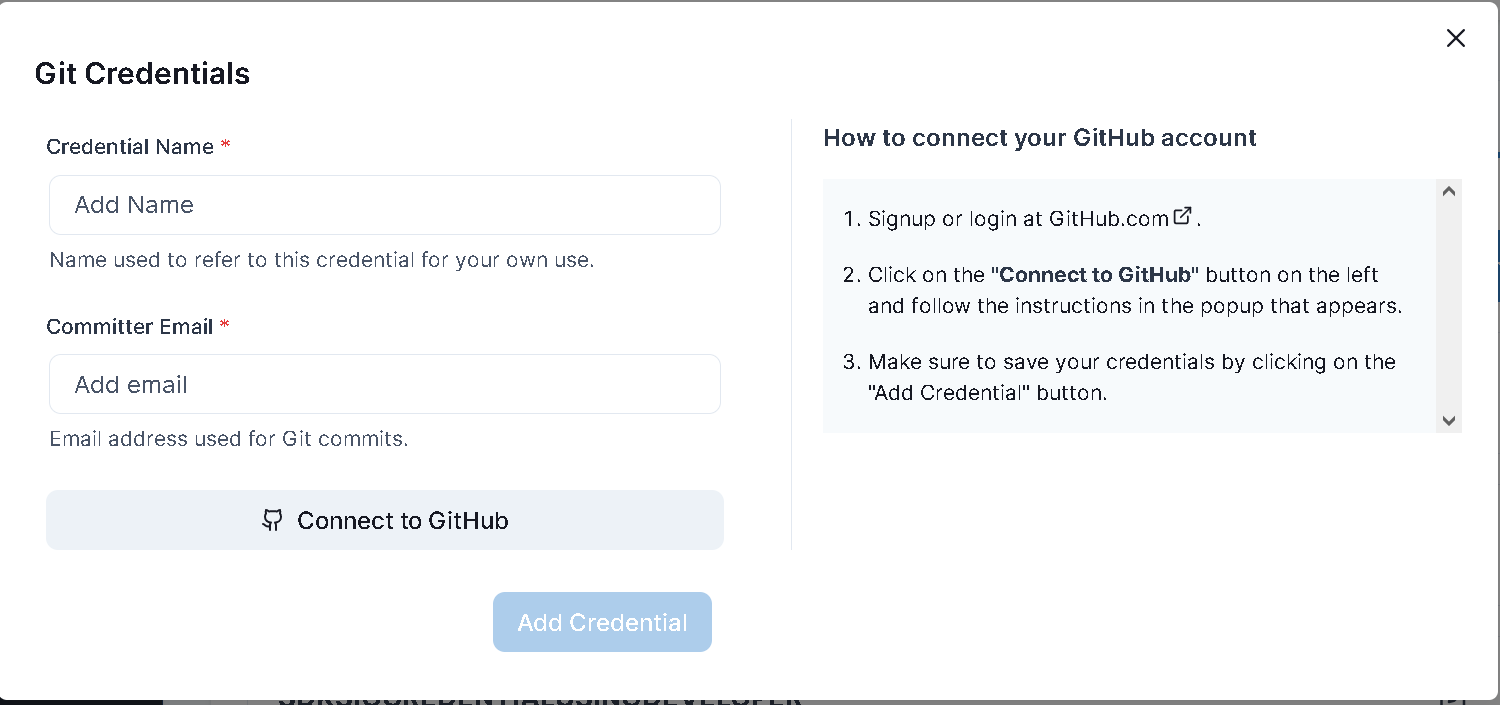
Simply authenticate with GitHub to create the GitHub Credentials and push the SDKs to either an existing repository or a new repository of your choice.
What branch does APIMatic publish to?
When you publish your SDK to GitHub with APIMatic, you can choose any name you like for the branch.
Can I make changes to the Code in my GitHub repository?
When APIMatic publishes Source Code to your GitHub repository, it purges all existing files before committing the updated SDK. This would overwrite any changes you make.
In order to prevent your changes from being overwritten, you can include updated files in the codegenignore file
Follow these steps to configure SDK Publishing to GitHub:
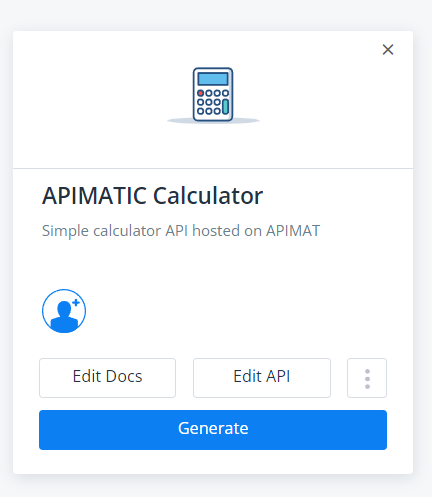
From APIMatic dashboard, navigate to the API for which you want to publish an SDK and click Generate.
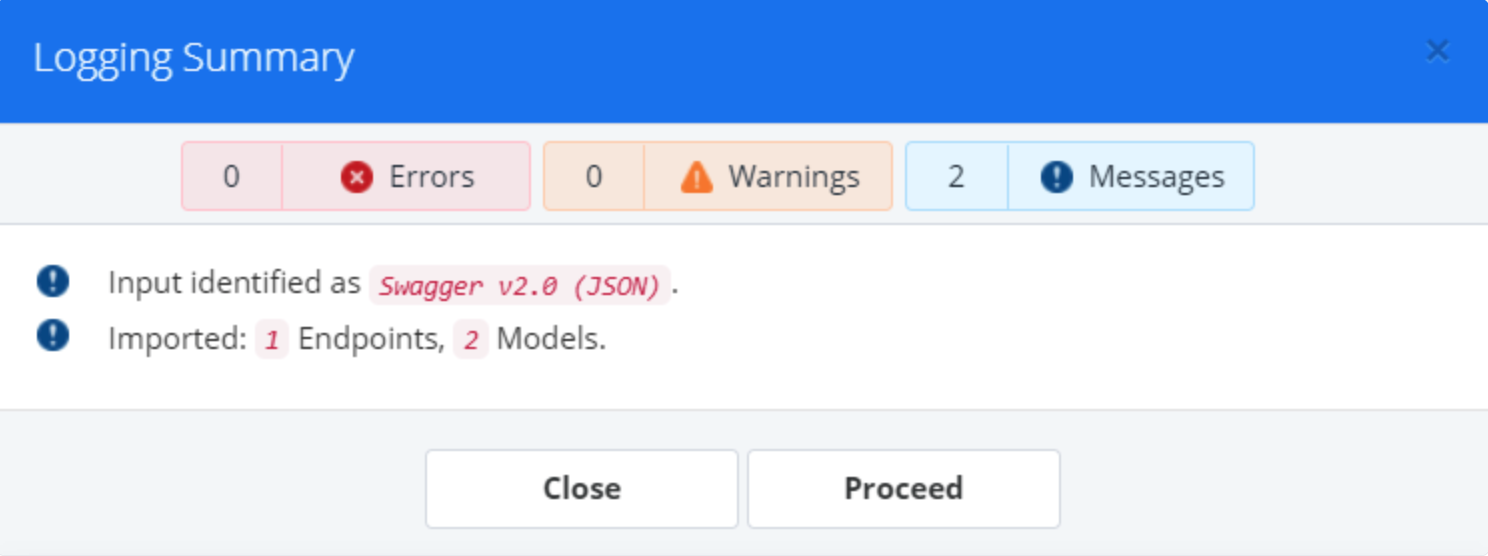
At this point, your API Specification is validated for Syntactic and Semantic correctness and you are provided with a validation summary that lists errors, warnings and informational messages. If any errors are encountered in the API definition, you will be required to fix them before proceeding. You can resolve these errors by editing the API definition via APIMatic’s no-code API editor.
To access the API Editor, click the Edit button. For a detailed look at how the API Editor can be used to modify your API definition, refer to APIMatic’s documentation. If you have trouble fixing validation errors and would like some guidance, drop us an email at support@apimatic.io.
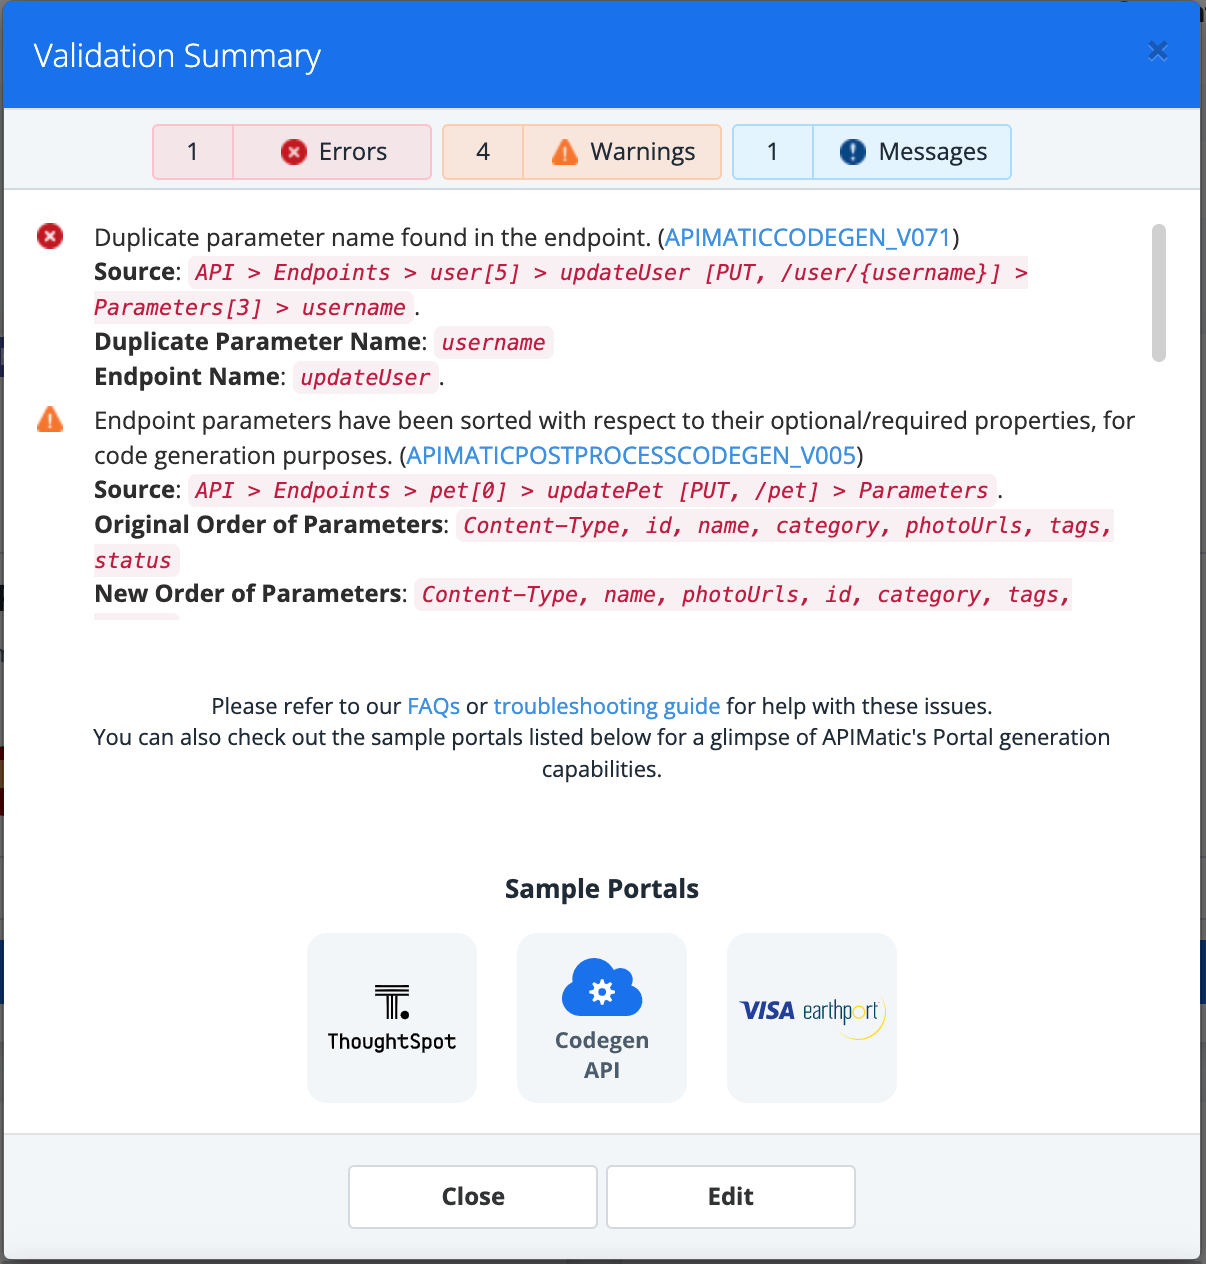
If there are no errors, you can click Proceed to move to the next step.
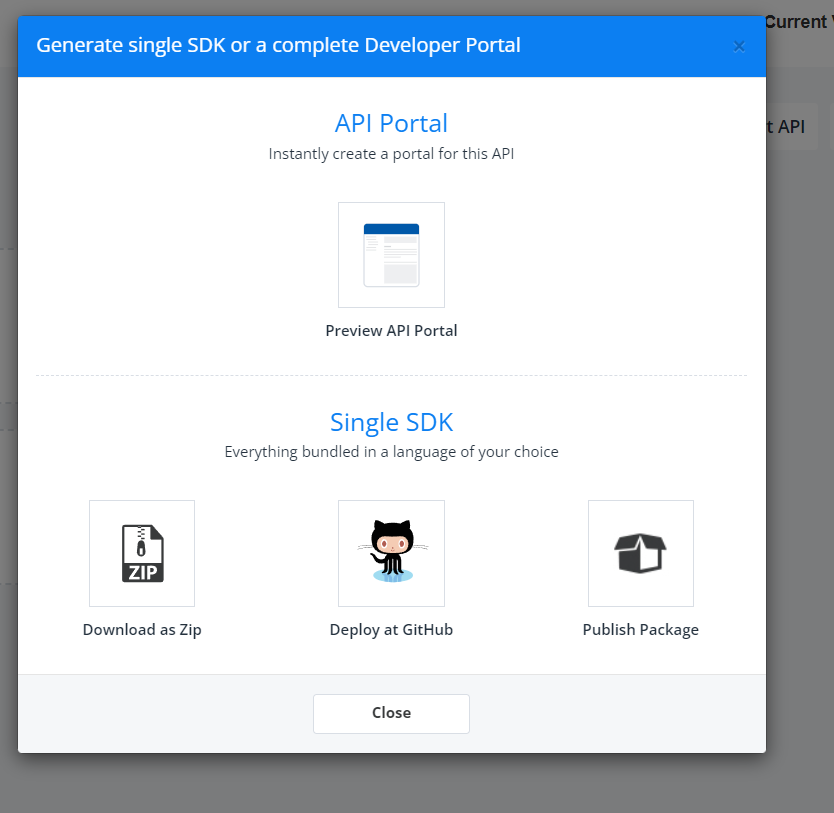
On the Generate popup, click Publish Package. This should take you to a wizard that will walk you through the process of publishing SDKs for your API to GitHub.
Configure SDK Publishing Settings
The following information needs to be provided to publish SDKs:
Credential required to publish an SDK to GitHub. This credential must have permission to create and update repositories.
Package Configurations that include metadata such as the name of the package, a brief description of what it does, its Authors etc.
APIMatic aggregates this information into an entity called a Publishing Profile.
Create Reusable Configurations for Publishing SDKs to GitHub
Create a Publishing Profile
Follow the steps listed below to create a Publishing Profile:
Provide a descriptive name for your Publishing Profile and click Save & Next.

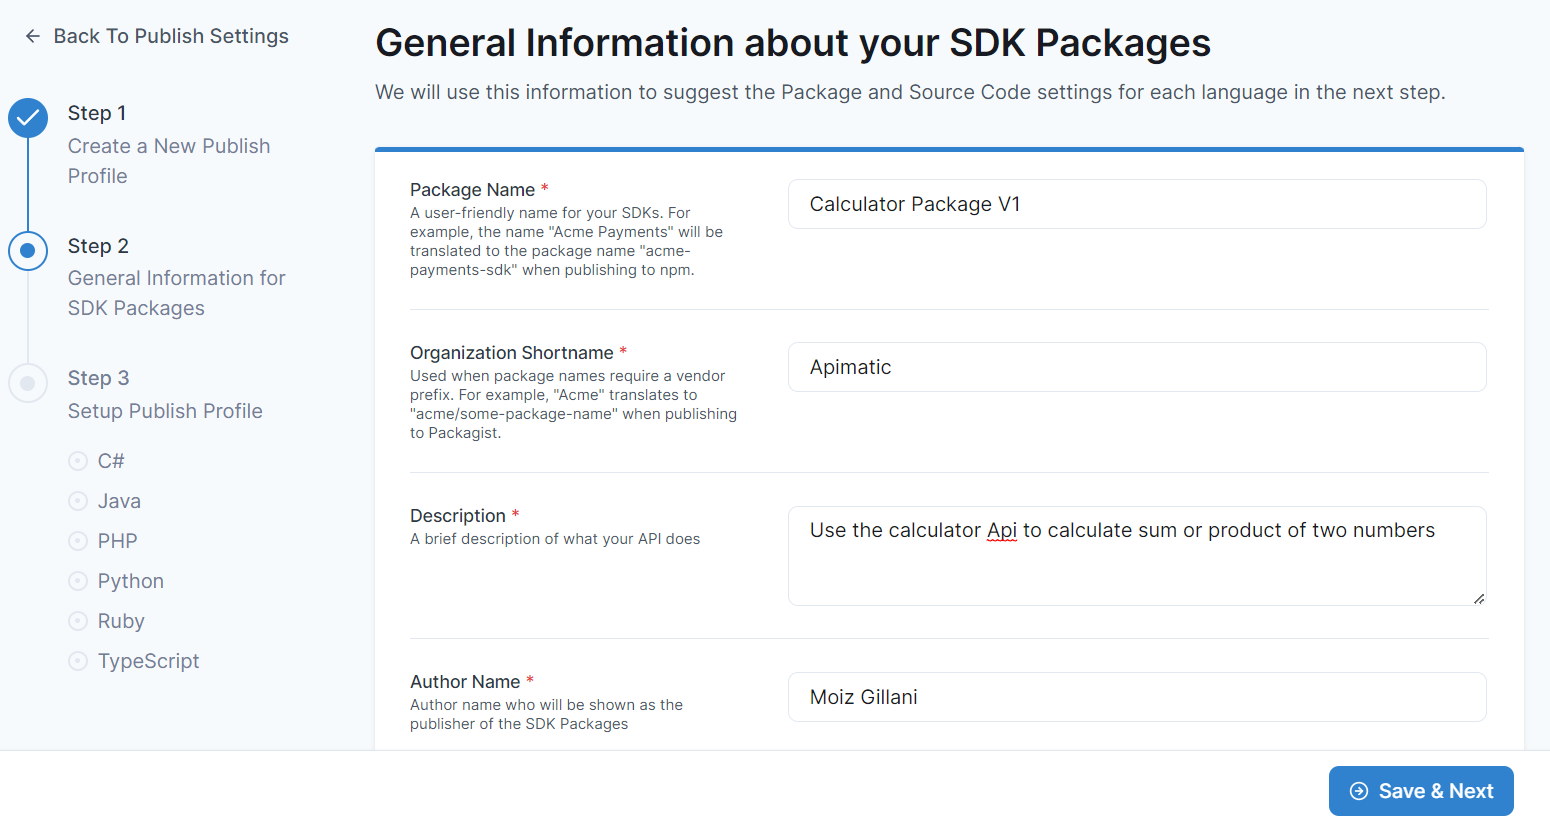
Provide General Information about your SDK Packages and click Save & Next. The information you provide here will be used to pre-populate metadata about each programming language you want to publish SDKs for.
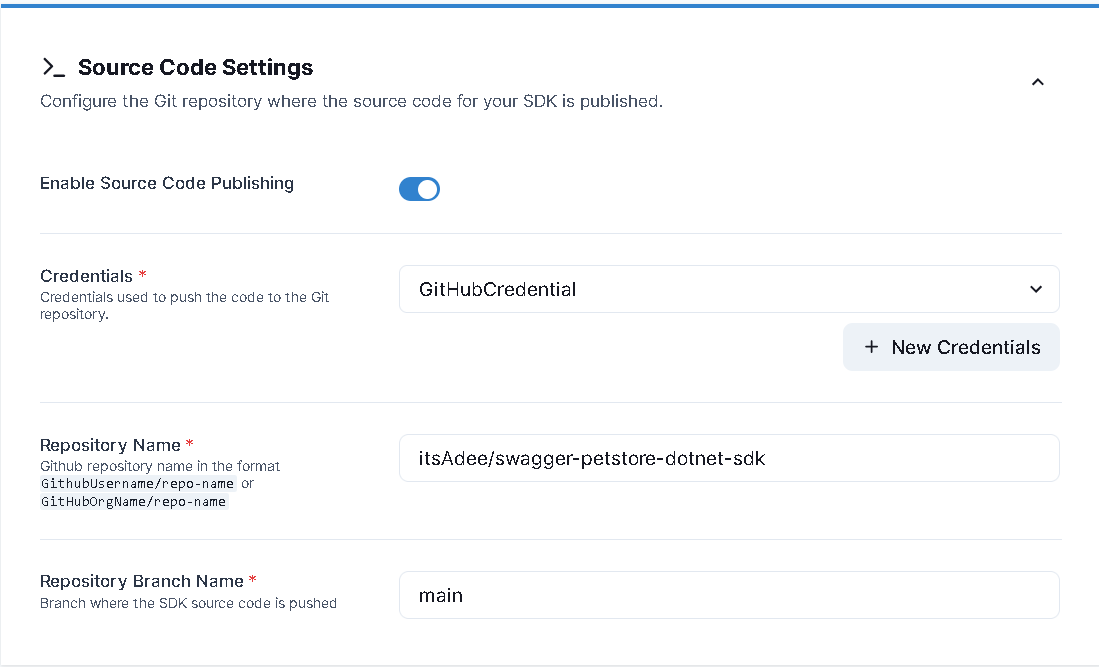
If you only wish to publish the SDK Source to GitHub, you can Disable Package Publishing to skip publishing to a Package Registry at this point. Review the Source Code Settings for each language. You can skip any languages that you don't want to publish; you will be able to set these up later. Some fields will be pre-filled based on the General Information you provided in the previous step. You will also need to provide Credentials for GitHub. More on Github Credentials in the next section.

Click Save to save these configurations.
Create Github Credential
- To create a Credential, navigate to the Credentials menu item from the sidebar and select git.
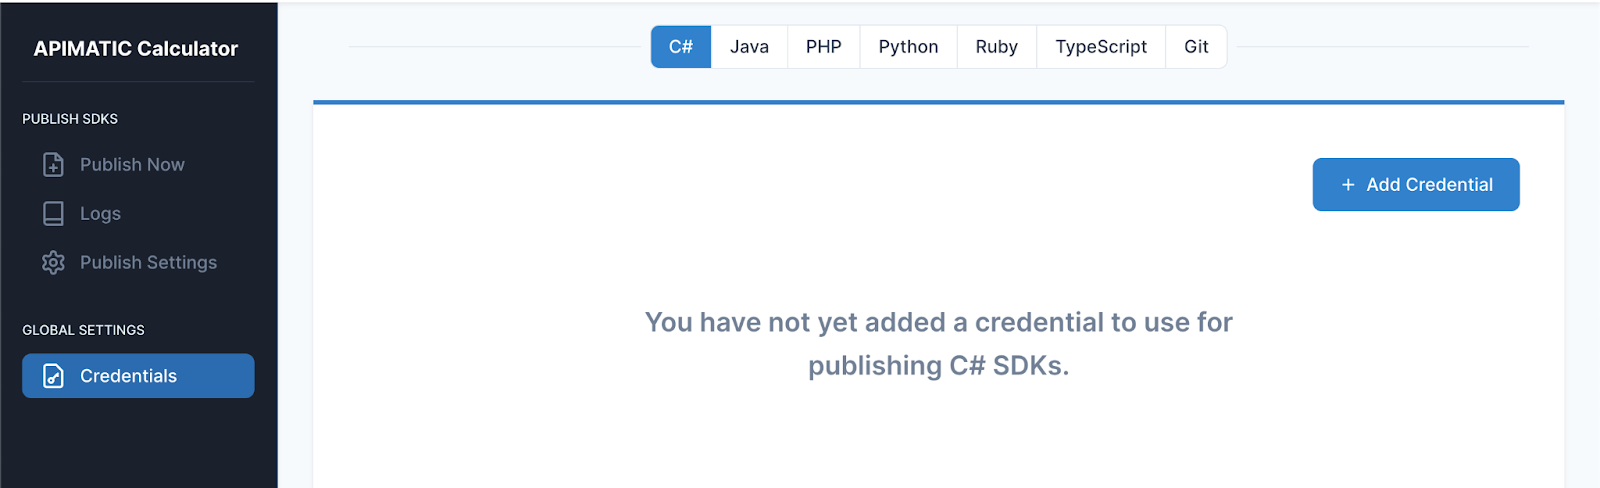
- Click the Add Credential button and follow the provided instructions to create the required gitHub credential.
Publish SDKs
After providing all the Package settings, you are ready to Publish your SDKs.
Select a Publishing Profile to use for publishing the SDKs. If you just set up a Profile, it will be pre-selected for you. Next, provide a Package Version for your SDK that follows the semantic version format
MAJOR.MINOR.PATCHe.g.1.0.1. This version number will be used to create a tag in your GitHub repository. You can either provide a single version for all SDKs or a separate version for each. After providing Package Versions, click on Publish Packages and Source Code to initiate the Publishing process.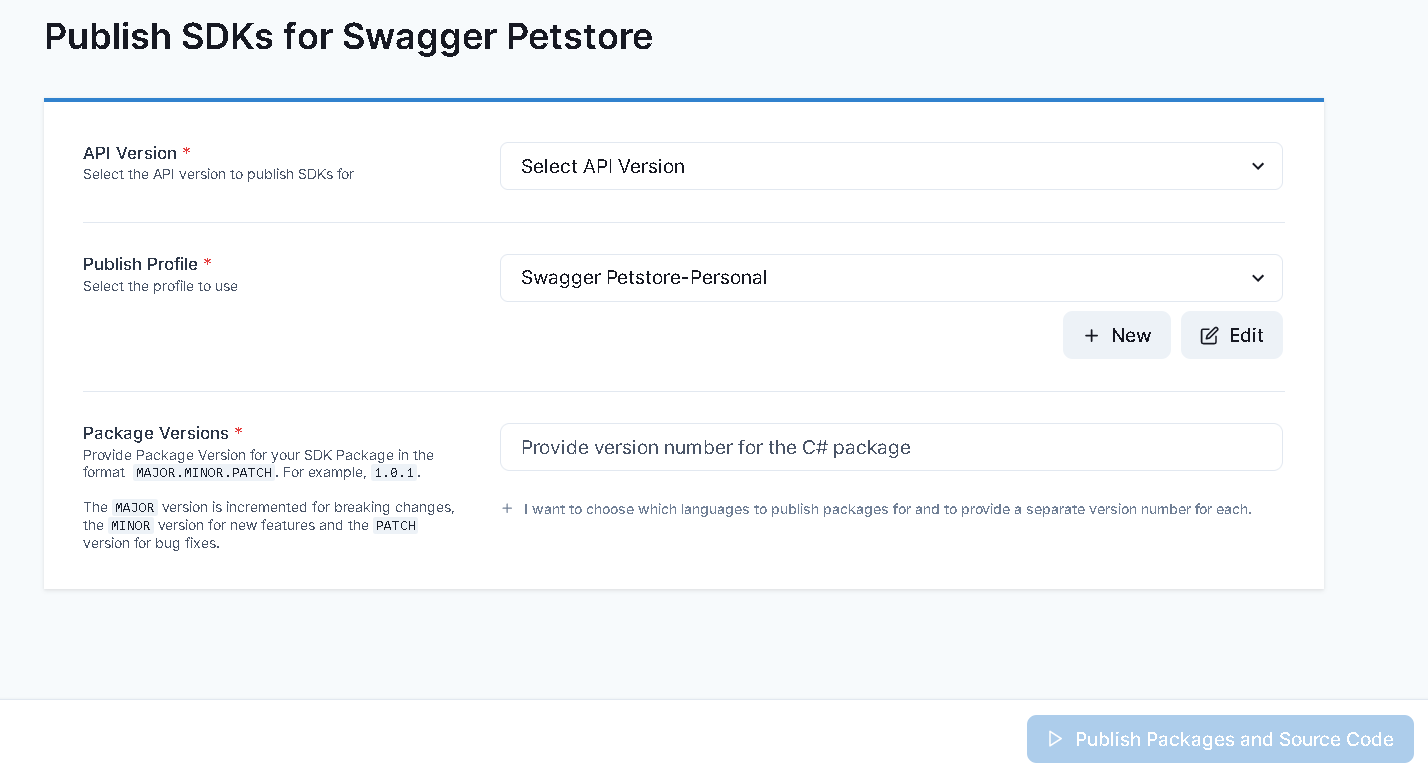
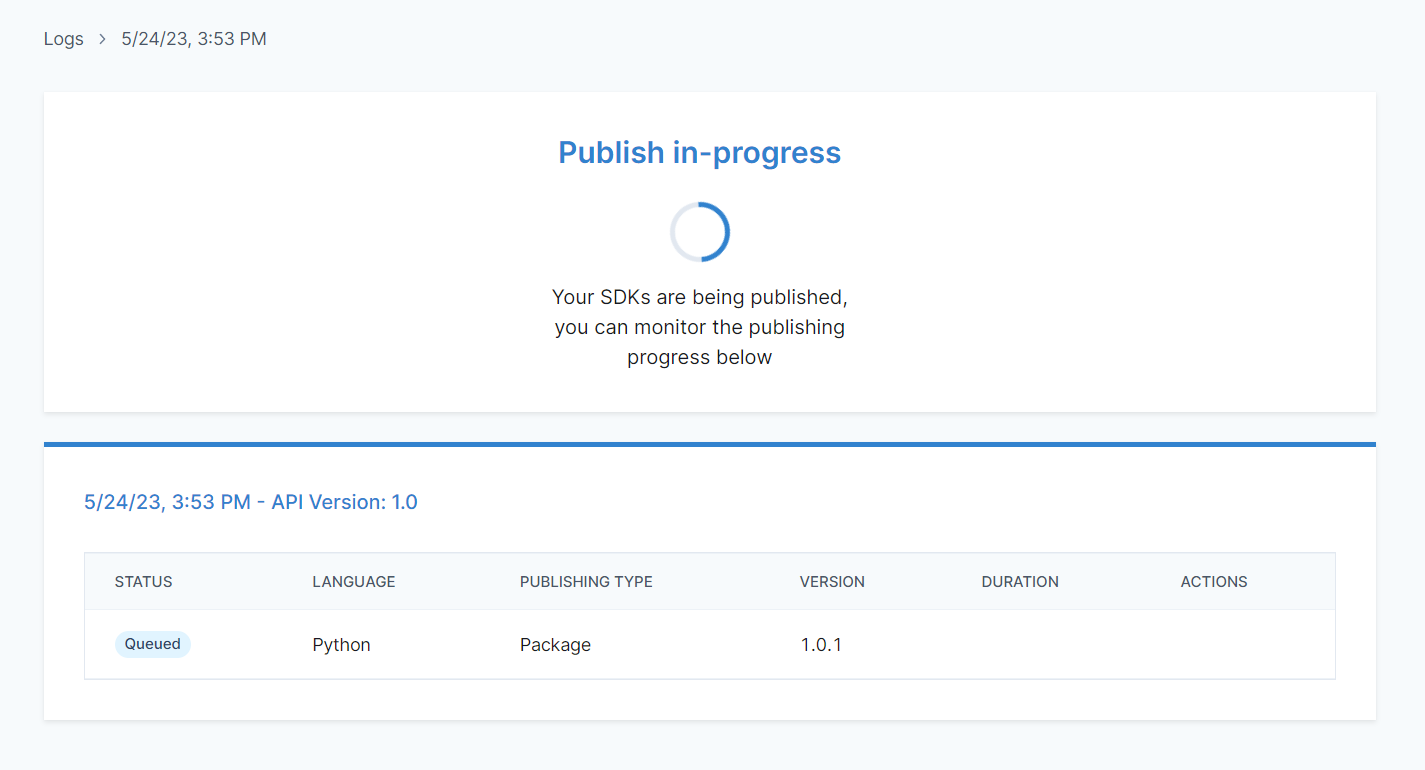
Publishing can take a few minutes. You can track the status of each individual SDK while it's being published. The status is updated dynamically as publishing progresses.
After Publishing completes, the status of all initiated publishing attempts will be updated to reflect either success or failure.
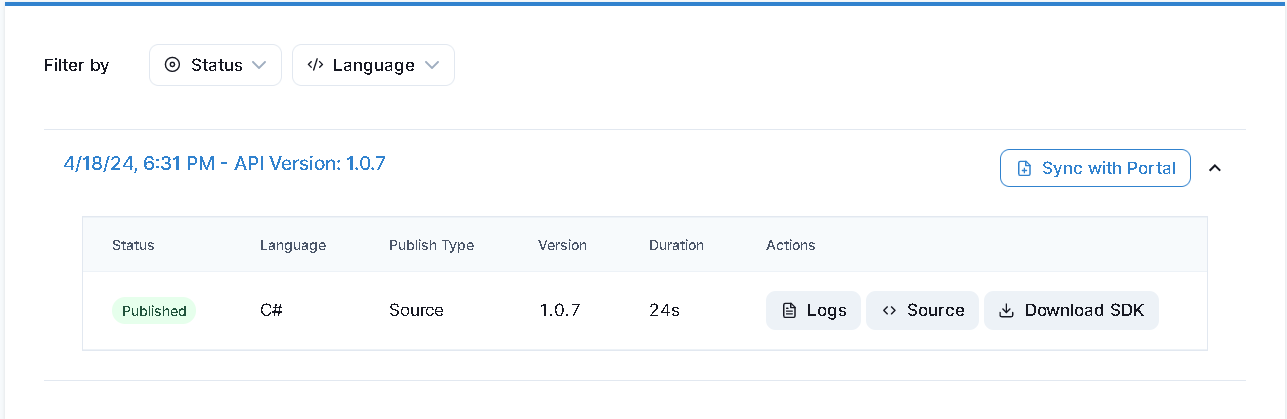
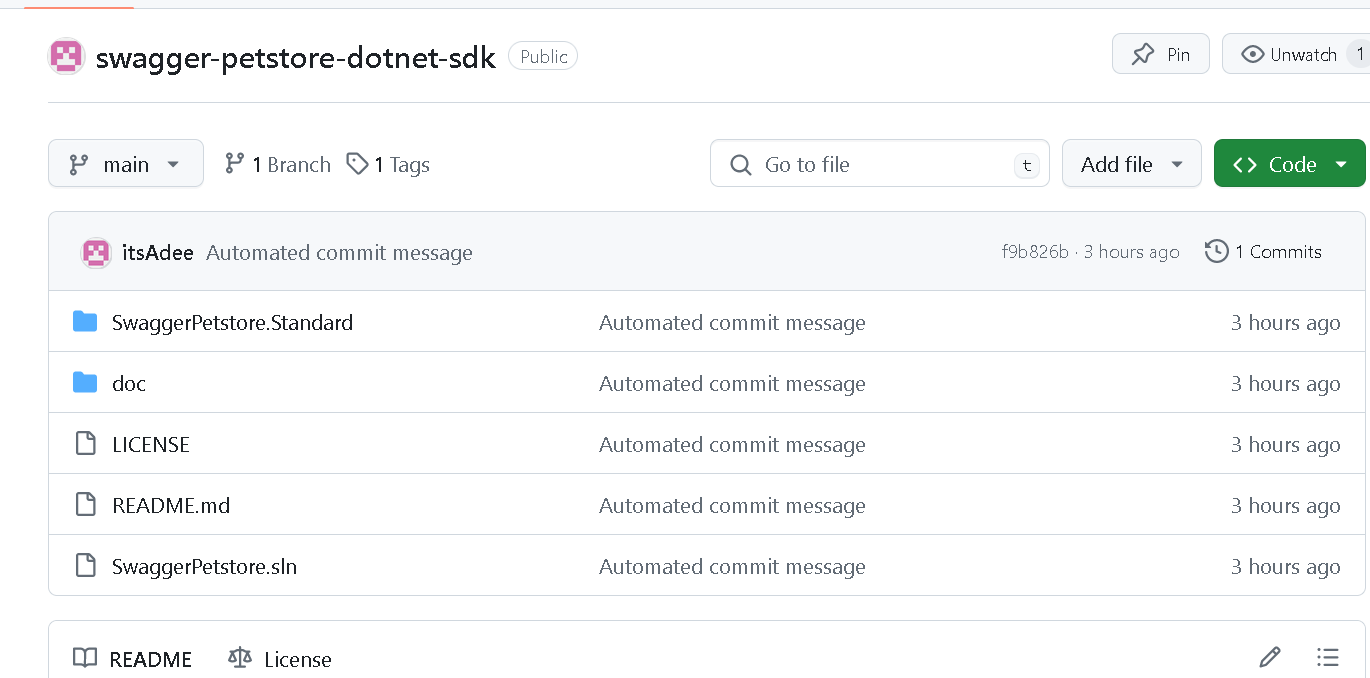
- If SDK Publishing is successful, you will be able to see the Published SDK on GitHub by clicking the Source button in the Actions column. The Actions column also contains a Logs button which will allow you to view the Publishing Logs listing the commands that were executed to Publish your SDKs along with their output.
Publish to GitHub via CLI
Once you have a publishing profile configured with GitHub source code settings, you can publish SDKs to GitHub directly from your terminal using the APIMatic CLI. This is particularly useful for automating publishing in CI/CD workflows.
Find Your Profile ID
If you haven't created a publishing profile yet, follow the guide above to create one first.
apimatic publishing profile list
Publish to GitHub
Use the sdk publish command along with your profile ID. Pass --publish-type=sourcecode to push the generated SDK to the GitHub repository configured in your publishing profile:
apimatic sdk publish --profile-id=<profile-id> --language=typescript --version=1.0.0 --publish-type=sourcecode
Additionally, you can publish to both a package registry and GitHub in a single command by passing --publish-type twice:
apimatic sdk publish --profile-id=<profile-id> --language=typescript --version=1.0.0 --publish-type=package --publish-type=sourcecode
For the full list of flags and options, see Publish an SDK.