Appveyor CI
This walkthrough takes you through setting up Continuous Integration with Appveyor. We generate a configuration file called appveyor.yml with your SDK for this purpose.
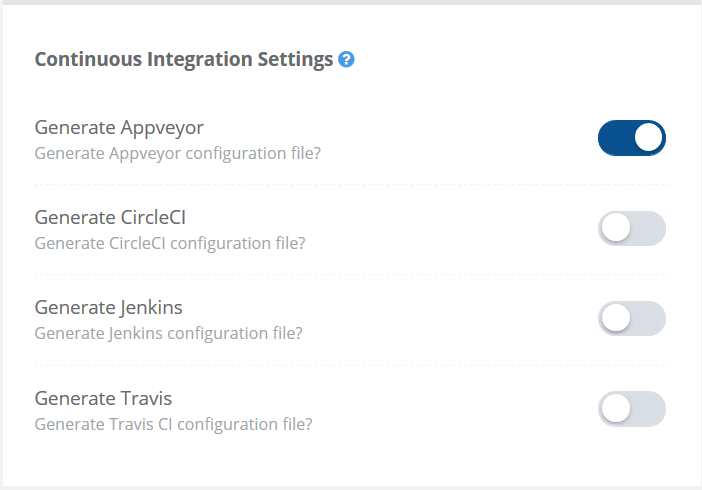
Configure CI Flag
The first step is to turn on the Appveyor CI flag in the Continuous Integration Settings section of the Code Generation Settings.
Add Repo in Appveyor
The second step is to add your already existing SDK repository to Appveyor. To do so click New Project on the main page of Appveyor CI.

After that, select your SDKs repository from the projects list.

Deploy to GitHub
The third step is to generate your SDK and push a new commit to the repository.
Be sure to push to the same repository which you added to Appveyor.
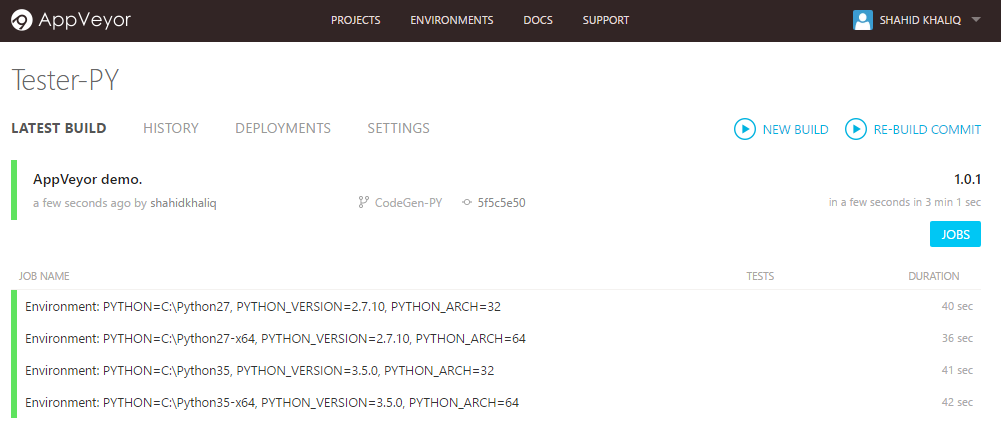
Watch it run
The final step is to sit back and watch your API and the SDK being tested. You'll be notified by email if any of the tests fail.