Setup Publishing Profiles
Setting up a publishing profile is the first of the two steps in SDK publishing. It's a one-time setup in the Publishing Center: you describe your packages once, add the credentials for the platforms you publish to, and then publish from the CLI as often as you like.
The same profile covers both publishing targets, so you only need to do this once whether you publish packages to a registry, push source code to GitHub, or both.
The previous, fully UI-driven walkthroughs are preserved at SDK Publishing Tutorial (Legacy Dashboard) for package publishing and Publishing SDKs to GitHub (Legacy Dashboard) for source code publishing.
Open the Publishing Center
On the APIMatic dashboard, click Publishing Center in the navigation menu on the left, then click SDK Publishing Settings. This takes you to a wizard that walks you through setting up a publishing profile for your API.
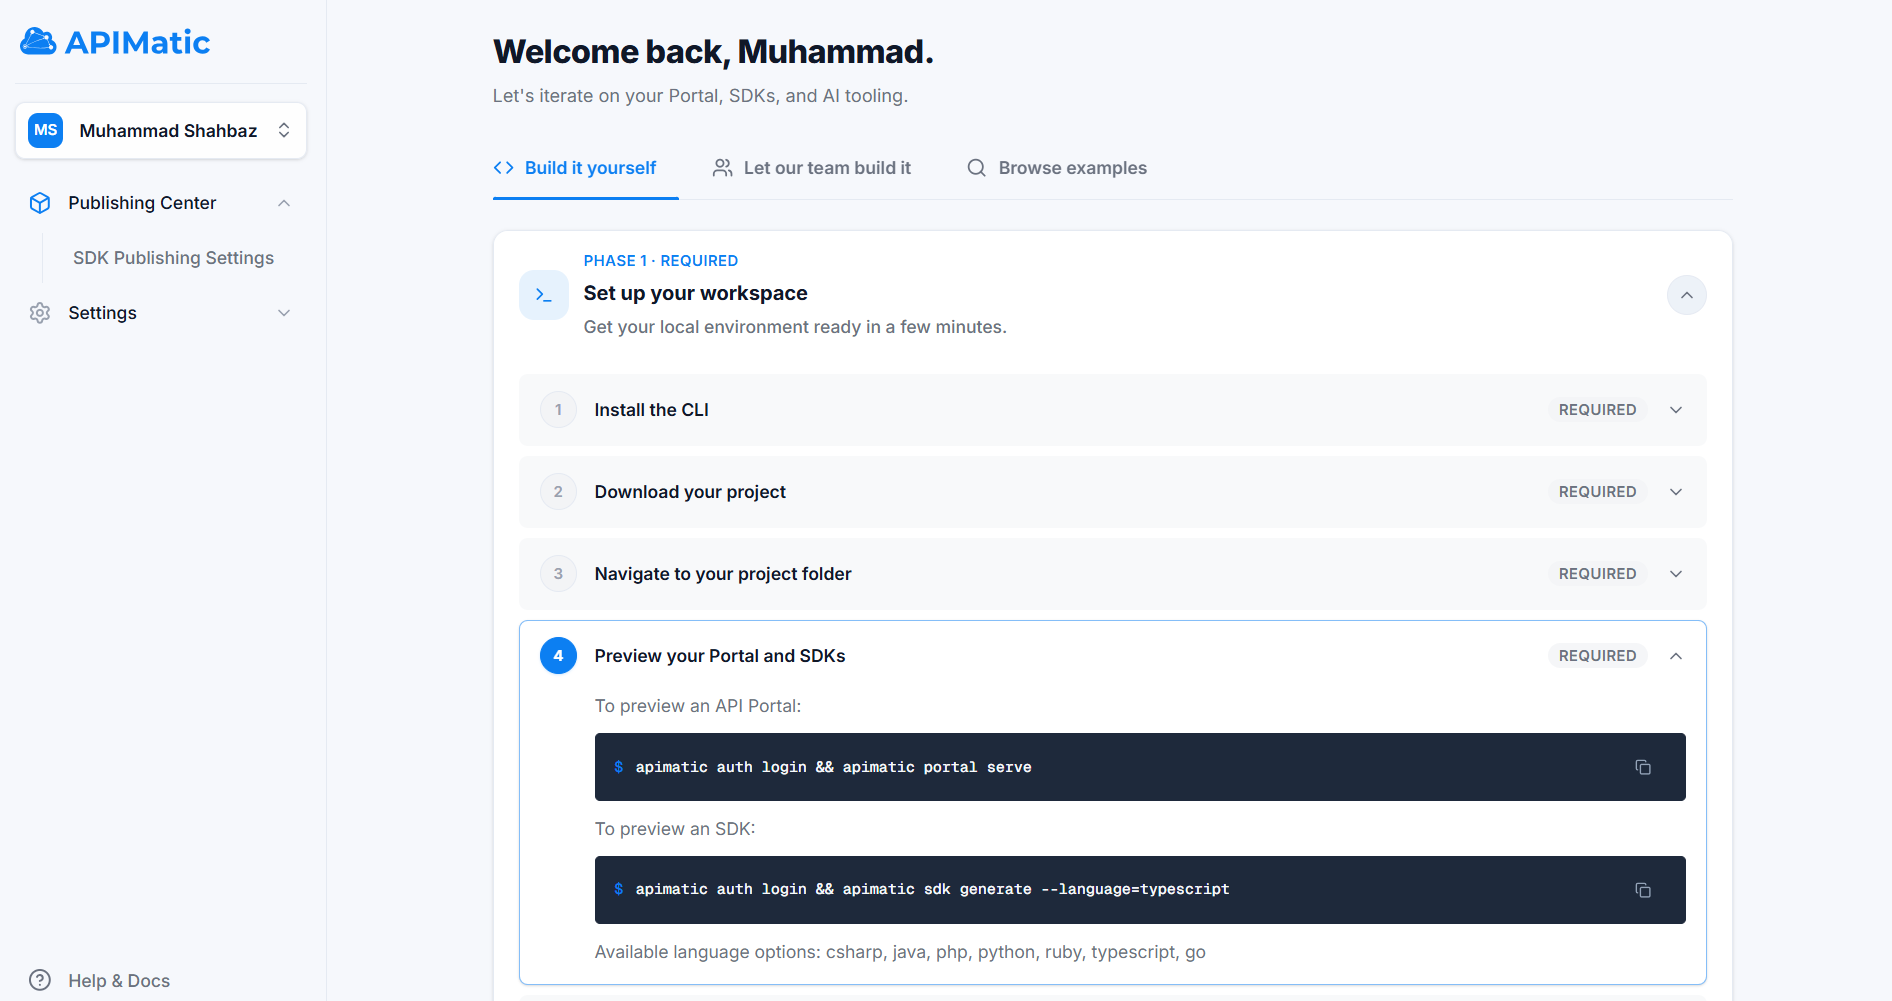
Where you land depends on whether you've set up publishing before. The first time, you go straight to the publishing profile wizard covered below. Once you have at least one publishing profile, you land on the Publishing Center instead, and you can reopen the wizard from Publish Settings in the sidebar.
What a Publishing Profile Holds
The following information is required to publish SDKs:
Credentials for each platform you publish to. Package registry credentials must have permission to create and update packages. GitHub credentials must have permission to create and update repositories.
Package configurations that include metadata such as the name of the package, a brief description of what it does, and its authors.
APIMatic aggregates this information into an entity called a Publishing Profile.
Create Reusable Configurations for Testing and Release SDK Versions
You may want to do a test run before you announce your SDK release to the world. This could involve publishing your package under a different name, under a different organization, or using a test account.
Publishing Profiles allow you to do this by creating reusable configurations for test and release versions of your SDKs.
This makes release management convenient; from your list of saved configurations, pass the profile ID of the correct configuration to the CLI depending on whether you want to publish a test or release version of your SDK.
Create a Publishing Profile
Follow the steps listed below to create a Publishing Profile:
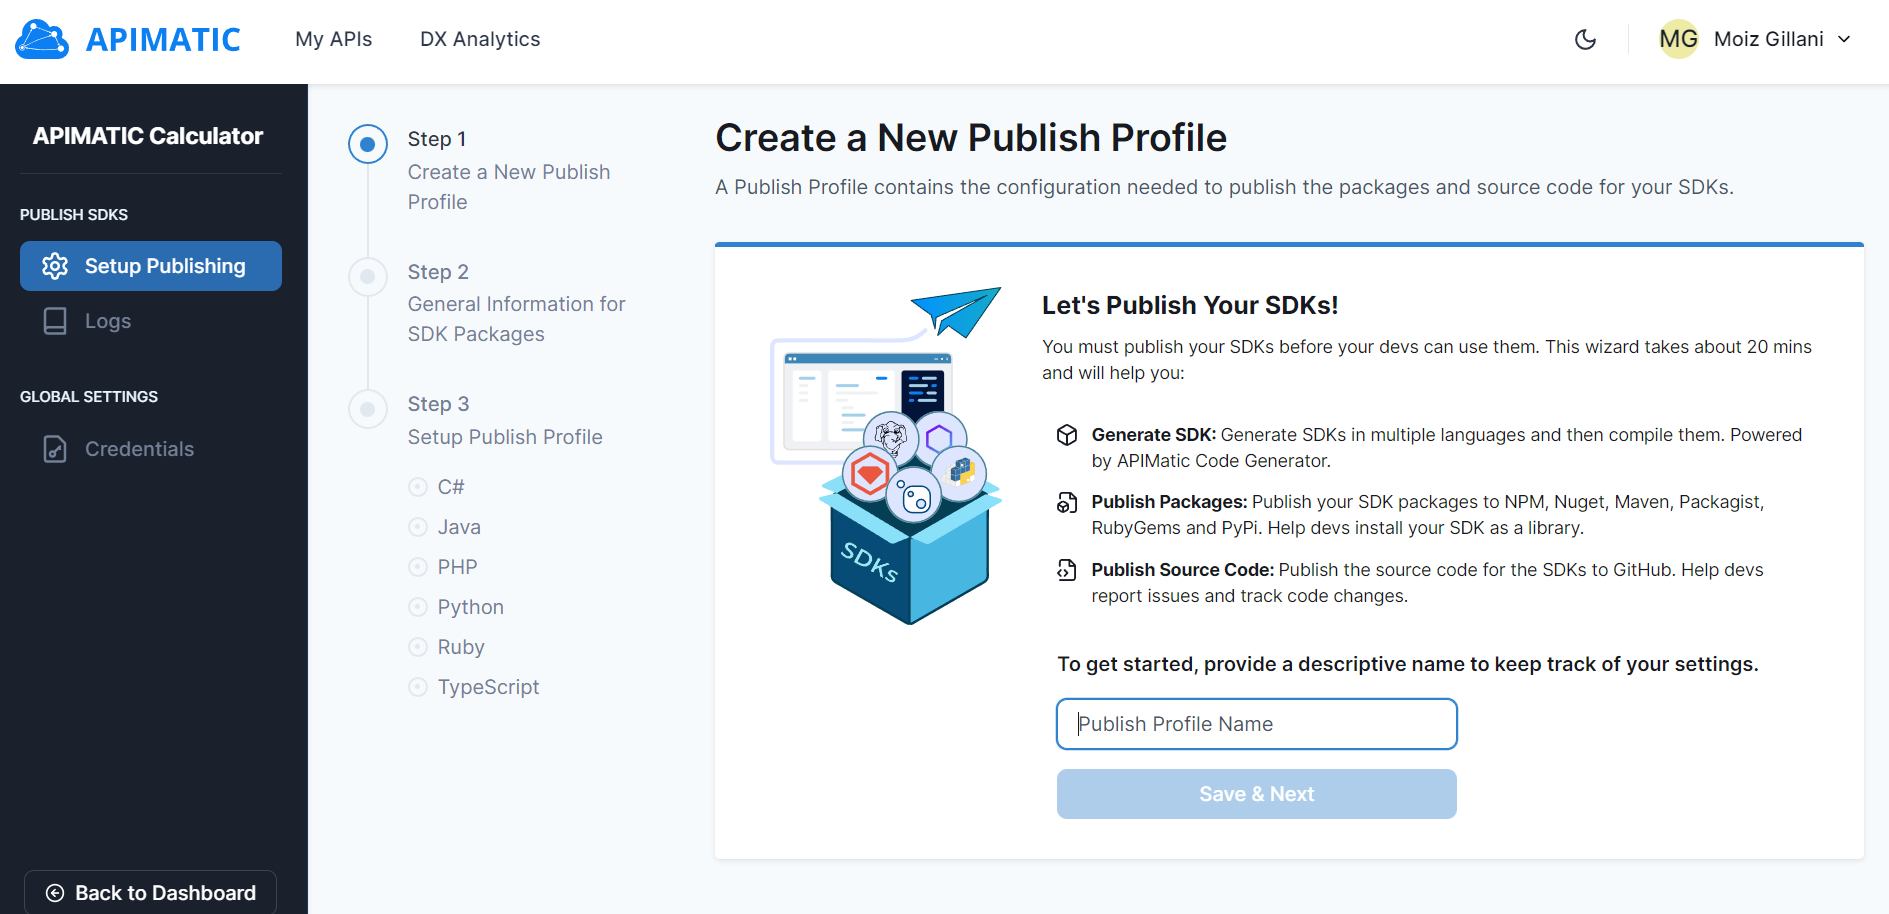
Provide a descriptive name for your Publishing Profile and click Save & Next.
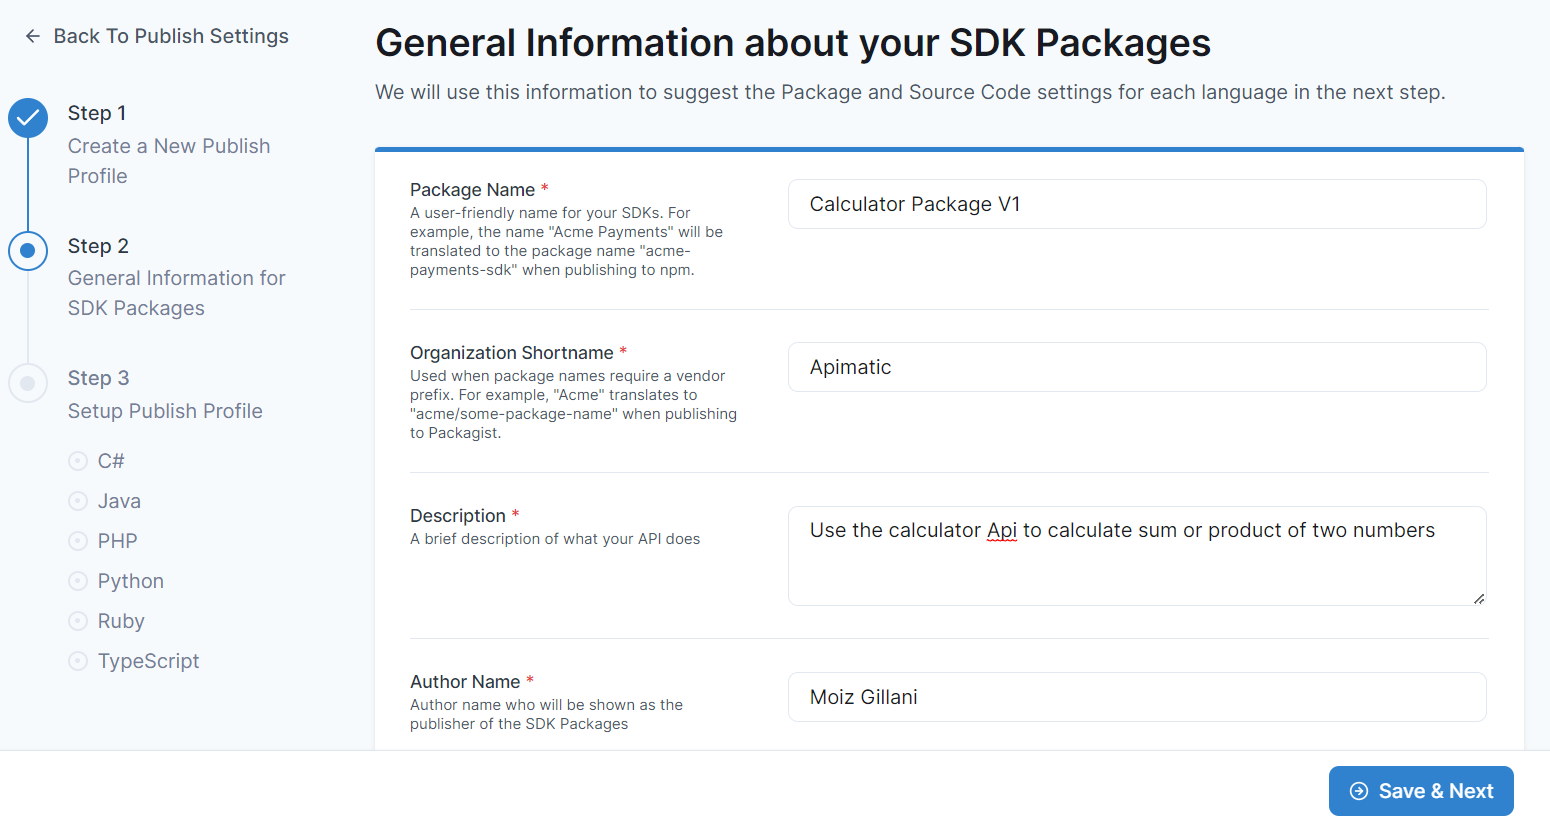
Provide General Information about your SDK Packages and click Save & Next. The information you provide here is used to pre-populate metadata about each programming language you want to publish SDKs for.
Review and update Package Settings and Source Code Settings for each language. You can skip any languages that you don't want to include; you can set these up later. Some fields are pre-filled based on the General Information you provided in the previous step. You also need to provide credentials for package registries and GitHub so APIMatic can publish your SDKs to them. More on credentials in the next section.
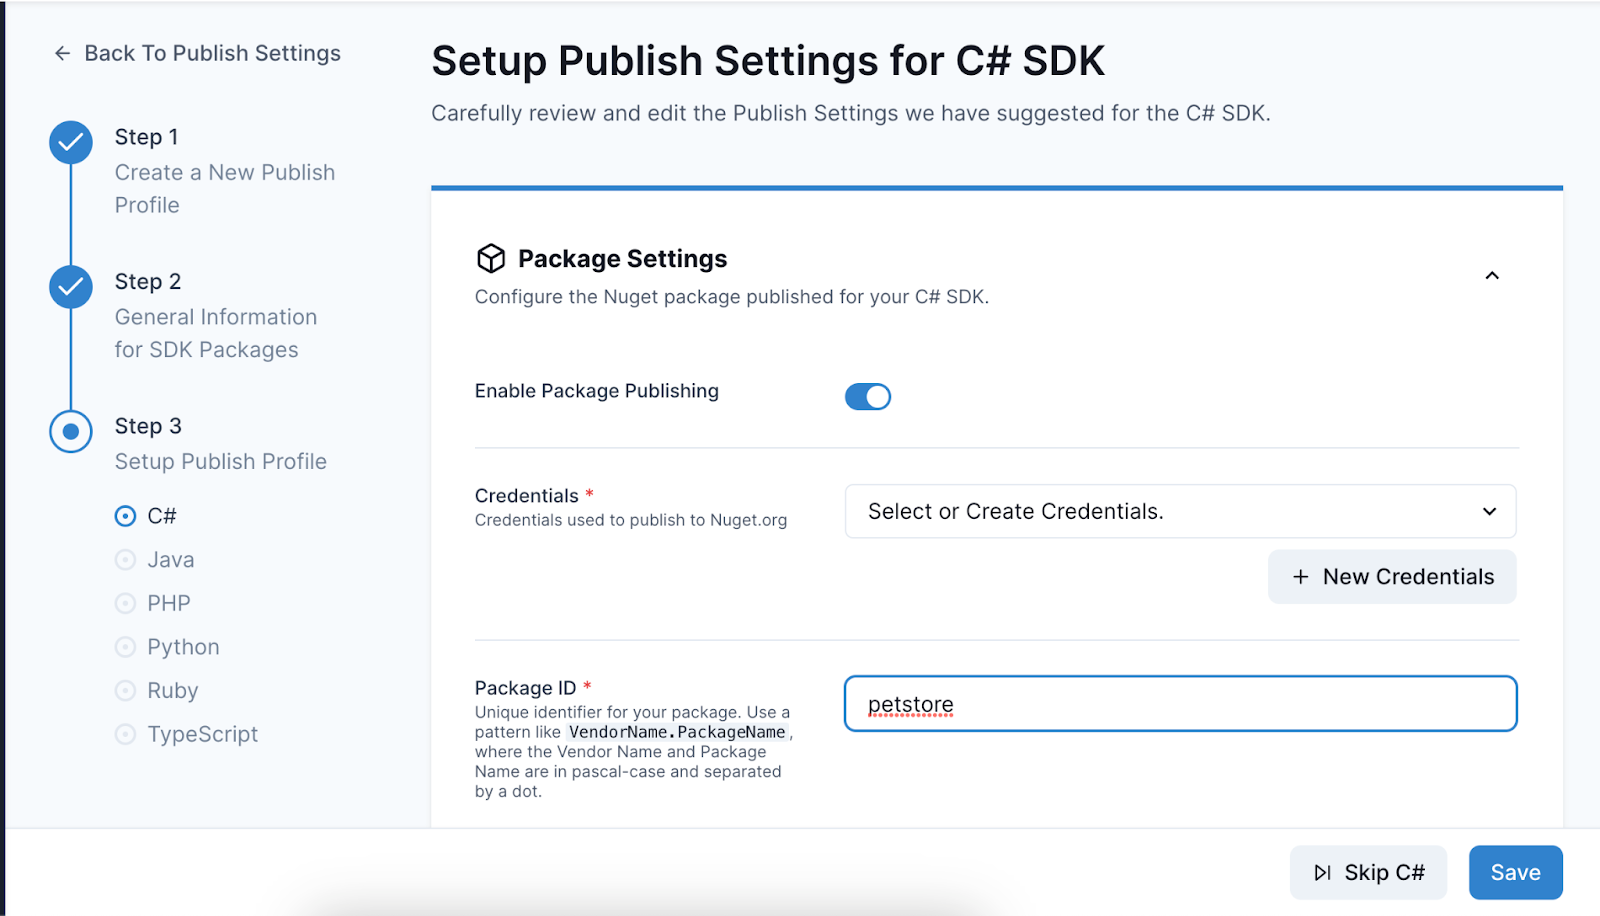
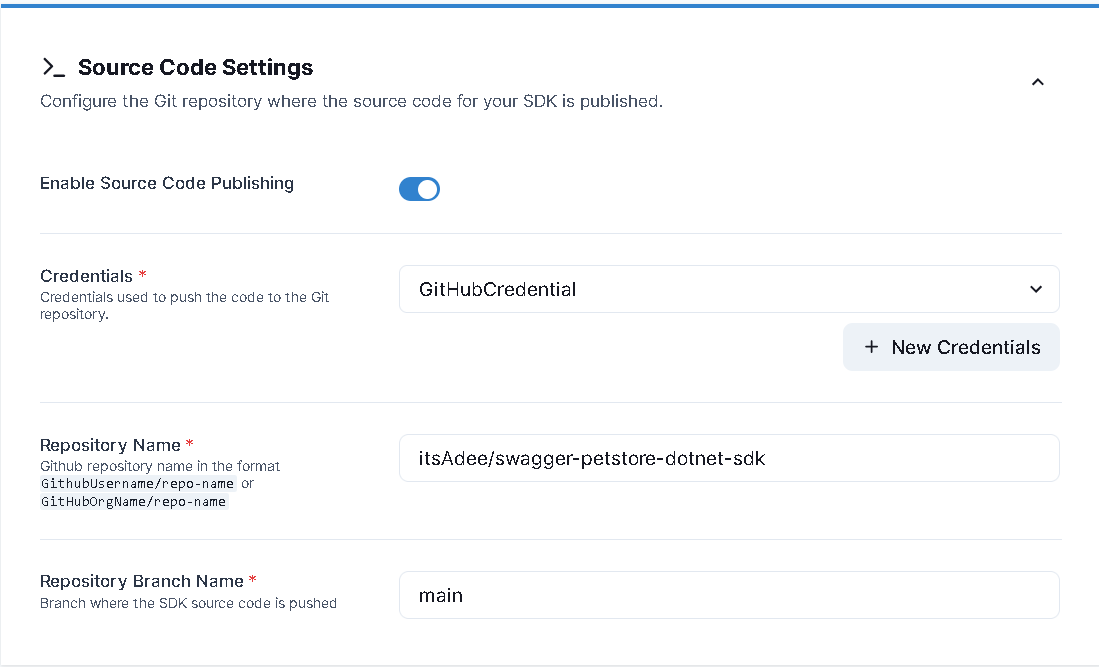
Click Save to save these configurations.
If you only want to publish the SDK source to GitHub, Disable Package Publishing to skip publishing to a package registry, and fill in the Source Code Settings alone.
Manage Integrations with Package Registries and GitHub
APIMatic integrates with popular package registries and GitHub so you can publish SDKs conveniently. Each platform requires a distinct set of credentials for authentication and authorization, which typically includes usernames and API keys.
You can create different sets of credentials for each platform, which lets you publish the same SDKs through different accounts (for testing or release) by choosing the appropriate credentials. Once created, credentials can be reused across the platform to publish all your SDKs.
Create Package Registry Credentials
To create credentials, navigate to the Credentials menu item from the sidebar.
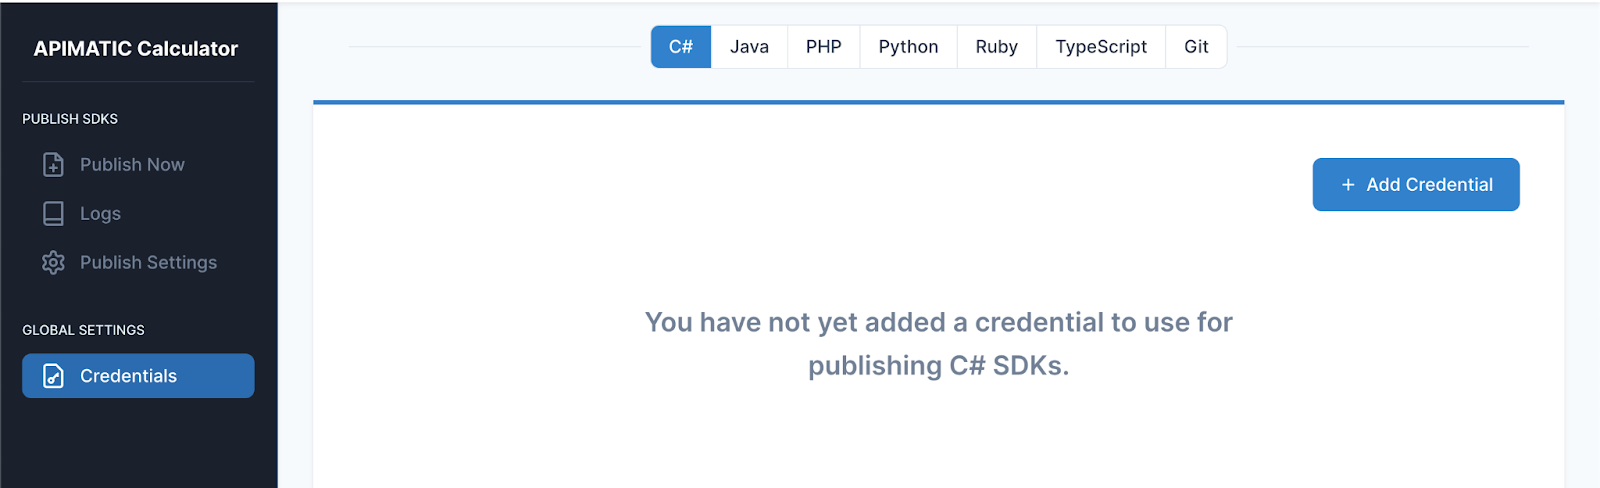
Click the + Add Credential button and follow the provided instructions to create the required credentials for your desired platform.
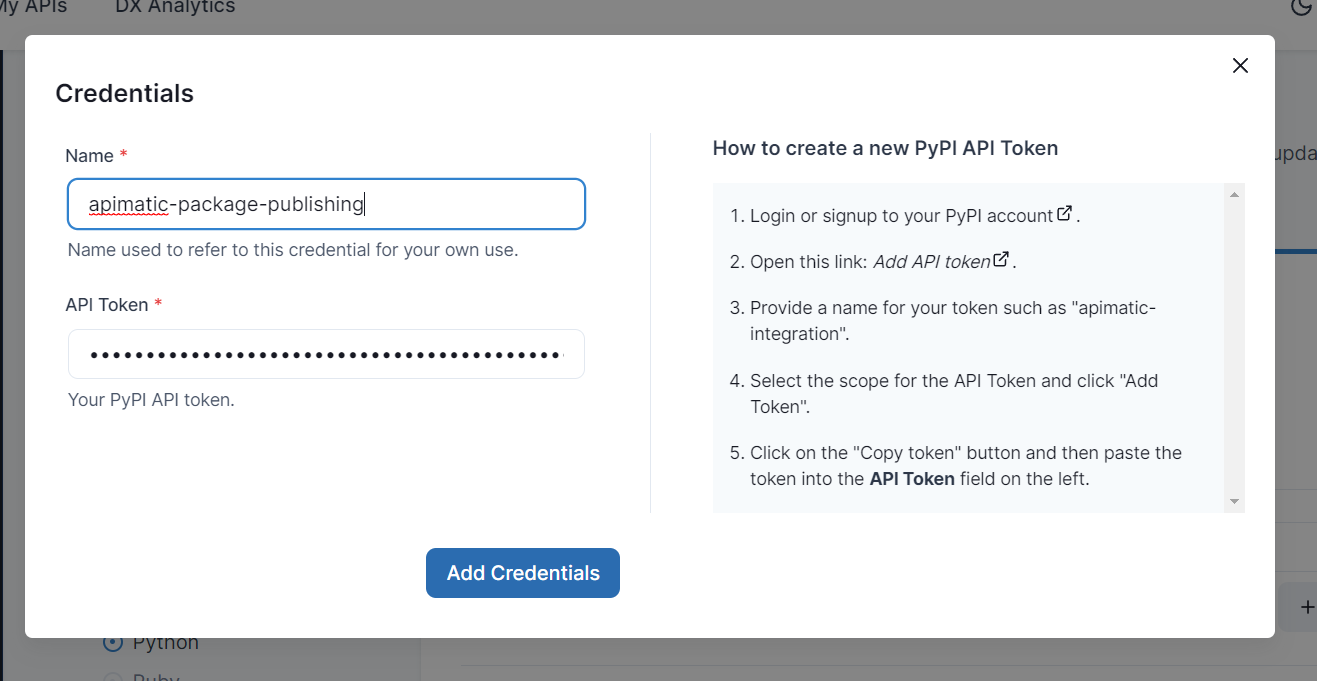
Create a GitHub Credential
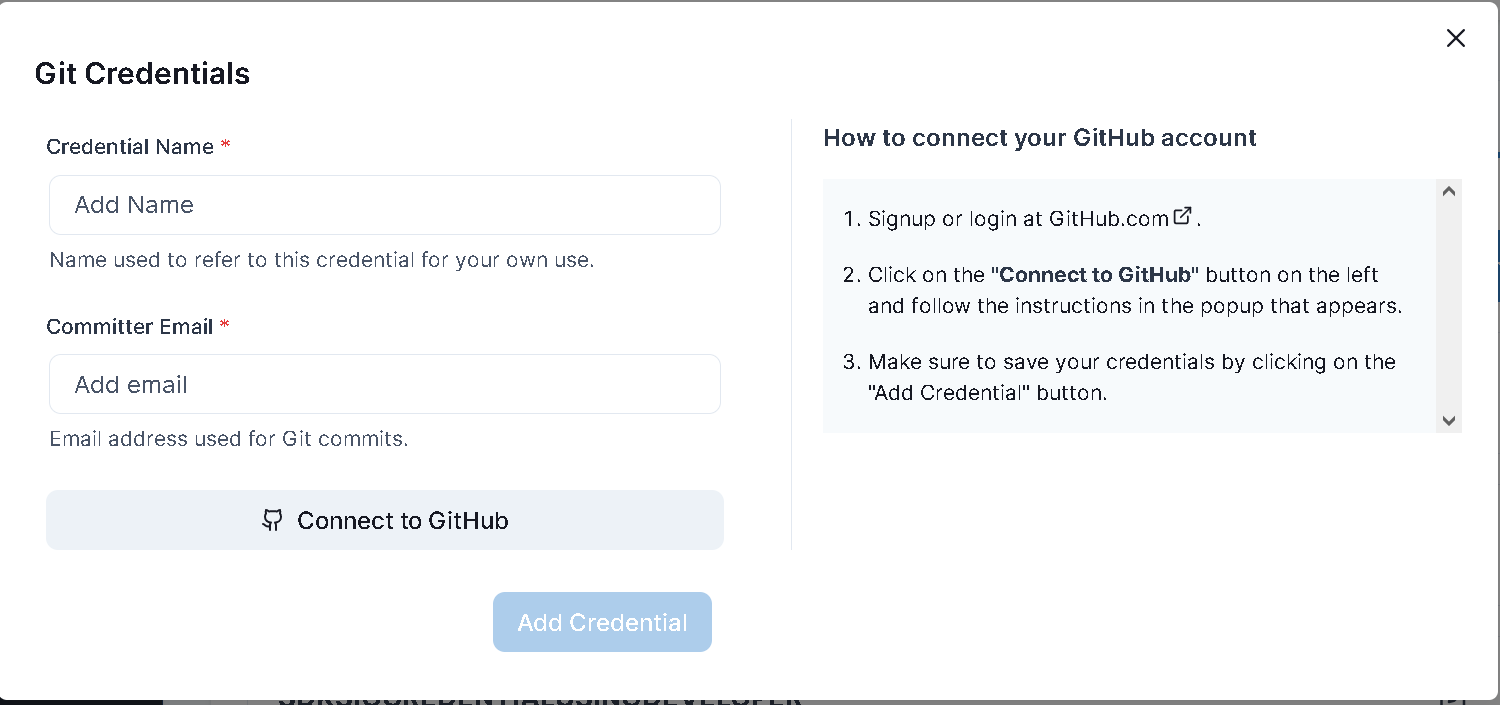
Navigate to the Credentials menu item from the sidebar and select git.
Click the Add Credential button and follow the provided instructions to create the required GitHub credential. Authenticate with GitHub, and APIMatic can then push SDKs to either an existing repository or a new repository of your choice.
What branch does APIMatic publish to?
When you publish your SDK to GitHub with APIMatic, you can choose any name you like for the branch.
Can I make changes to the code in my GitHub repository?
Yes. APIMatic purges existing files before committing an updated SDK, so anything you commit manually is overwritten on the next publish. To keep your changes, use custom code injection: you save your customizations with the APIMatic CLI, and APIMatic reapplies them each time the SDK is regenerated. This covers new files as well as edits inside generated files.
Next Step
With the profile and its credentials saved, you're ready to ship a version. See Publish Via CLI.