Defining a Test Case
This documentation will walk you through the steps to define your first test case for an API.
- You are required to first define your API. You can even Configure Test Generation Settings for your API. We will use the same API for this tutorial:

- Click on Edit to go to the API definition. You will see a sidebar similar to this:
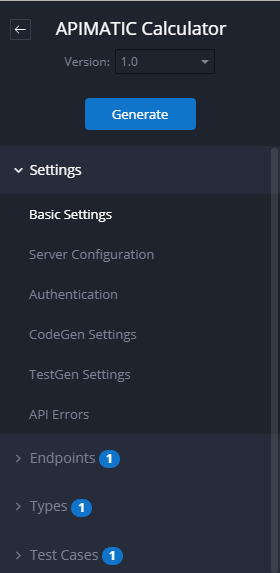
There are currently no test cases listed under the Test Cases menu.
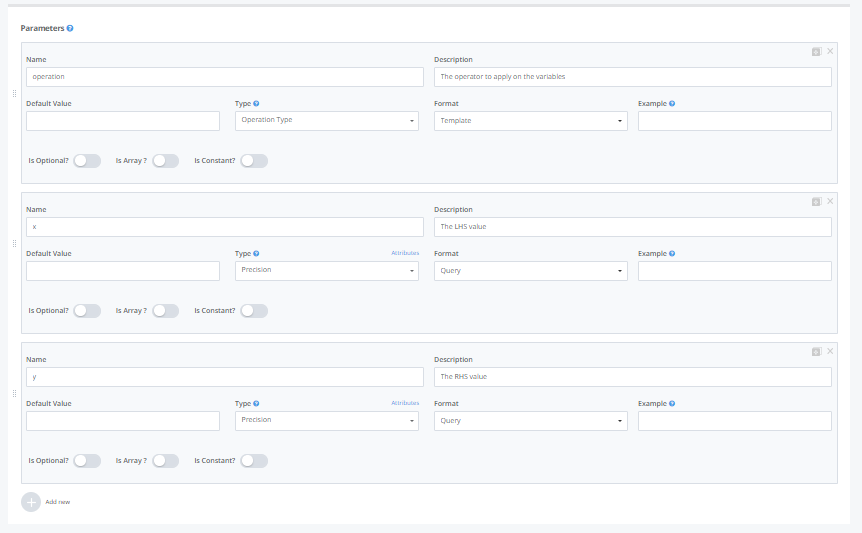
Before we create the test case, you need to know that in the endpoint you defined, you have 3 parameters involved:
| Name | Description |
|---|---|
| operation | Specifies the operation you want to perform on the input values. The valid values defined are SUM, ADD, SUBTRACT, DIVIDE |
| x | First operand |
| y | Second operand |
- If we want to test the
Calculateendpoint via a test case to check whether it returns the correct value onSUMoperation, (for example, 2+4 must return 6) then the test parameters with their respective values will be:
| Name | Value |
|---|---|
| operation | SUM |
| x | 2 |
| y | 4 |
Step 1: Create Test Case
In order to create a test case for Calculate endpoint, navigate to this endpoint from Endpoints menu and scroll down to where you can view a list of already created and enabled/disabled test cases (if any). Clicking on Create Test Case will help create the new test case.
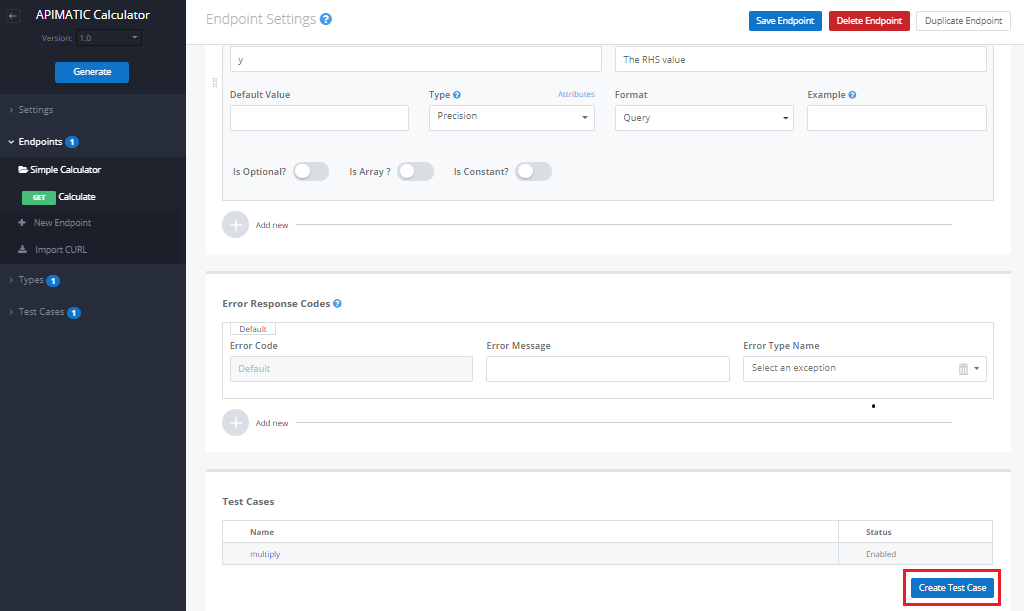
You will be taken to a new page where you can then define your test case.
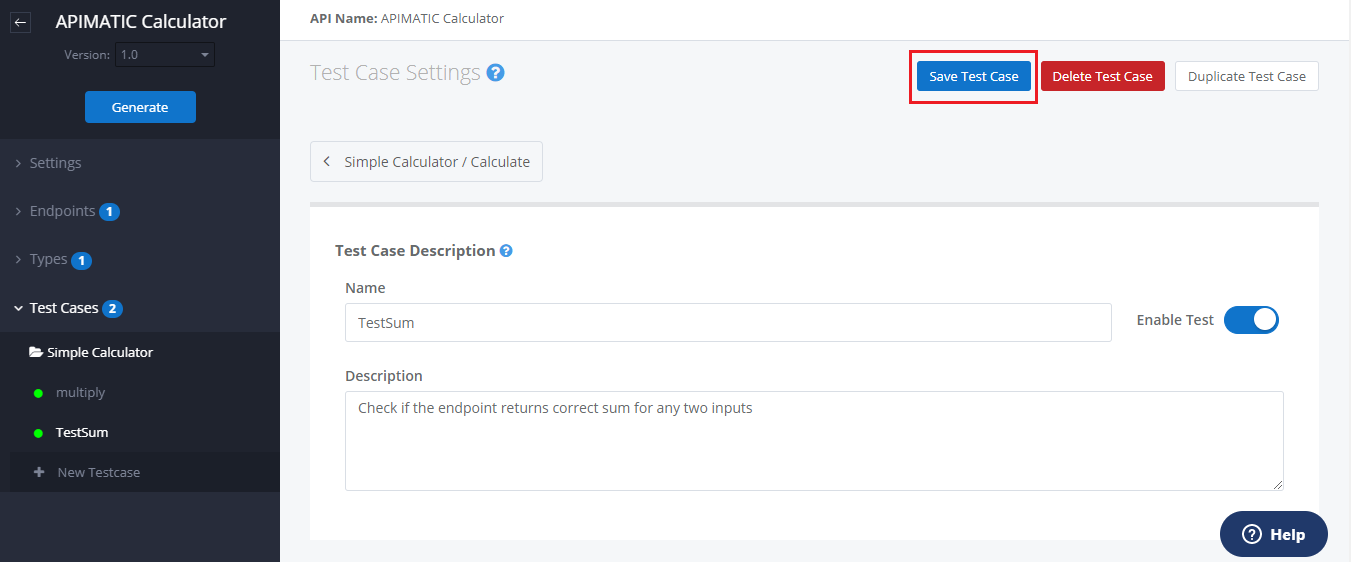
Step 2: Describe Test Case
Name
This is the unique name that you can specify for your test case.Description
This is where you can describe what your test case does.| Flag | Description |
|---|---|
| Enable Test | Toggling this will enable or disable the test. If the test case isn't enabled, it won't be generated during code generation |
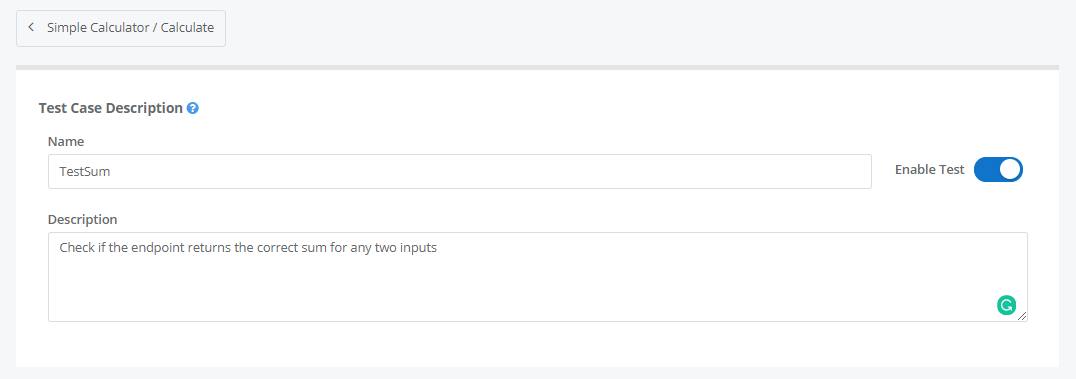
Calculate Endpoint Test Case Example
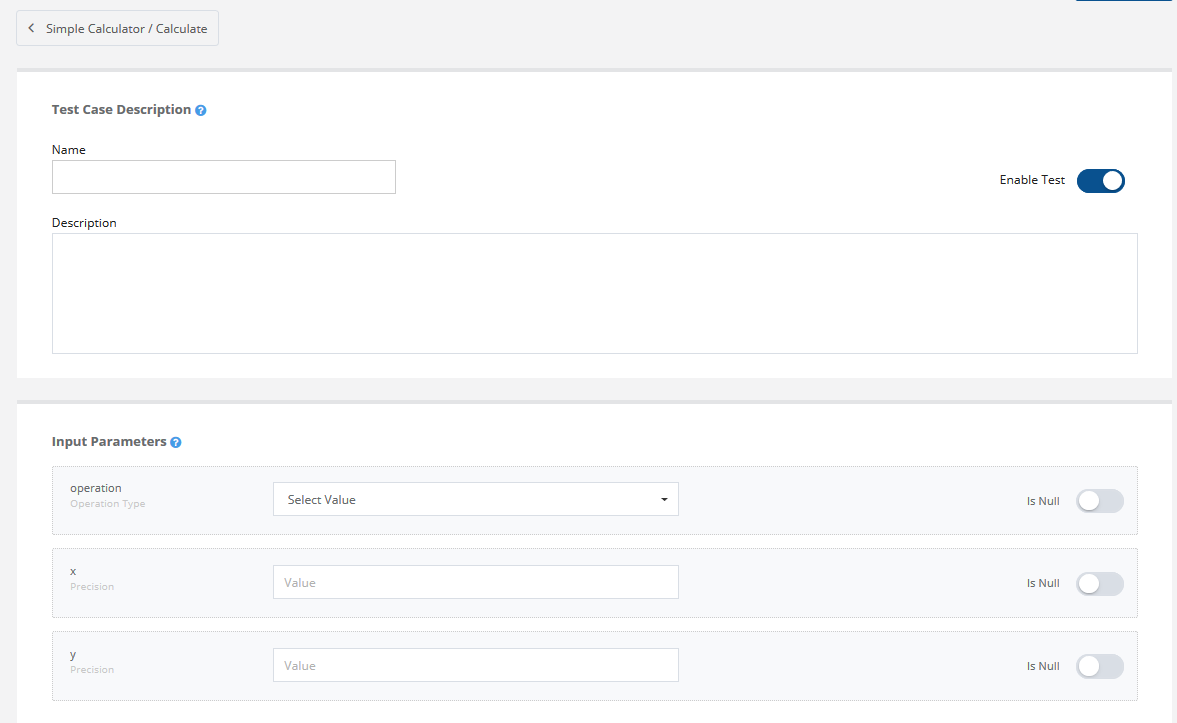
As can be seen from above figure, the details for the Calculate endpoint test case are as follows:
Namespecified is “TestSum”Descriptionspecified is “Check if the endpoint returns correct sum for any two inputs”Enable Testis set to true
Step 3: Define Input Parameters
Name
The Name of the input parameter MUST correspond to the name of an endpoint parameter specified within definition of that endpoint.Value
The Value MUST correspond with the type of the endpoint parameter.
| Flag | Description |
|---|---|
| Is Null | If this flag is enabled or a required parameter isn't provided an input value, the input parameter is given a null or zero value according to the type of the input. |
Some examples of name value pairs are as below:
| Name | Value |
|---|---|
| someInteger | 1231 |
| someString | Hello, world! |
| someIntegerArray | [1,2,3,4,5] |
| someBoolean | true |
| someModel | {"name":"Bob","age":22,"uploadCount":12} |
| someEnumeration | [123,22,125] |
If the endpoint has optional query parameters enabled then such type of parameters can be provided within the input parameters by preceding the Name with asterisk (*). Similarly, if the endpoint has optional field parameters enabled then such type of parameters can be provided within the input parameters by preceding the Name with a plus sign (+).
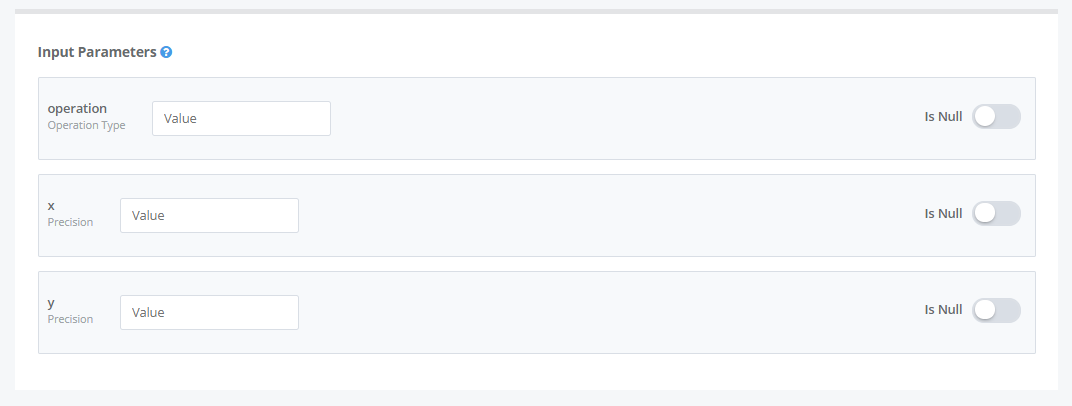
Calculate Endpoint Test Case Example
As already discussed, the Calculate endpoint contains 3 parameters. Their names will already be listed in the Name of the parameters. You need to just specify their values and decide whether to disable/enable Is Null flag.
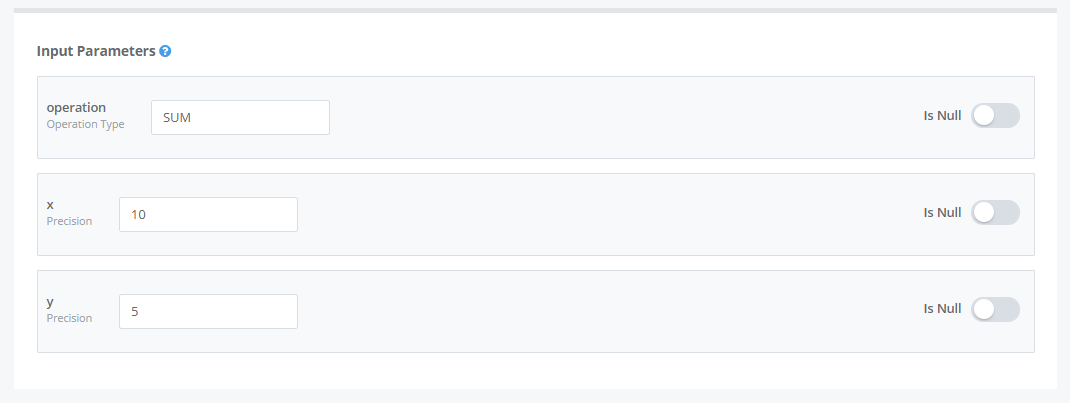
In the above, we specified the values for the parameters. We've disabled the Is Null for all the parameters as we don't want them to take null values as input.
Step 4: Specify Header Status

Status Code
This refers to the expected status code of the response. The expected status can be given an exact value such as "200" or a range of values such as "20X."
As an example, a value of "20X" will match any status between 200 - 208 (inclusive) which are all valid HTTP status codes. Other possible HTTP status ranges are "30X," "4XX," and "41X." Note that only valid HTTP code values within each range will be checked.
Calculate Endpoint Test Case Example
We expect the status code to be 200 if the operation is successful, hence we input the value 200.
Step 5: Specify Expected Headers
If the expected headers are specified the response is tested to see if it contains these headers.
Just like with input parameters, we need to specify “Name-Value” pairs to specify header values.
| Flag | Description |
|---|---|
| Check Value | The test case will check the values of all expected headers. This flag, if enabled, won't only check the presence of a header in the response with the same name as mentioned in the Name field but will also check that the value of that response header is the same as specified in the expected header value. |
| Allow Extra Headers | If this flag is disabled, it will cause the test case to fail if the response contains other headers than those listed in the expected headers list. |
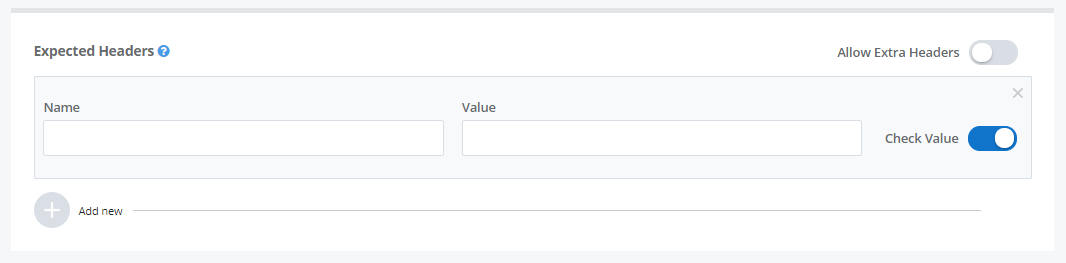
Calculate Endpoint Test Case Example

For our Calculate endpoint test case, we will keep the expected headers empty.
Step 6: Specify Expected Body

Expected Body
Whatever you expect the response to be, you input that into the Expected Body box.
This could be as simple as a number, some string or can be complex like an array or some valid JSON, etc.
There are two flags related to testing arrays:
| Flag | Description |
|---|---|
| Check array order | If enabled, this will involve ensuring that the response body contains the array elements in the same order as the expected body. |
| Check array count | If enabled, this will ensure that the response body contains the same number of elements in the array as does the expected body. |
If both the flags are enabled then the arrays will be strictly checked for equality, that is, their order as well as matching lengths.
Body Match Mode
This is a dropdown menu which enlists various modes supported by APIMatic for body matching. What modes are applicable will depend on the response type of the endpoint. The modes are:| Match Mode | Valid for Types | Description |
|---|---|---|
NONE | All | The expected body is ignored and the response body isn't tested. |
NATIVE | Number, Long, Precision, Boolean and DateTime | Tests the response body as a primitive type using a simple equality test. Response must match exactly except in case of arrays where array ordering and strictness can be controlled via other options. |
KEYS | Enumerations and Arrays of Number, Long, Precision, Boolean and DateTime types | Checks whether the response body contains the same keys as those specified in the expected body. The keys provided can be a subset of the response being received. If any key is absent in the response body, the test fails. The test generated will perform deep checking which means if the response object contains nested objects, their keys will also be tested. |
KEYSANDVALUES | Models, Dynamic and Arrays of Number, Long, Precision, Boolean and DateTime types | Same as the KEYS mode except values are tested as well. The values must match. Since the deep comparison is performed, nested objects must also contain the correct values. In case of nested arrays, their ordering and strictness depends on the provided options. |
RAW | All | The response body is compared with the expected body via simple string checking. In case of Binary response, byte-by-byte comparison is performed. The expected body takes a URI path to a remote file to compare with the Binary response, which must be valid URI path. |
Example 1 of Body Match Modes “KEYS,” “KEYSANDVALUES”:
Expected body:
{
  "name": "bob",
  "address": {
    "city": "ABC"
  }
}
Response body:
{
  "name": "bob",
  "age": 100,
  "alive": true,
  "address": {
    "city": "ABC",
    "postcode": "21333"
  }
}
- This will pass for both
KEYSandKEYSANDVALUESmode.
Response body that passes KEYSANDVALUES mode for a given expected body will also pass KEYS mode.
Example 2 of Body Match Modes “KEYS,” “KEYSANDVALUES”:
Expected body:
{
  "name": "xxxx",
  "address": {
    "city": "aaaaa"
  }
}
Response body:
{
  "name": "bob",
  "age": 100,
  "alive": true,
  "address": {
    "city": "ABC",
    "postcode": "21333"
  }
}
- This passes for
KEYSmode. - This fails for
KEYSANDVALUESmode.
Example 3 of Body Match Modes “KEYS,” “KEYSANDVALUES” and Array flags:
Expected body:
{
  "name": "bob",
  "workingDays": ["Tuesday", "Monday"]
}
Response body:
{
  "name": "bob",
  "age": 100,
  "alive": true,
  "workingDays": ["Monday", "Tuesday", "Wednesday"]
}
- This passed for
KEYSandKEYSANDVALUESmode only if bothExpectedArrayCheckCountandExpectedArrayOrderedMatchingarefalse.
Example 4 of Body Match Modes “KEYS,” “KEYSANDVALUES” and Array flags:
Expected body:
[
  {
    "name": "alice"
  },
  {
    "name": "bob"
  }
]
Response body:
[
  {
    "name": "frank",
    "age": 100,
    "alive": true
  },
  {
    "name": "alice",
    "age": 70,
    "alive": true
  },
  {
    "name": "bob",
    "age": 90,
    "alive": false
  }
]
- This passed for
KEYSandKEYSANDVALUESmode only if bothExpectedArrayCheckCountandExpectedArrayOrderedMatchingarefalse.
Each object from the expected body is checked for presence in response body. Note that two objects from expected body may match the same object from response body if they're subsets of that object.
Example 5 of Body Match Modes “KEYS,” “KEYSANDVALUES” and Array flags:
Expected body:
[
  {
    "name": "bob"
  },
  {
    "name": "alice"
  }
]
Response body:
[
  {
    "name": "alice",
    "age": 70,
    "alive": true
  },
  {
    "name": "bob",
    "age": 90,
    "alive": false
  }
]
- This passed for
KEYSandKEYSANDVALUESmode if ExpectedArrayCheckCount istrueorfalse. - This fails for
KEYSANDVALUESmode ifExpectedArrayOrderedMatchingistrue.
In case of an object array, the elements will be compared using the subset method, that is, either KEYSANDVALUES or KEYS. For primitives, simple equality comparison is used.
Calculate Endpoint Test Case Example
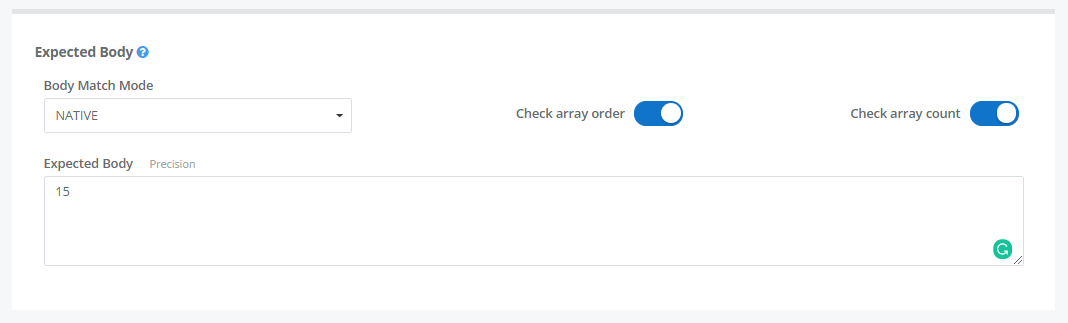
We expect the result of 2+3 as 5 hence the Expected body is given as “5.” The body matching should perform a simple string comparison between the body of the response and Expected Body to check if it contains the number “5.” This behavior matches with the mode NATIVE hence the mode chosen in NATIVE.
Step 7: Save your Test Case
Just click on “Save Test Case” present on top of the sticky header (or at the top of the Test Settings page) and your test case along with all the settings will be saved.
Congratulations! You have now successfully defined your first test case for your endpoint. To learn more on how to generate and run these test cases please refer to the Run Your First Test Case